Removal and Installation
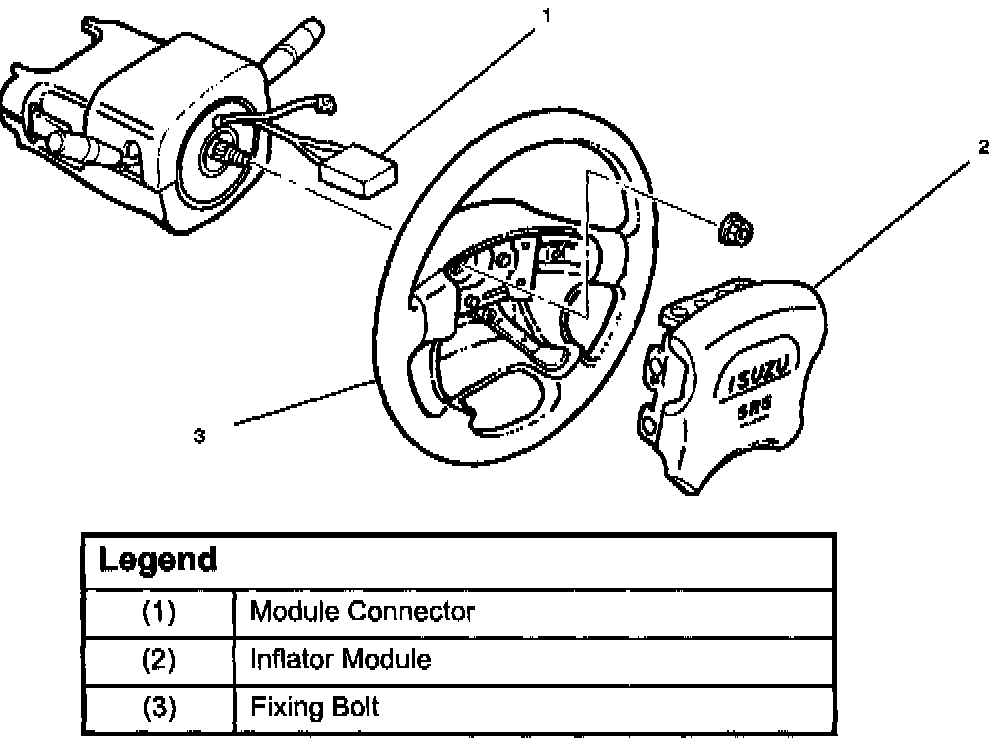
Removal
1. Turn the steering wheel so that the vehicle's wheels are pointing straight ahead.
2. Turn the ignition switch to "LOCK".
3. Disconnect the battery "-" terminal cable, and wait at least 5 minutes.
4. Disconnect the yellow 2-way SRS connector located under the steering column.
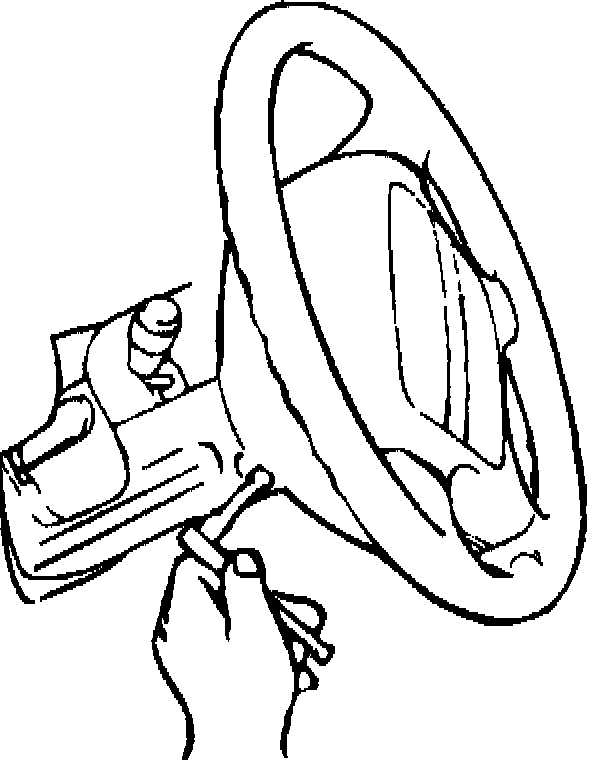
5. Loosen the inflator module fixing bolt from behind the steering wheel assembly using a TORX(R) driver or equivalent until the inflator module can be released from steering assembly.
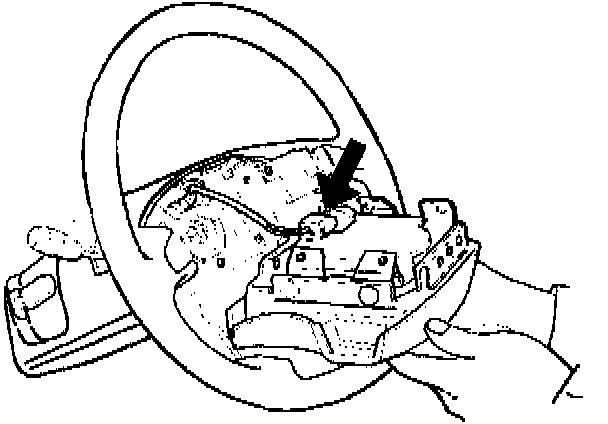
6. Disconnect the yellow 2-way SRS connector located behind the inflator module.
7. Remove inflator module.
Inspection and Repair
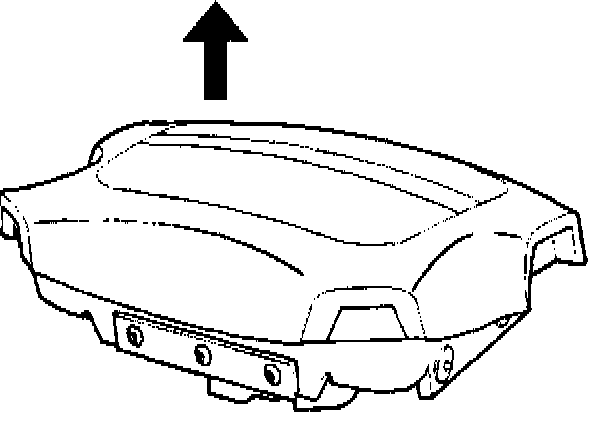
WARNING: THE INFLATOR MODULE SHOULD ALWAYS BE CARRIED WITH THE URETHANE COVER AWAY FROM YOUR BODY AND SHOULD ALWAYS BE LAID ON A FLAT SURFACE WITH THE URETHANE SIDE UP. THIS IS NECESSARY BECAUSE A FREE SPACE IS PROVIDED TO ALLOW THE AIR CUSHION TO EXPAND IN THE UNLIKELY EVENT OF ACCIDENTAL DEPLOYMENT. OTHERWISE, PERSONAL INJURY MAY RESULT.
The inflator module consists of a cover, air bag, inflator, and retainer. Inspect the inflator module mainly for the following:
^ Check for holes, cracks, severe blemishes and deformation on the cover.
^ Check that the retainer is not deformed.
^ Check for defects such as damage and breakage in the lead wire for the igniter.
If an abnormality is found as the result of the inspection, replace the inflator module with a new one.
Installation
1. Install inflator module.
2. Support the module and carefully connect the module connector and horn lead.
Note: Pass the lead wire through the tabs on the plastic cover (wire protector) of inflator to prevent lead wire from being pinched.
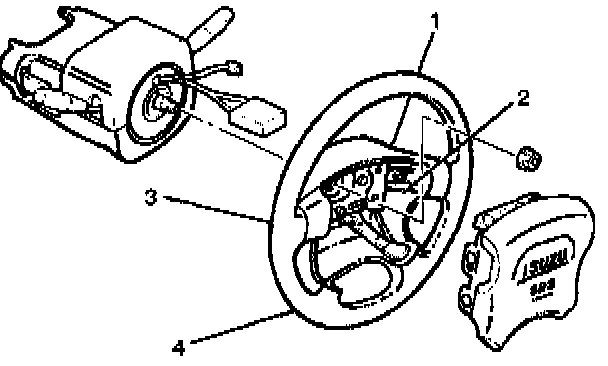
3. Secure the module with one bolt to relieve weight on the wire connector and tighten bolts to specified sequence as illustrated.
Torque: 8 Nm (69 inch lbs.)
4. Connect the yellow 2-way SRS connector located under the steering column.
5. Connect the battery "-" terminal cable.
6. Set ignition to "ON" while watching warning light. Light should flash 7 times and then go OFF.