- Move the CVT shift selector to the neutral position, and then release the parking brake.
- Put matching marks onto propeller shaft flange yokes, final drive torsional damper, and transfer companion flange.
CAUTION:
For matching marks, use paint. Do not damage propeller shaft flange yokes, final drive torsional damper or transfer companion flange.
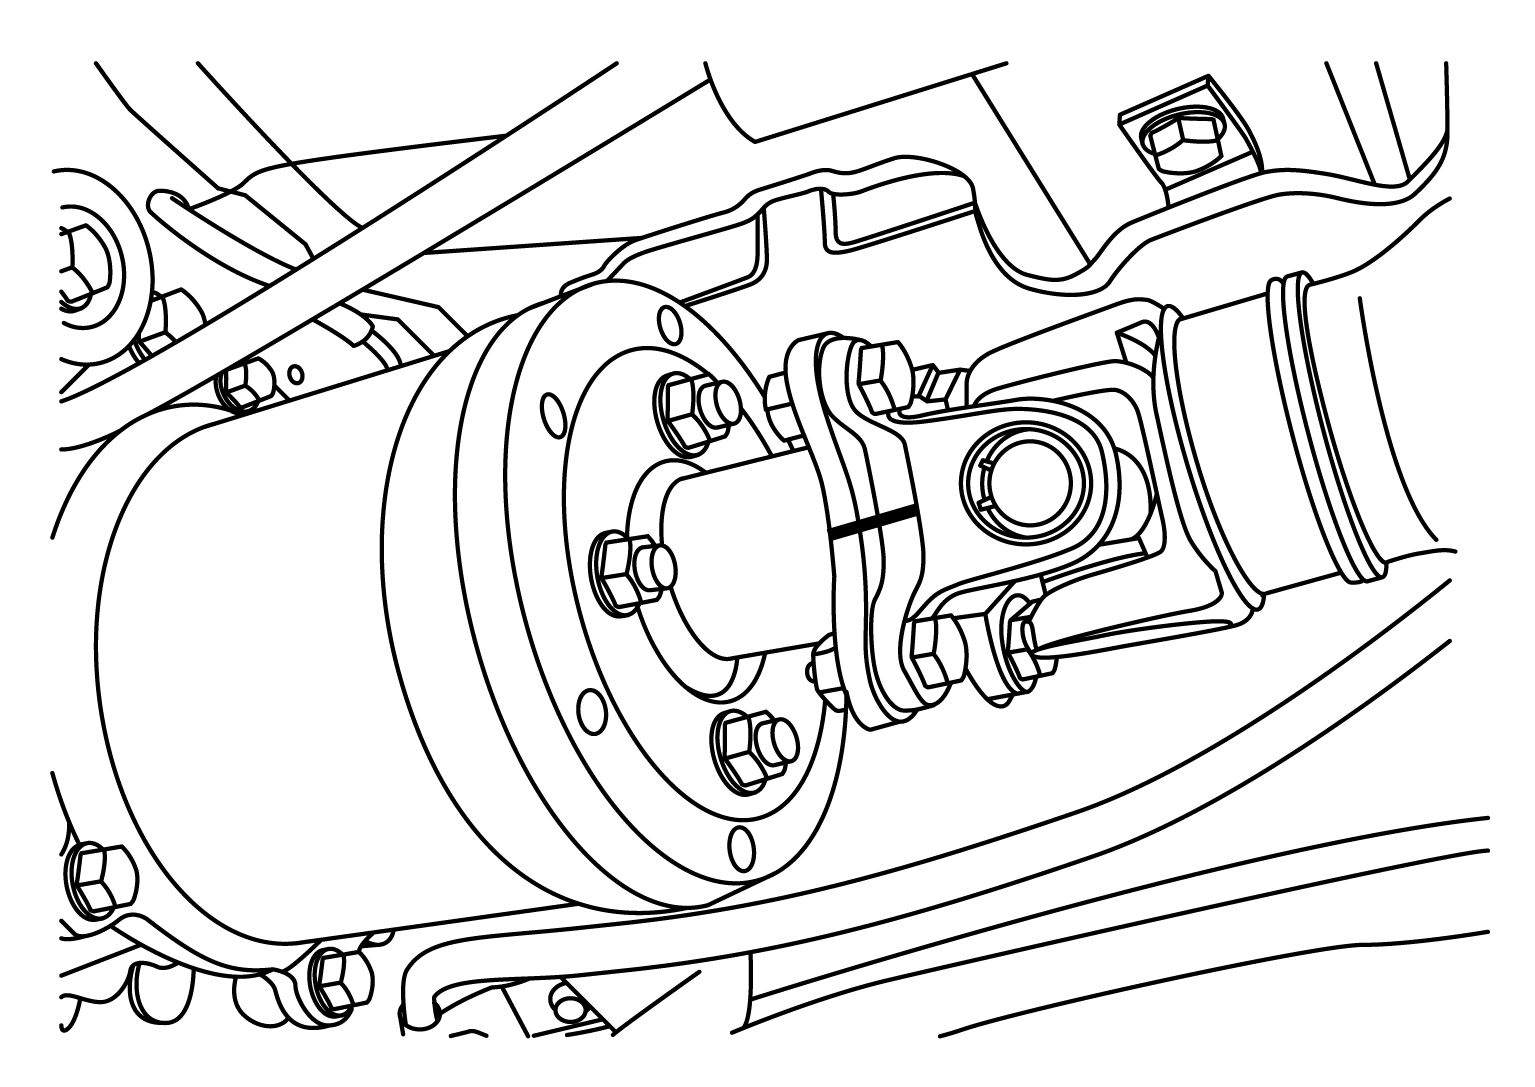 Courtesy of NISSAN NORTH AMERICA, INC.
- Remove front heat insulator.
- Loosen nuts of center bearing mounting brackets (upper/lower).
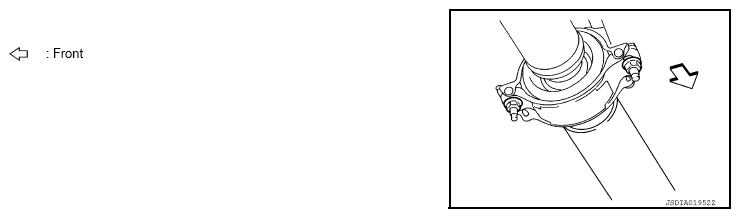 Courtesy of NISSAN NORTH AMERICA, INC.
CAUTION:
Tighten nuts temporarily.
- Remove propeller shaft assembly bolts and nuts. Refer to
"EXPLODED VIEW ".
- Remove center bearing mounting bracket nuts.
- Remove propeller shaft assembly.
CAUTION:
If constant velocity joint was bent during propeller shaft assembly removal, installation, or transportation, its boot may be damaged. Wrap boot with shop cloth or rubber to protect boot from damage.
- Remove clips in center bearing mounting bracket (upper/lower).
- Perform inspection after removal. Refer to
"INSPECTION ".