- Shift the transmission to the neutral position, and release the parking brake.
- Remove the center muffler and exhaust front tube with power tool. Refer to
"EXPLODED VIEW
".
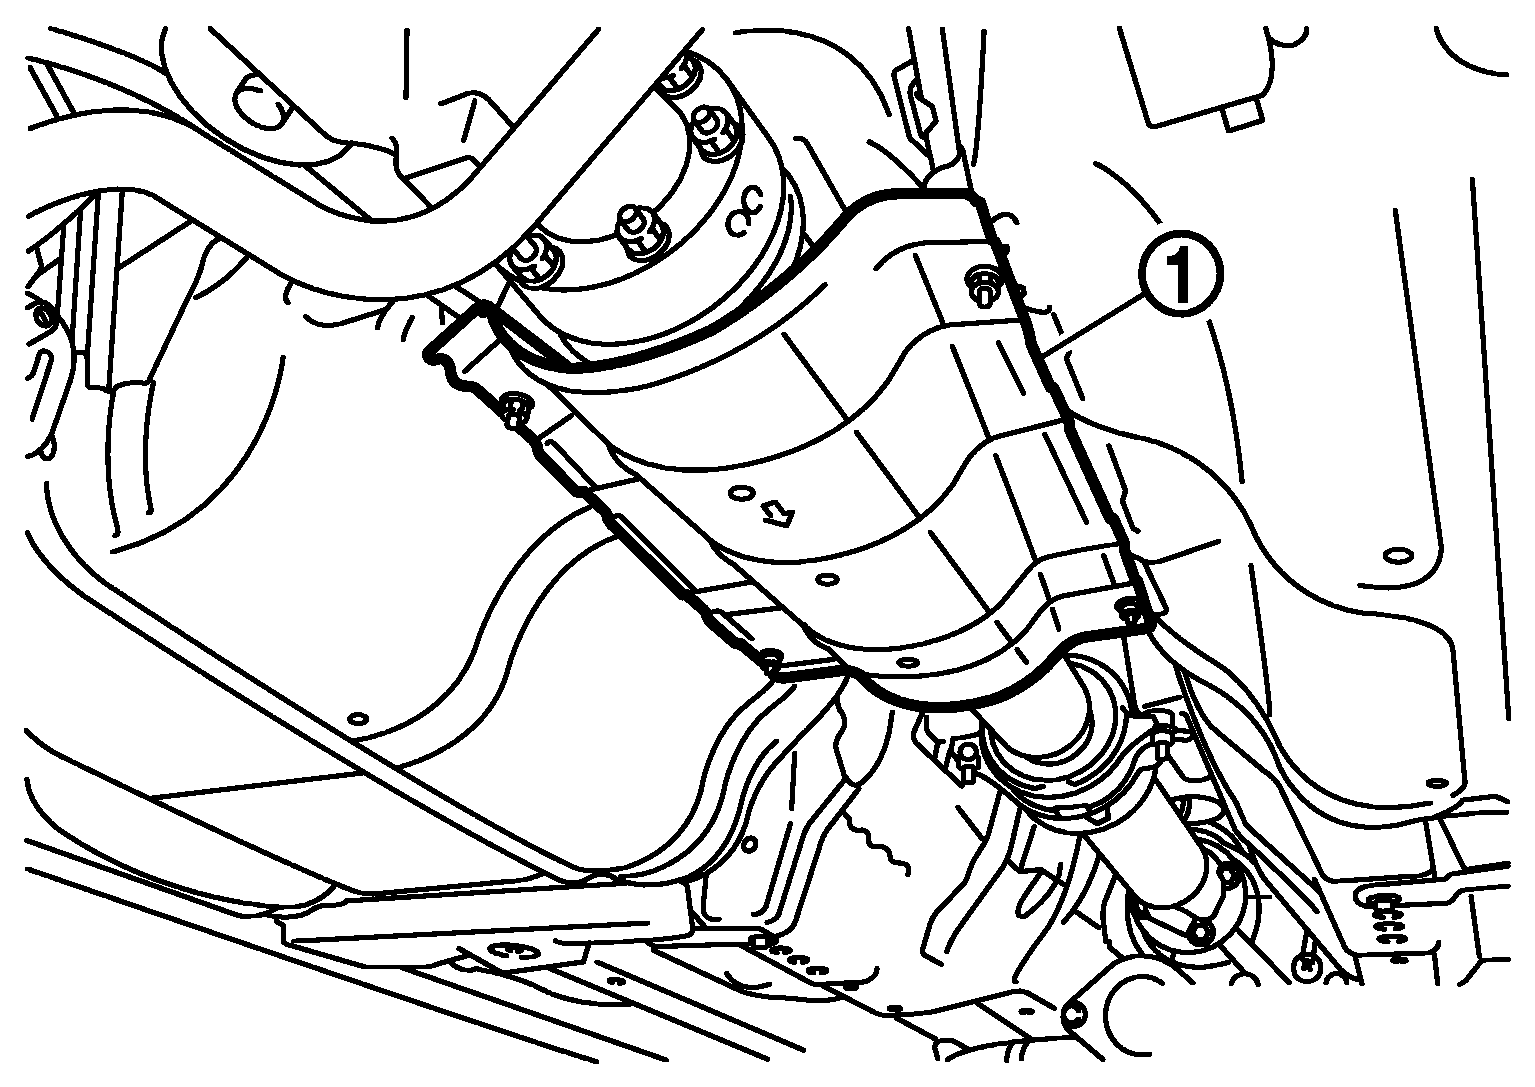
- Remove the heat plate (1).
 Courtesy of NISSAN NORTH AMERICA, INC.
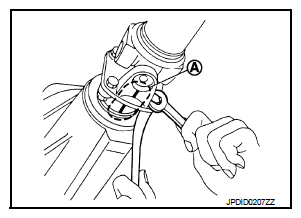
- Put matching marks (A) on propeller shaft flange yoke and transfer companion flange.
CAUTION:
For matching marks, use paint. Never damage propeller shaft flange yoke and transfer companion flange.
 Courtesy of NISSAN NORTH AMERICA, INC.
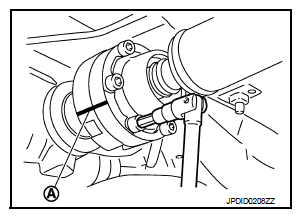
- Put matching marks (A) on propeller shaft rebro joint and final drive companion flange.
CAUTION:
For matching marks, use paint. Never damage propeller shaft rebro joint and final drive companion flange.
 Courtesy of NISSAN NORTH AMERICA, INC.
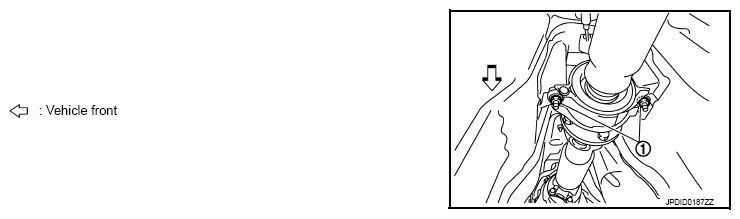
- Loosen mounting nuts (1) of center bearing mounting brackets (upper/lower).
CAUTION:
Tighten mounting nuts temporarily.
 Courtesy of NISSAN NORTH AMERICA, INC.
- Remove propeller shaft assembly fixing bolts and nuts.
- Remove center bearing mounting bracket fixing nuts.
- Remove propeller shaft assembly.
CAUTION:
- Never damage the rear oil seal of transmission.
- If constant velocity joint was bent during propeller shaft assembly removal, installation, or transportation, its boot may be damaged. Wrap boot interference area to metal part with shop cloth or equivalent to protect boot from breakage.
- Remove clip and center bearing mounting bracket (upper/lower).