Removal and Installation of Audio Unit
- Perform damper lock operation. Refer to "Locking CD Auto-changer Mechanism
".
- Remove cluster lid C. Refer to (P) CLUSTER LID C
in INSTRUMENT PANEL ASSEMBLY
.
- Unlock FPC (Flexible Print Circuit) connector lock on A/C and audio controller side.
- Pull off flexible printed circuit from connector.
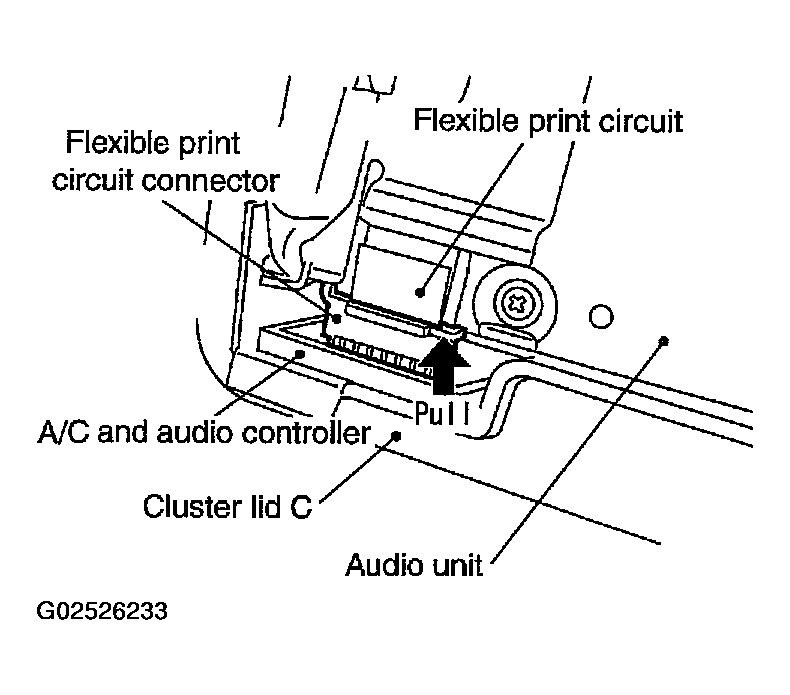 Courtesy of NISSAN MOTOR CO., U.S.A.
- Remove screws (top: 2).
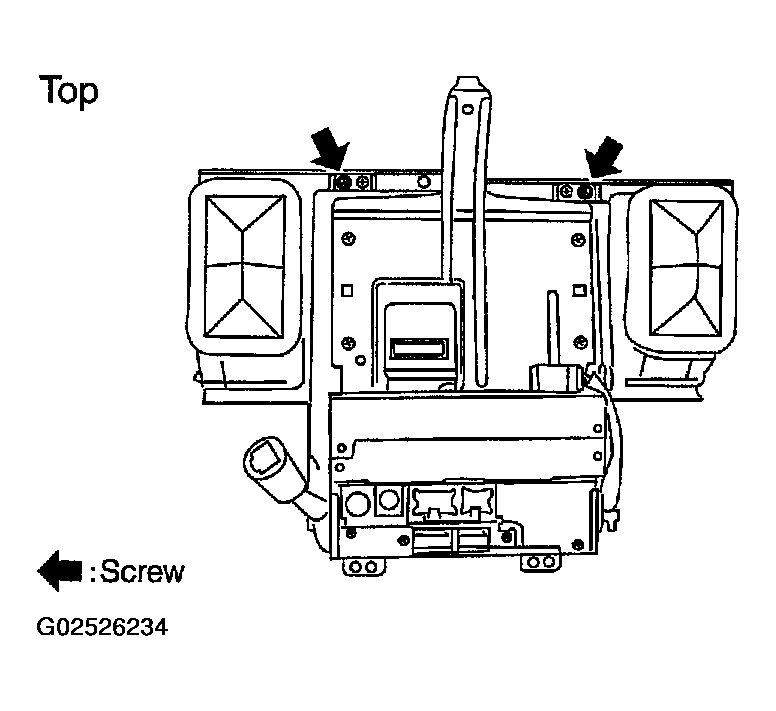 Courtesy of NISSAN MOTOR CO., U.S.A.
- Remove screws (bottom: 4). Remove audio unit and display unit assembly (with navigation system) from cluster lid C.
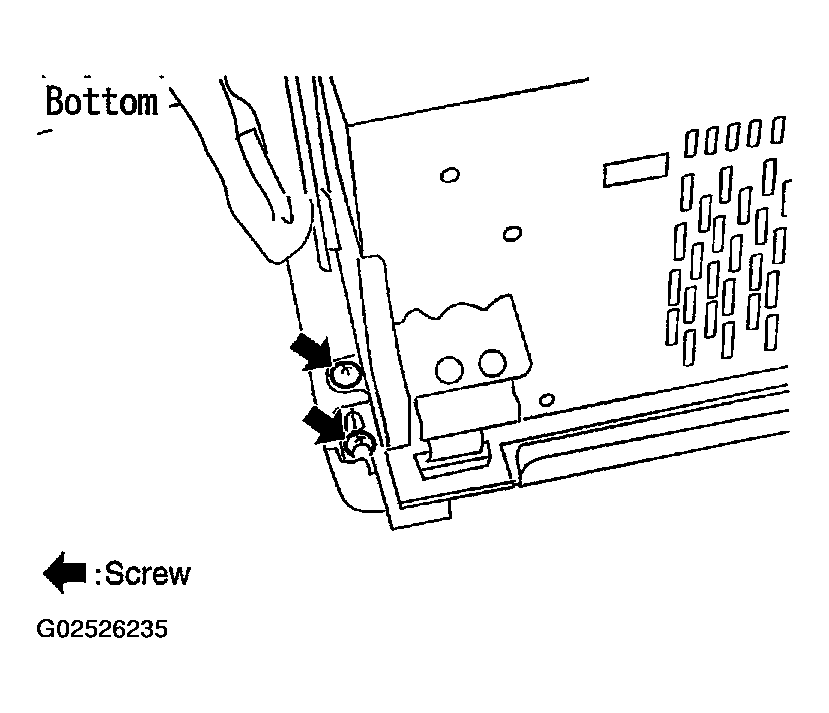 Courtesy of NISSAN MOTOR CO., U.S.A.
- Separate audio unit from display unit assembly (with navigation system).
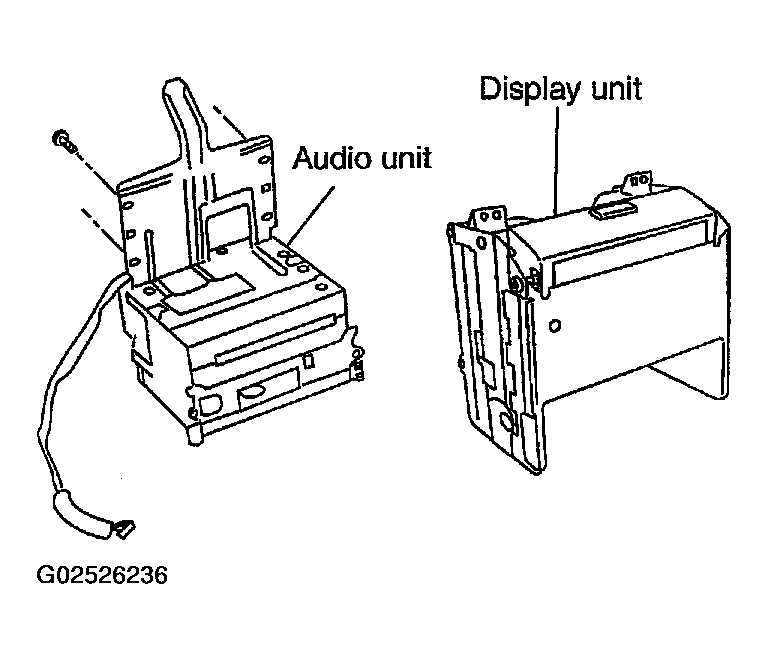 Courtesy of NISSAN MOTOR CO., U.S.A.
- Remove 8 screws, and then bracket.
CAUTION:
- When carrying audio unit body, do not touch internal mechanism access from cassette tape slot.
- Be careful not to allow foreign material to enter from cassette tape slot.
- Removal and Installation of A/C and Audio Controller.
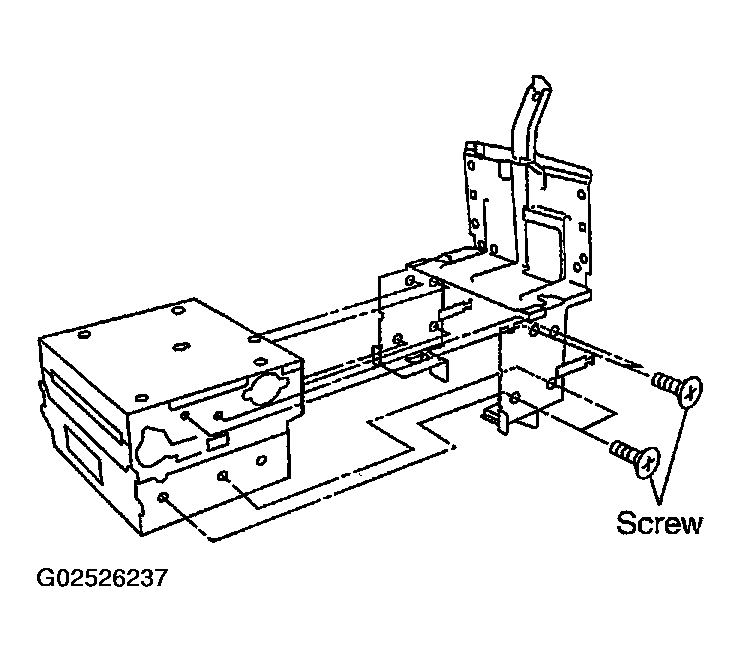 Courtesy of NISSAN MOTOR CO., U.S.A.