Removal Procedure
- Remove the instrument panel (I/P). Refer to Instrument Panel Assembly Replacement (Left Hand Drive) or Instrument Panel Assembly Replacement (Right Hand Drive) .
- Remove the steering column. Refer to Steering Column Replacement
.
 Courtesy of GENERAL MOTORS CORP.
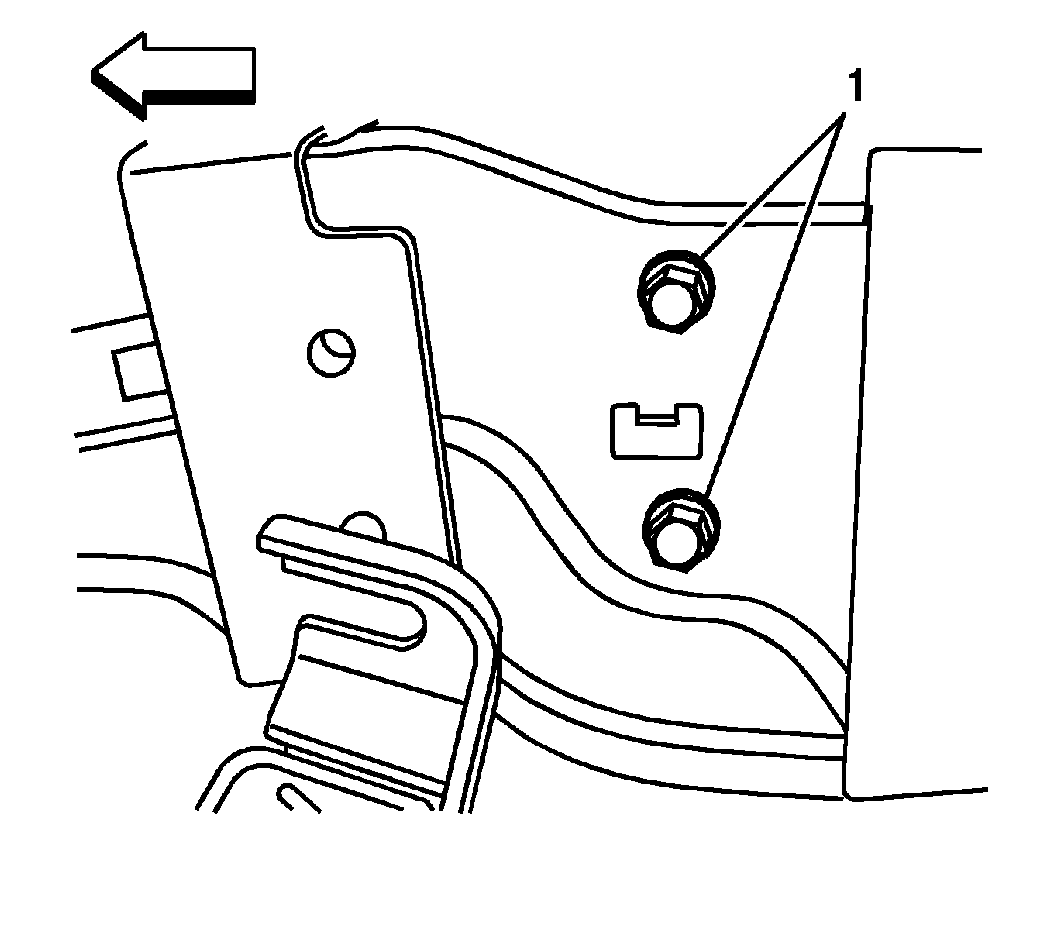
- Remove the 2 bolts (1) retaining the I/P carrier to the brake pedal/steering column support bracket.
 Courtesy of GENERAL MOTORS CORP.
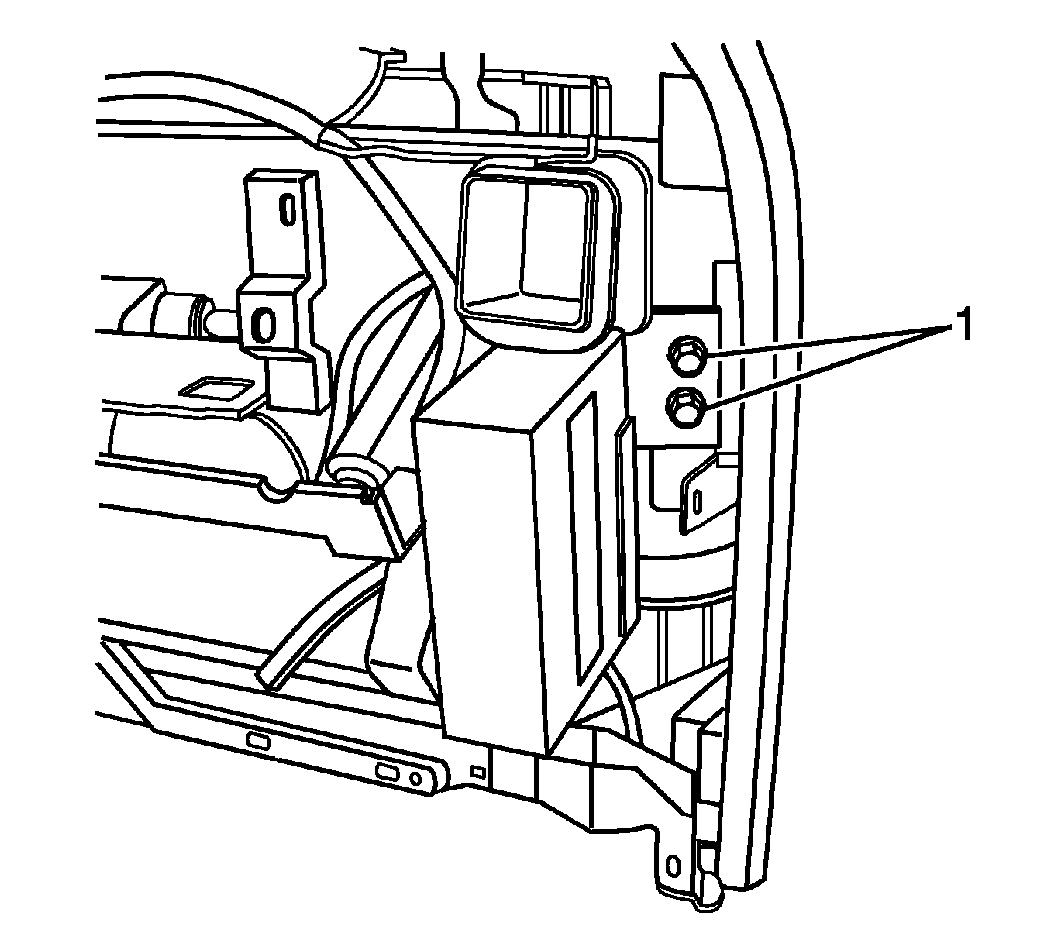
- Remove the right 2 carrier retaining bolts (1).
 Courtesy of GENERAL MOTORS CORP.
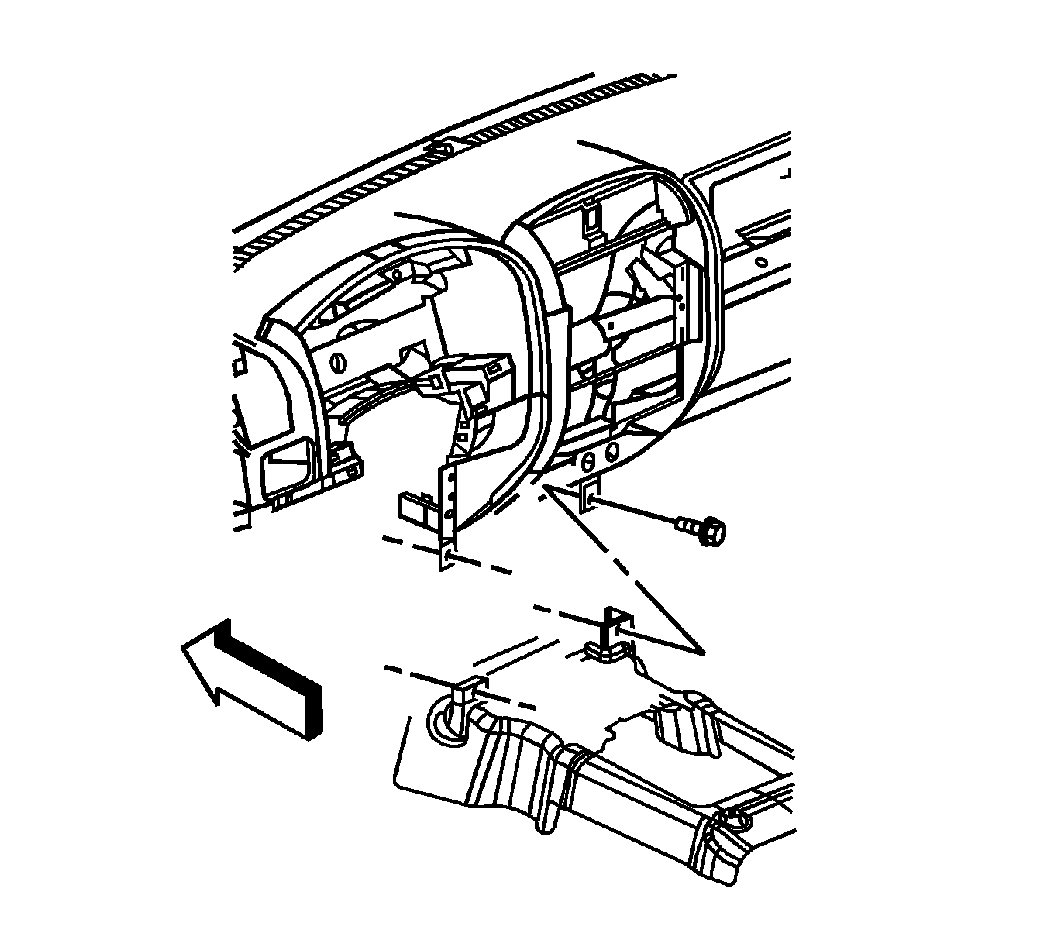
- Remove the 2 lower center carrier retaining bolts.
 Courtesy of GENERAL MOTORS CORP.
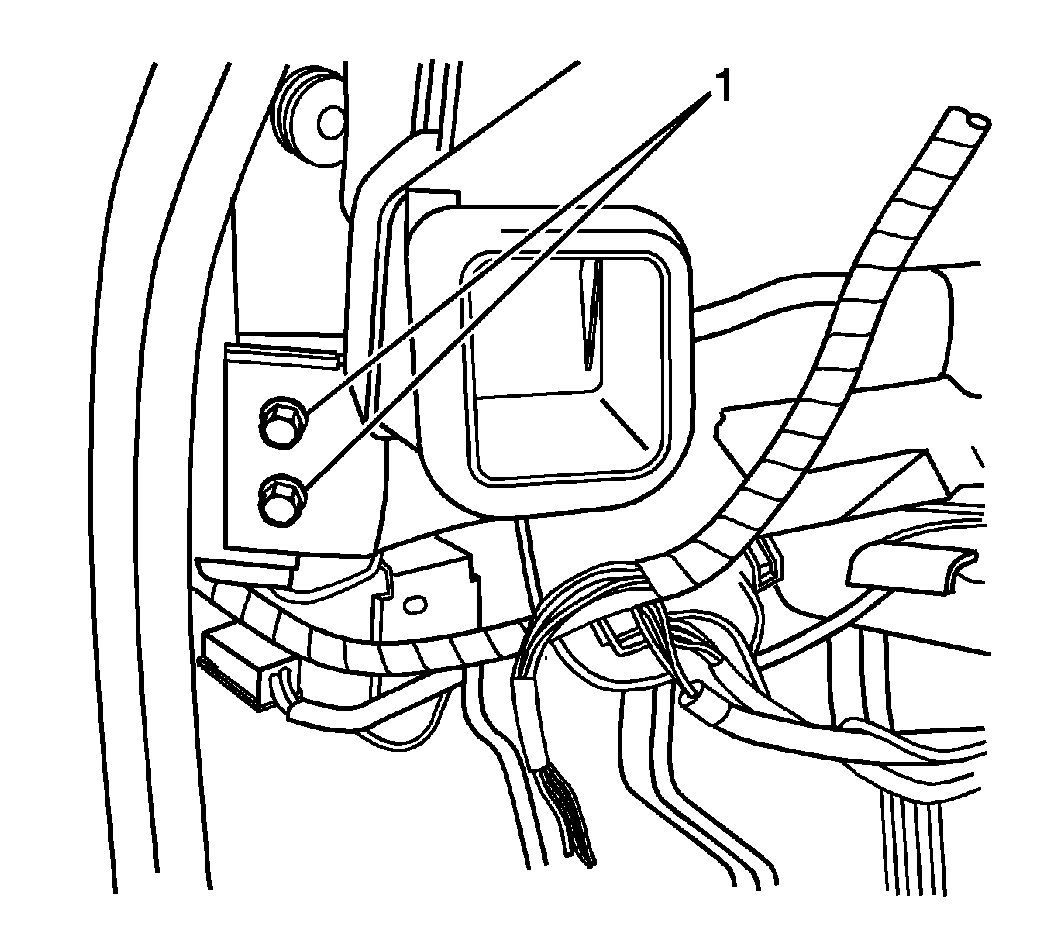
- Remove the left 2 I/P carrier retaining bolts (1).
 Courtesy of GENERAL MOTORS CORP.
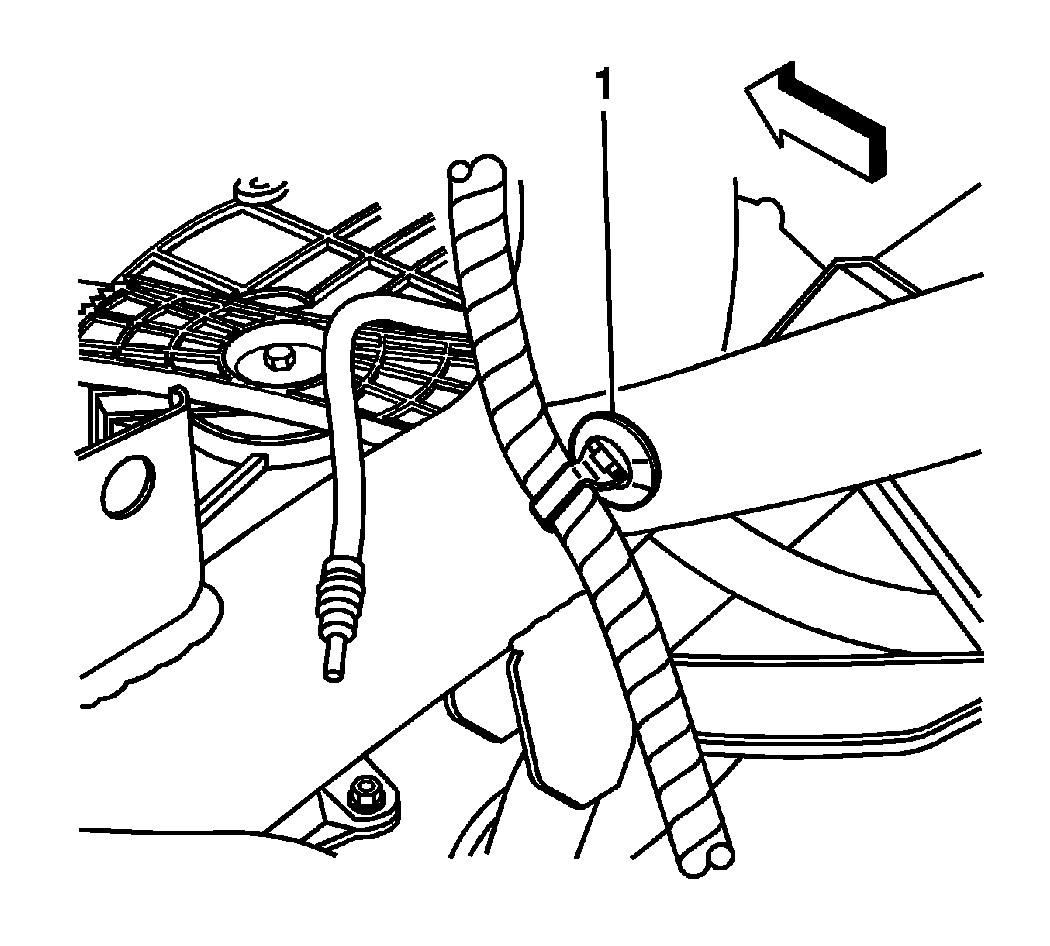
- Located near the radio, remove the I/P harness retainer (1) from the I/P carrier.
 Courtesy of GENERAL MOTORS CORP.
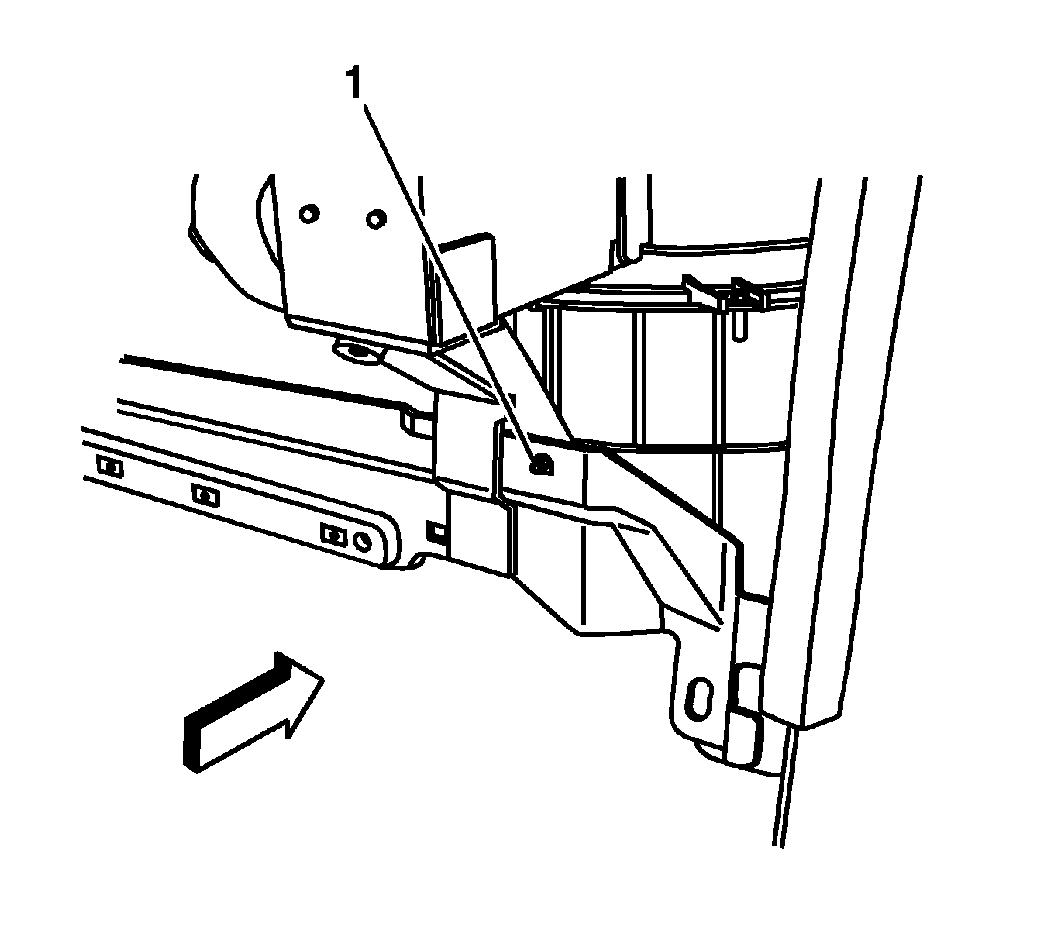
- Located near the HVAC blower motor, remove the I/P harness retainer (1) from the I/P carrier.
 Courtesy of GENERAL MOTORS CORP.
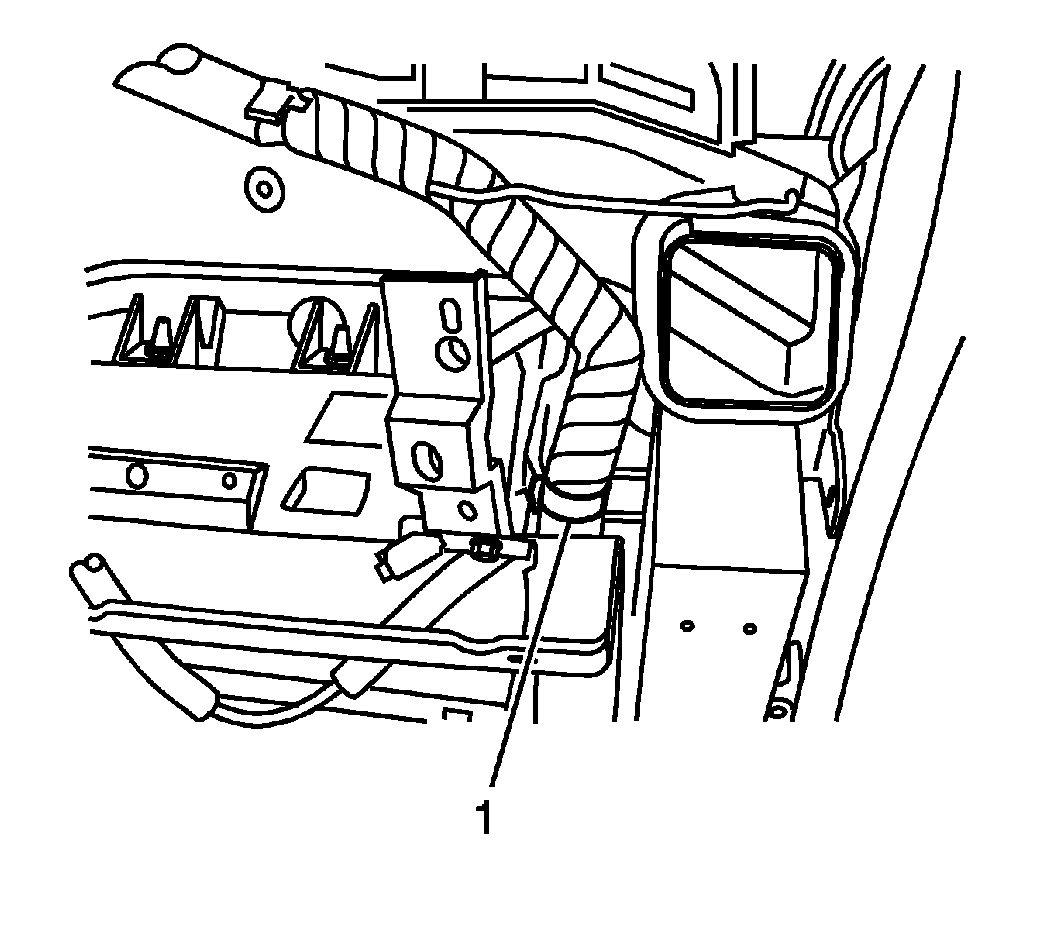
- Located near the OnStar® module, remove the I/P harness retainer (1) from the I/P carrier.
 Courtesy of GENERAL MOTORS CORP.
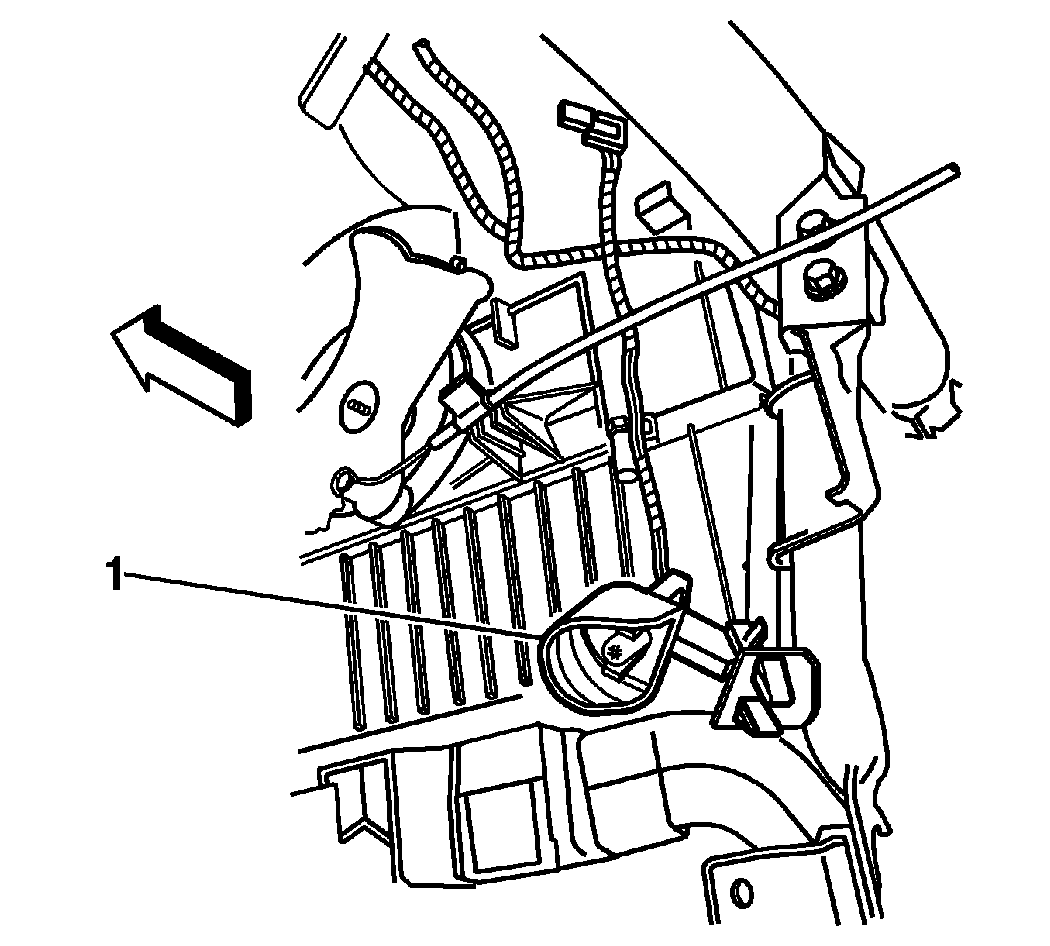
- Remove the left courtesy lamp (1) from the I/P carrier.
- Partially remove the I/P carrier from the bulkhead.
 Courtesy of GENERAL MOTORS CORP.
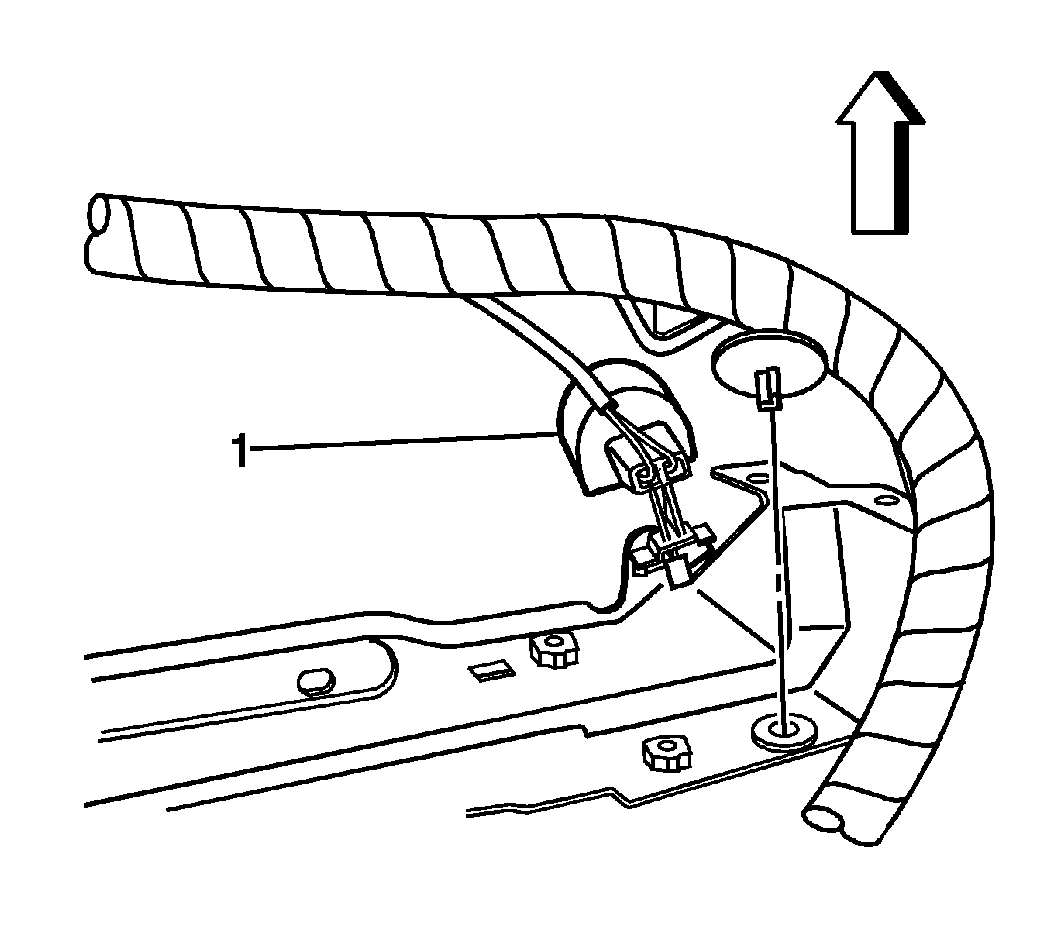
- Remove the right courtesy lamp from the I/P carrier.
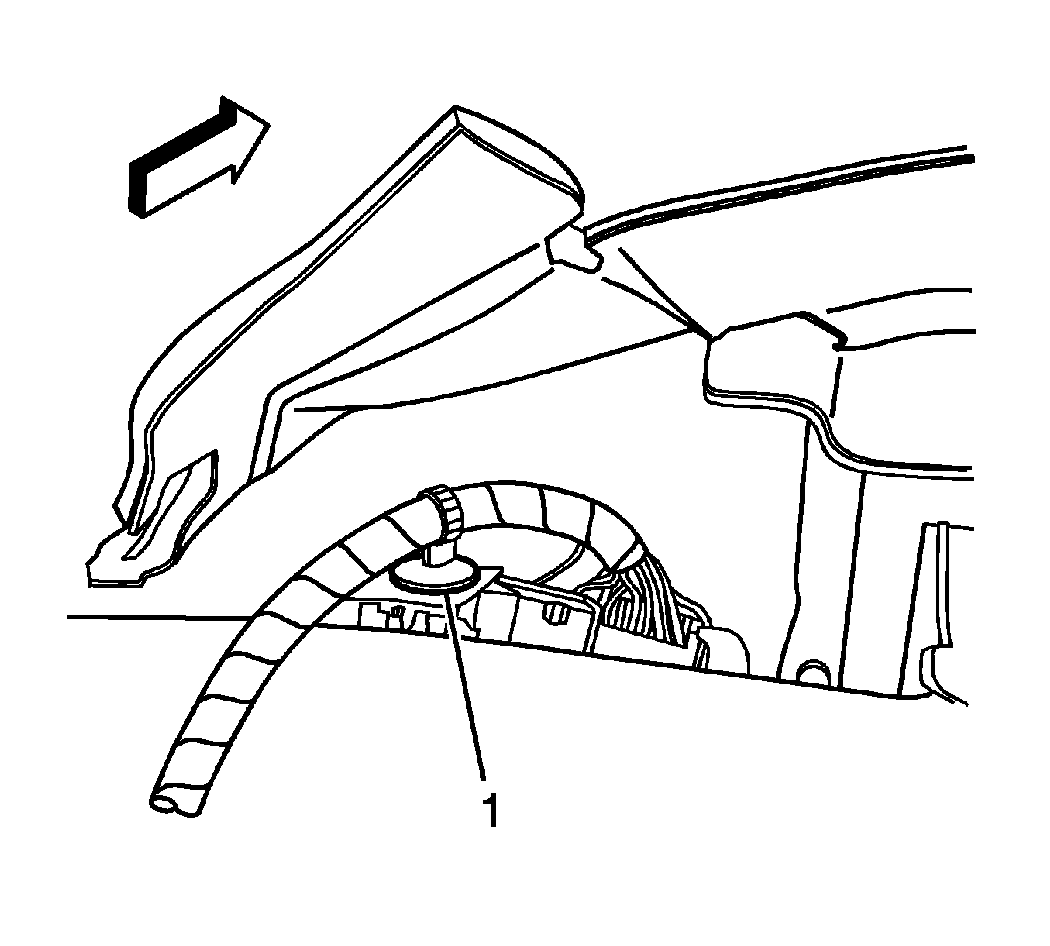 Courtesy of GENERAL MOTORS CORP.
- Located near the steering column electrical connector, remove the I/P harness retainer (1) from the I/P carrier.
- If equipped with OnStar®, disconnect the connectors from the module.
- If replacing the I/P carrier, remove the OnStar® module. Refer to Communication Interface Module Replacement
.
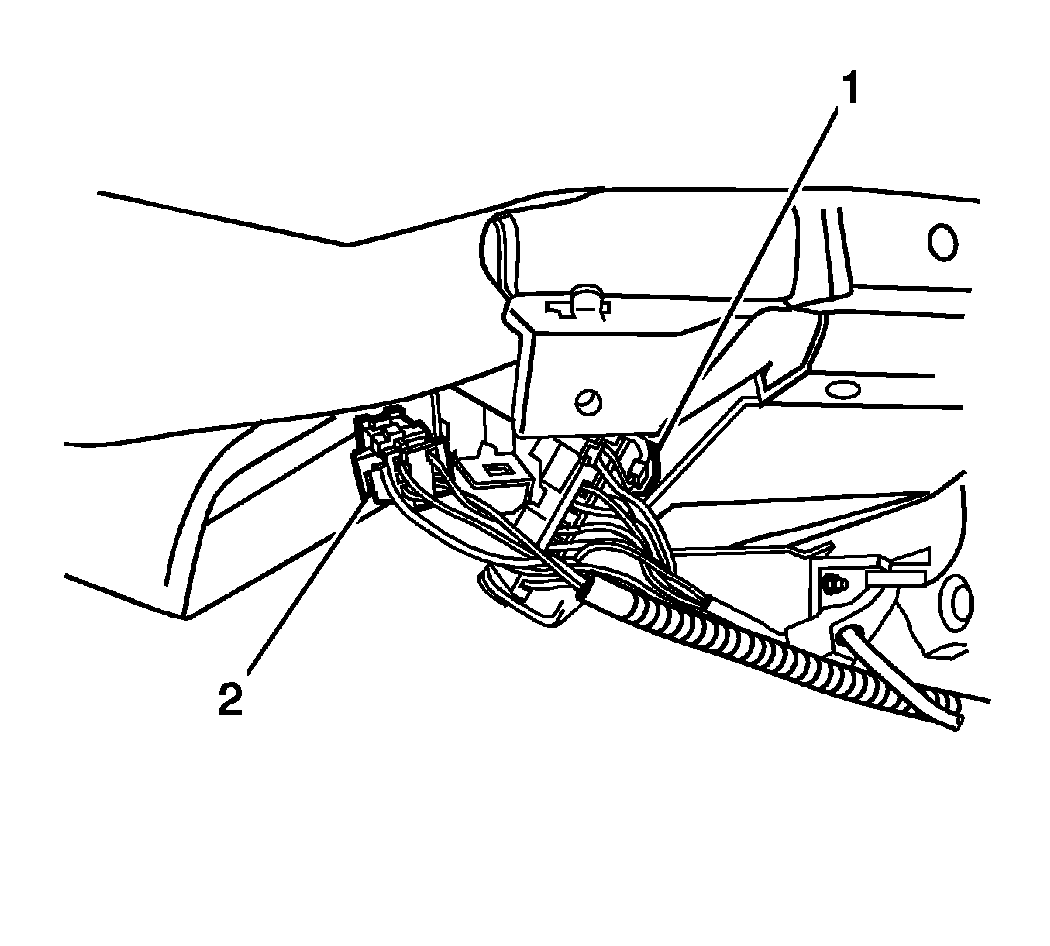 Courtesy of GENERAL MOTORS CORP.
- Remove the steering column (1) and SIR connector (2) from the I/P carrier.
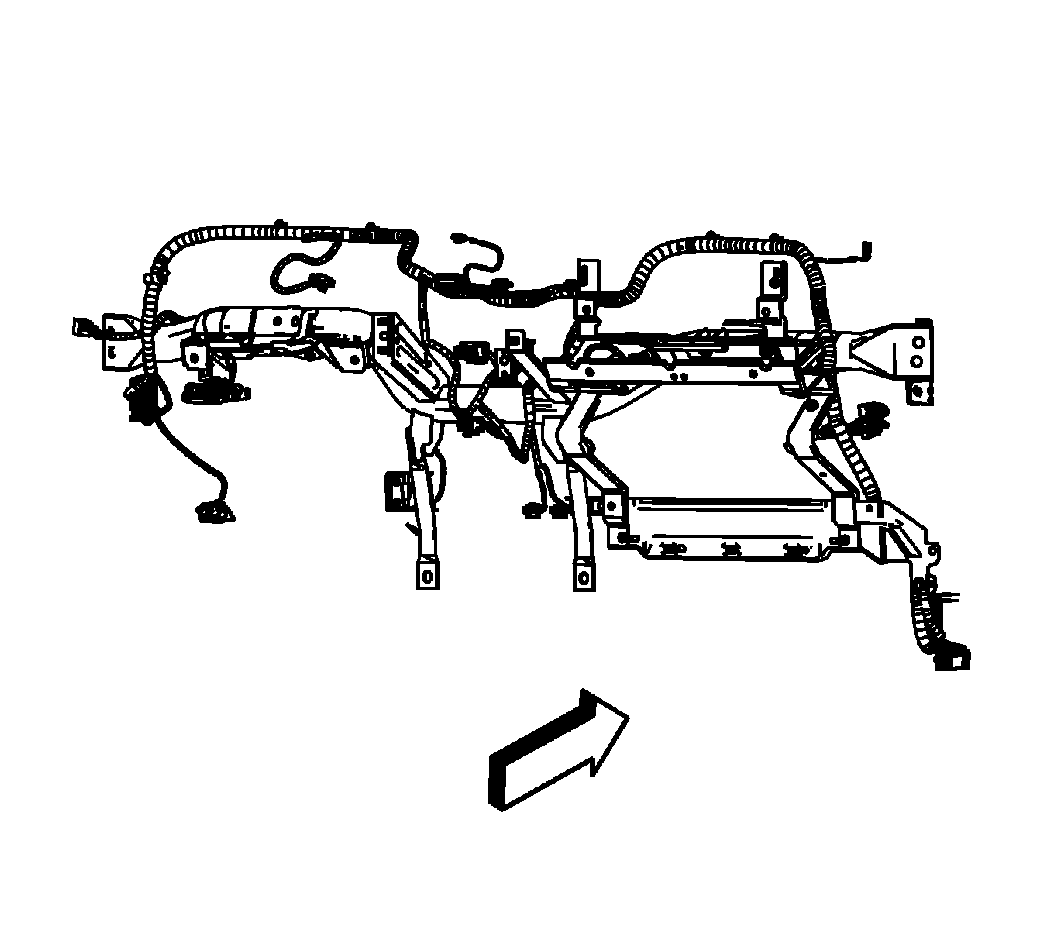 Courtesy of GENERAL MOTORS CORP.
- Position the I/P wire harness in order to remove the I/P carrier.
- Position the HVAC control assembly cables in order to remove the I/P carrier.
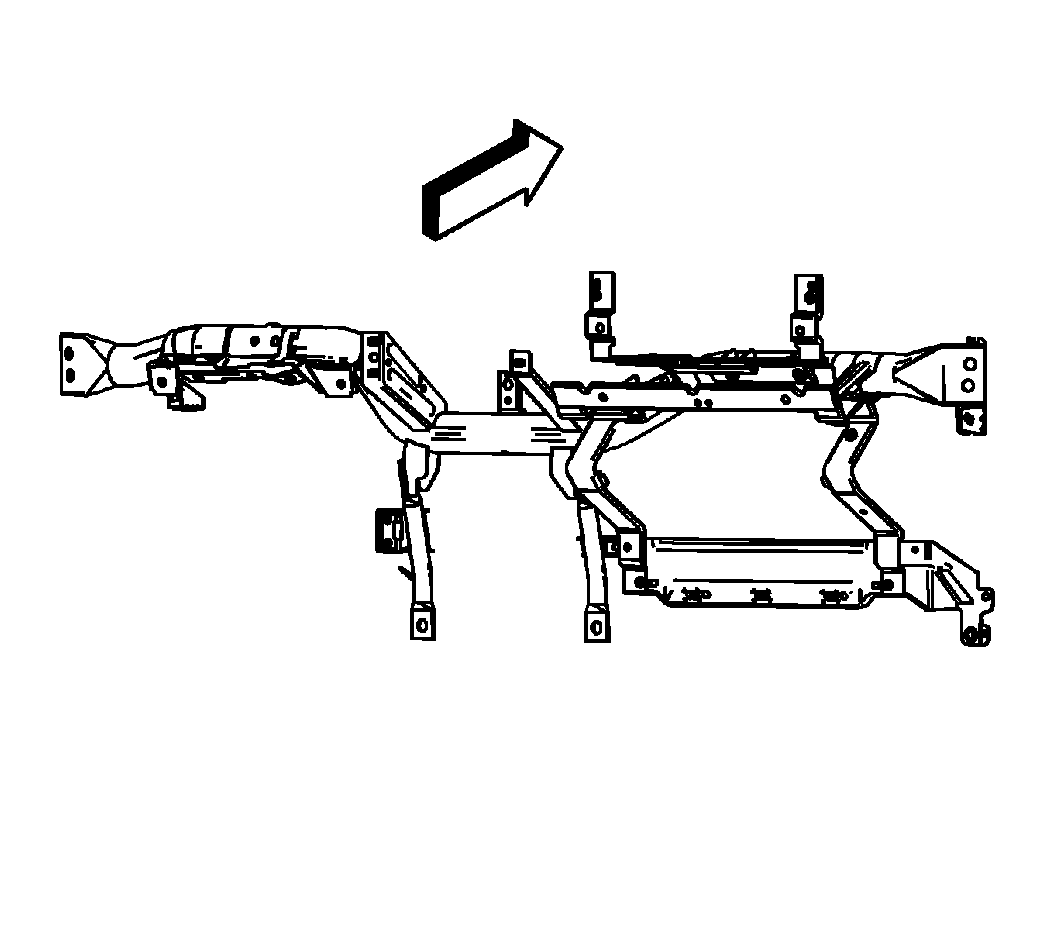 Courtesy of GENERAL MOTORS CORP.
- Remove the I/P carrier from the vehicle.