Body Side Lower Front Molding Replacement (Chevrolet Tahoe Two-mode Hybrid)
WARNING: This page does not describe the selected car, but rather 8 other vehicles, including the 2012 GMC Yukon XL, 2012 GMC Yukon, 2012 Chevrolet Tahoe, 2012 Chevrolet Suburban, and 2012 Chevrolet Avalanche. However, it is still accessible from the selected car via links, so may be relevant.
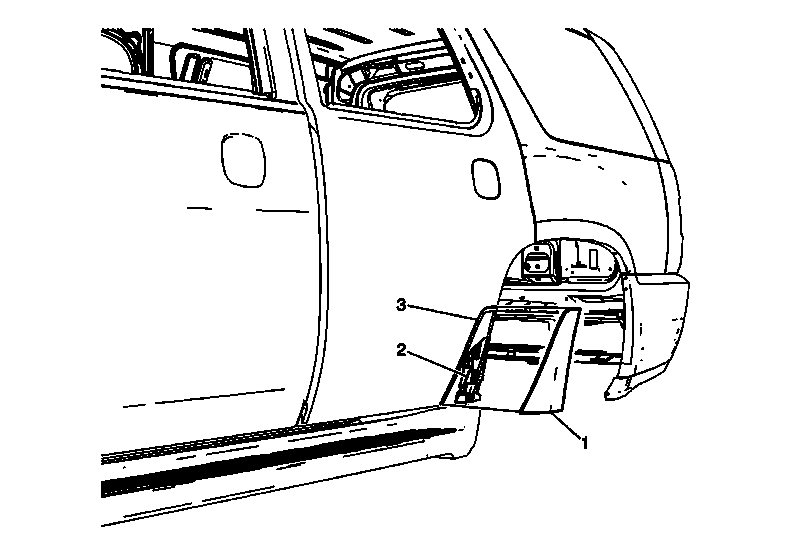 Courtesy of GENERAL MOTORS COMPANY
 Body Side Lower Front Molding Replacement (Chevrolet Tahoe Two-mode Hybrid)
| Callout |
Component Name |
| 1 |
Bodyside Lower Front Molding Assembly Procedure
- When removing protective liners from the adhesive tape, be careful not to touch tape with hands and do not allow the tape to come in contact with dirt or any foreign matter prior to adhesion.
- Use a J-25070
heat gun or equivalent to remove the bodyside lower front molding.
- Clean all adhesive from the bodyside lower front molding using a 50/50 mixture of isopropyl alcohol and clean water.
- Wipe surface dry with a clean lint-free towel prior to installing new side bodyside lower front molding.
- Close the door prior to installing the new bodyside lower front molding.
- Align the molding the door bodyside bracket, secure the two clips on the backside of the molding to the bracket.
- Rotate the molding forward and snap fit the molding to the bracket.
- Peel adhesive tape protective liner from molding and secure the bodyside lower front molding to the door.
|
| 2 |
Bodyside Lower Front Molding Bracket Assembly
TIP:
Ensure the bracket retainers are secure to the door panel. |
| 3 |
Adhesive Tape
TIP:
Peel the tape liner and wet out the forward edge of the molding to the door panel. |