Front Side Door Roof Drip Weatherstrip Replacement (Regular Cab)
WARNING: This page does not describe the selected car, but rather 8 other vehicles, including the 2011 GMC Yukon XL, 2011 GMC Yukon, 2011 Chevrolet Tahoe, 2011 Chevrolet Suburban, and 2011 Chevrolet Avalanche. However, it is still accessible from the selected car via links, so may be relevant.
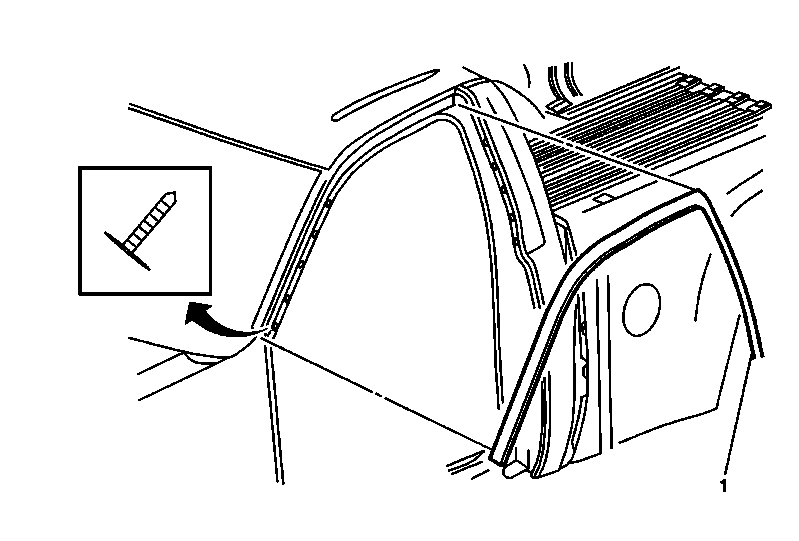 Courtesy of GENERAL MOTORS CORP.
 Front Side Door Roof Drip Weatherstrip Replacement (Regular Cab)
| Callout |
Component Name |
| 1 |
Front Side Door Roof Drip Weatherstrip Procedure
- Open the door to the full open position.
- Remove all of the old roof drip weatherstrip tape and retainers from around the door opening.
- Clean the area where the roof drip weatherstrip is going to be applied, using a 50-50 mixture of isopropyl alcohol and water.
- Wipe the surface using a clean cloth while the solvent is still wet. Allow the surface to fully dry.
- Do not touch the adhesive backing surface, remove the protective adhesive backing material from the roof drip weatherstrip.
- Start the roof drip weatherstrip in the rear upper corner of the door opening.
- Work the roof drip weatherstrip around the edge of the door opening installing the roof drip weatherstrip and retainers.
NOTE:
Use the appropriate tool to remove the roof drip weatherstrip retainers.
|