Front Side Door Molding Replacement (Escalade)
WARNING: This page does not describe the selected car, but rather 8 other vehicles, including the 2011 GMC Yukon XL, 2011 GMC Yukon, 2011 Chevrolet Tahoe, 2011 Chevrolet Suburban, and 2011 Chevrolet Avalanche. However, it is still accessible from the selected car via links, so may be relevant.
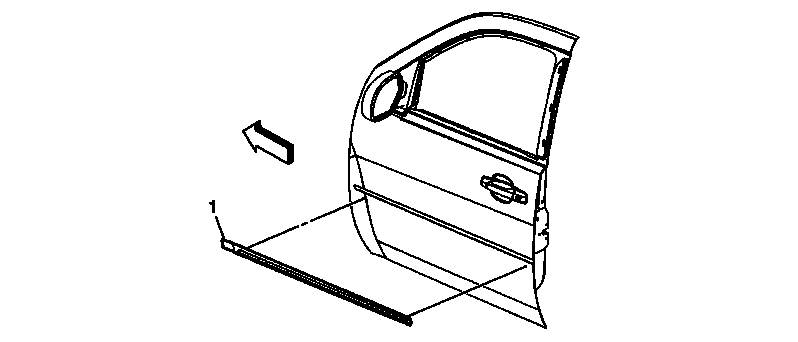 Courtesy of GENERAL MOTORS CORP.
 Front Side Door Molding Replacement (Escalade)
| Callout |
Component Name |
| 1 |
Front Side Door Molding
- The part and surface should be 21°C (70°F) prior to installation. The vehicle should remain 21°C (70°F) for one hour after assembly to allow adhesive to develop sufficient bond strength.
- Using a J 25070
Heat Gun in a circular motion, warm the front side door molding prior to removal. Carefully clean the body panel thoroughly prior to bonding the new front body side molding to the door.
- Ensure the front door is in the closed position prior to installing the new front side door molding.
- Remove the protective liner from the backside of the molding adhesive tape.
- Position the pin on the backside of the molding to the round hole at the rear edge of the front door first, then to the oval hole at the front edge of the door.
- Ensure full adhesion of the molding to the door using the palm of the hand with a clean dry towel working from the rear edge of the door to the front, down the entire molding.
|