Removal Procedure
 Courtesy of GENERAL MOTORS CORP.
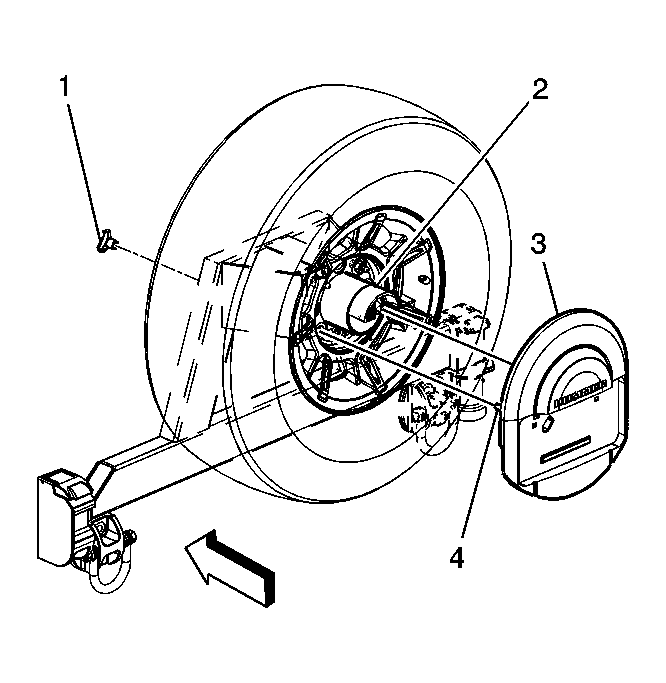
- Remove the license plate pocket.
- Remove the spare tire from the carrier assembly (2).
 Courtesy of GENERAL MOTORS CORP.
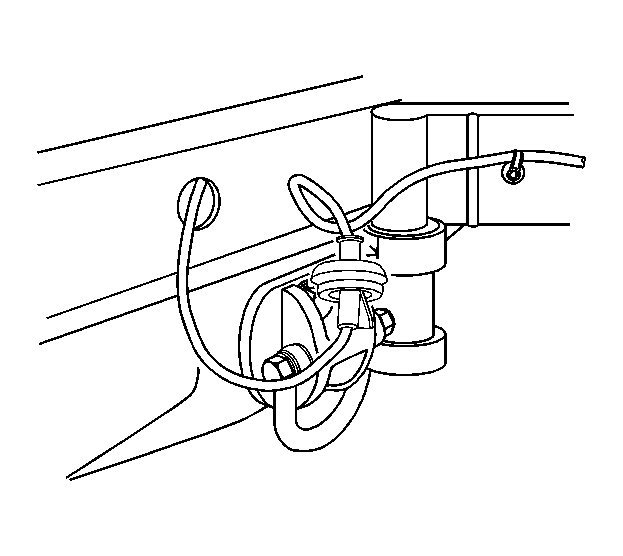
- Disconnect the rear license plate harness connector behind the rear bumper.
- Release the harness grommet from the rear bumper cover.
- Open and remove the spare tire carrier from the spare tire carrier mounts.
 Courtesy of GENERAL MOTORS CORP.
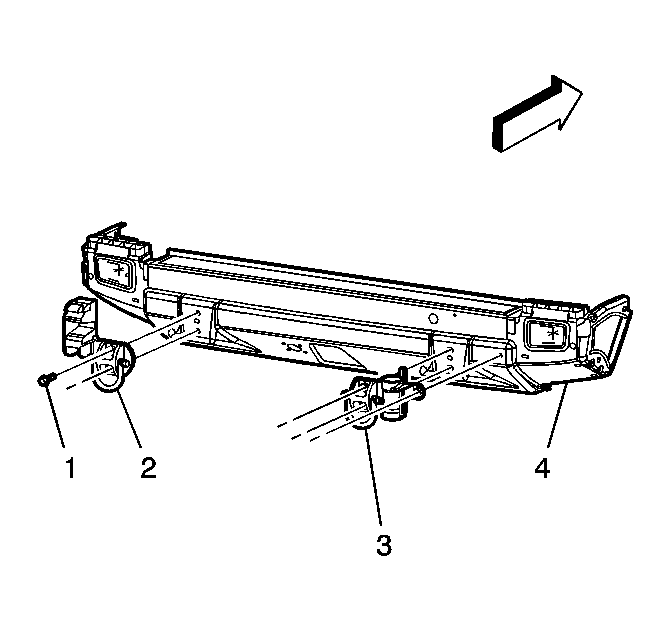
- Remove the spare tire carrier mounts (2, 3) from the rear bumper bar (4).
- Remove the rear bumper. Refer to Rear Bumper Replacement (SUT) or Rear Bumper Replacement (SUV) .
 Courtesy of GENERAL MOTORS CORP.
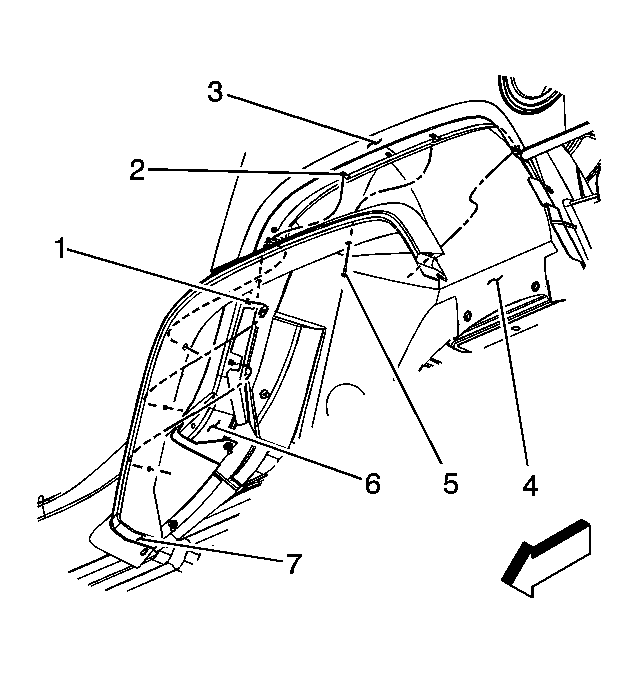
- Remove the inner wheelhouse panel (7) lower 2 rear bolts in order to access the bumper end cap bolts.
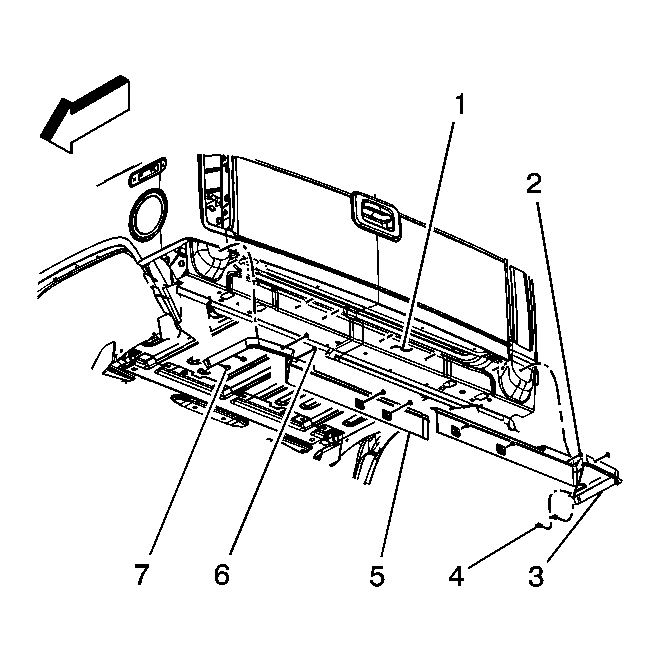 Courtesy of GENERAL MOTORS CORP.
- Remove the right side filler panel push-in retainers (2) first.
- Remove the right side filler panel screws.
- Remove the right side filler panel nuts (4) from the outer edge.
- Remove the right filler panel from the vehicle.
- Remove the left side filler panel push-in retainers (6).
- Remove the left side filler panel screws.
- Remove the left outer filler panel nuts (7).
- Remove the left side filler panel (5) from the outer body panel (1).