How To Troubleshoot The Audio System
How to Troubleshoot the Audio System
How to Check for DTCs with the HDS
NOTE: Check the vehicle battery condition first Testing and Inspection.
1. Make sure the ignition switch is in LOCK (0).
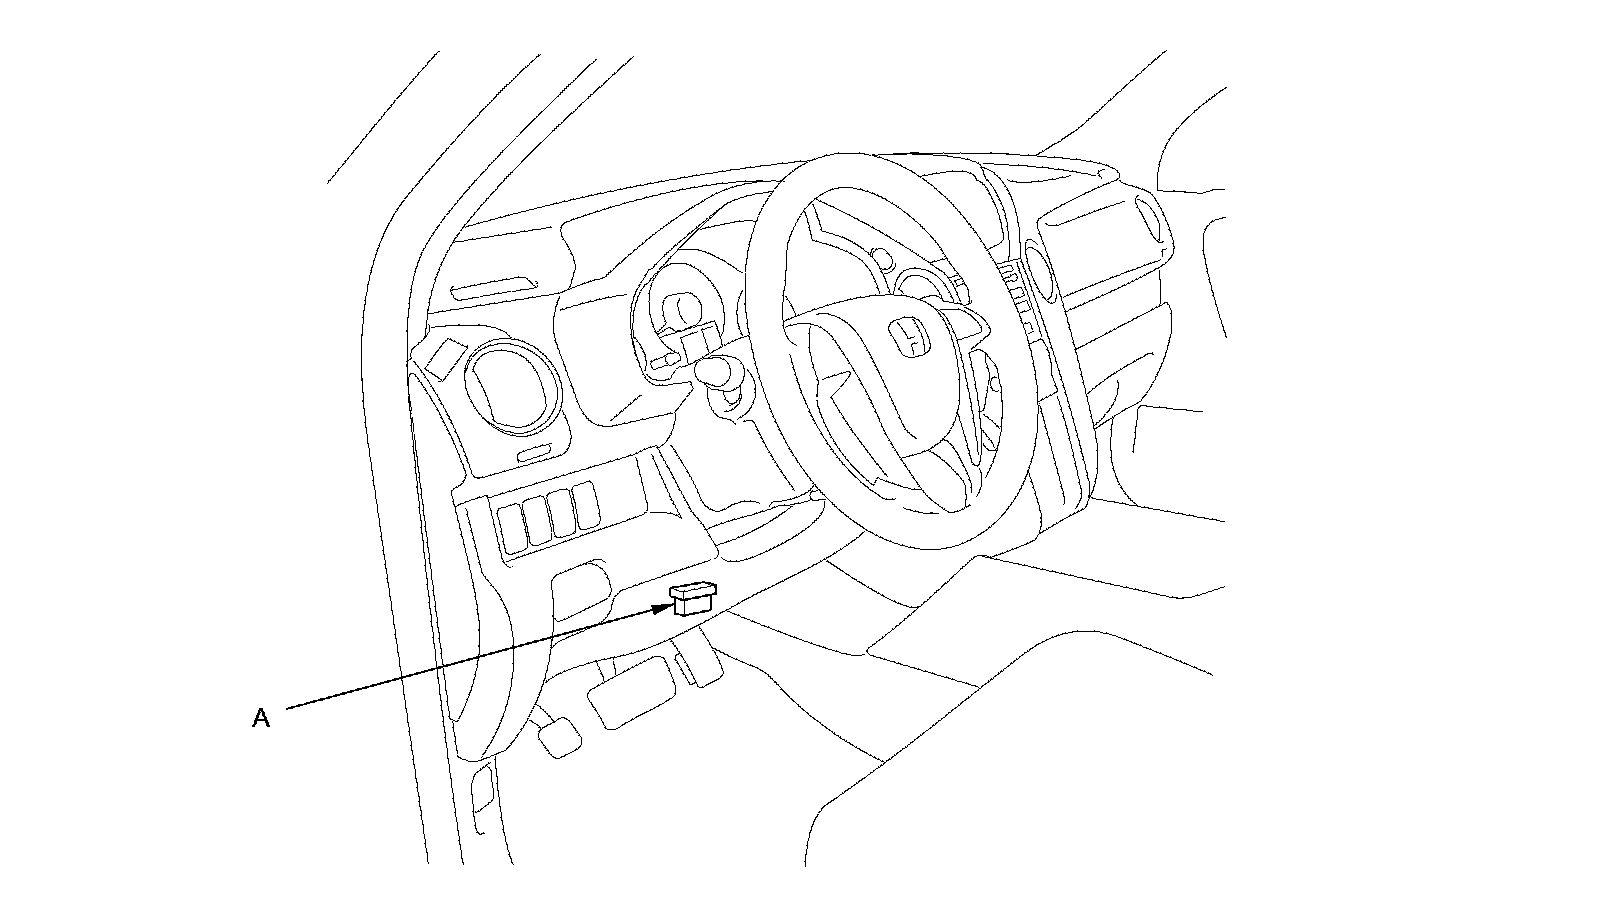
2. Connect the HDS to the data link connector (DLC) (A) located under the driver's side of the dashboard.
3. Turn the ignition switch to ON (II).
4. Make sure the HDS communicates with the PCM and other vehicle systems. If it doesn't, troubleshoot the DLC circuit Testing and Inspection.
5. Check for diagnostic trouble codes (DTC) and note them. Also check the freeze data and/or on-board snapshot data, and download any data found.
6. Refer to the indicated DTC's troubleshooting, and begin the appropriate troubleshooting procedure.
NOTE:
- After troubleshooting, clear the DTCs with the HDS.
- For specific operations, refer to the user's manual that came with the HDS.
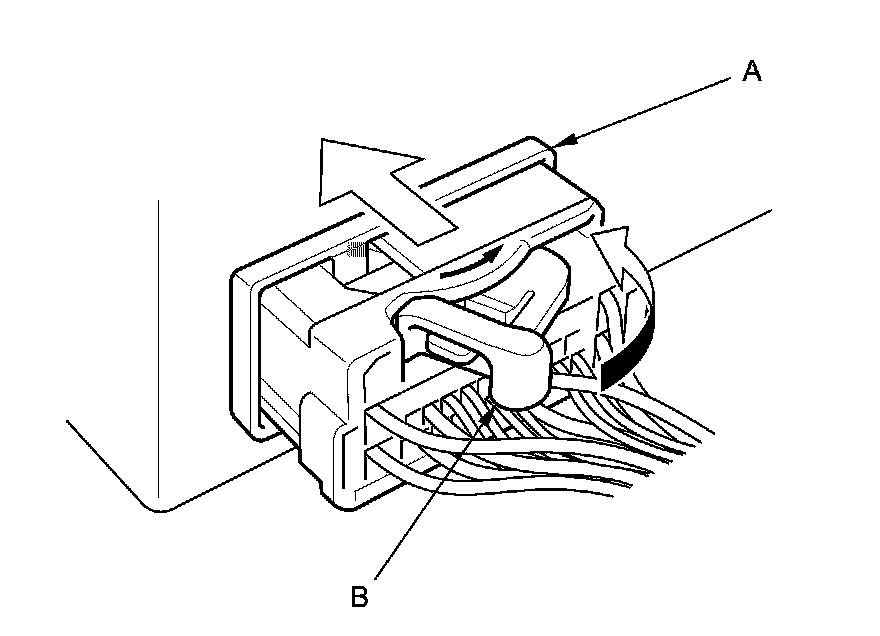
Lever-Locked Connector
Disconnecting
To disconnect the connector, pull the lever (A) while pushing the lock tab (B) down, then pull the connector (C).
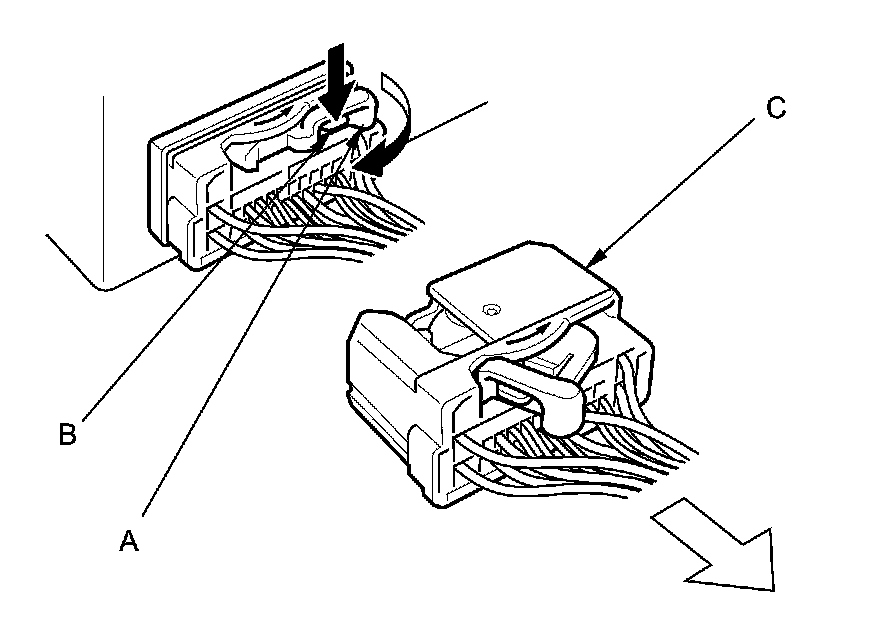
Connecting
To connect the connector, push the connector into the connector sleeve (A). As the connector is pressed in, the lever (B) moves to the locked position.