Safing Sensor: Service and Repair
Rear Safing Sensor Replacement
Removal
1. Do the battery terminal disconnection procedure, Procedures then wait at least 3 minutes before starting work.
2. Remove the center console. Center Console Removal/Installation (SC Models)
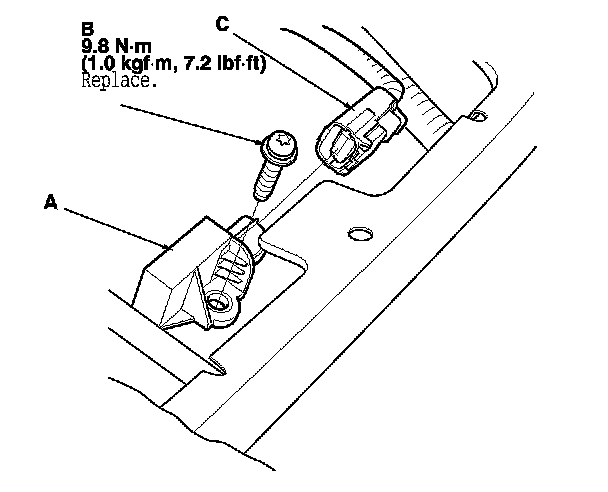
3. Disconnect the floor wire harness 2P connector (A) from the rear safing sensor (B).
4. Remove the TORX bolt (C) using a TORX T30 bit, then remove the rear safing sensor.
Installation
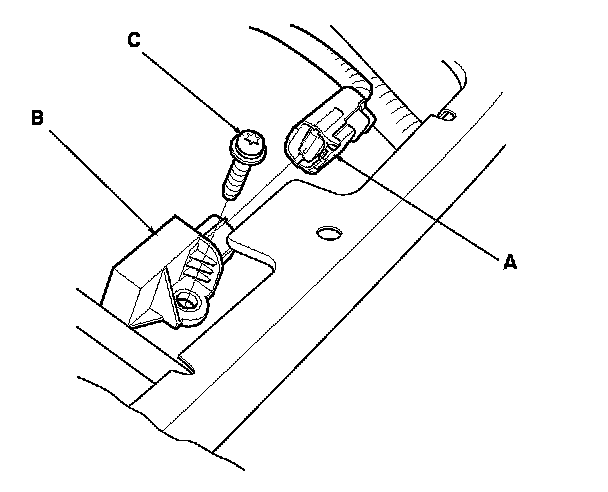
1. Install the rear safing sensor (A) with a new TORX bolt (B), then connect the floor wire harness 2P connector (C) to the rear safing sensor.
2. Do the battery terminal reconnection procedure. Procedures
3. Clear any DTCs. Initial Inspection and Diagnostic Overview
4. Install all removed parts.
5. After installing the rear safing sensor, confirm proper system operation: Turn the ignition switch to ON (II); the SRS indicator should come on for about 6 seconds and then go off.