Engine Block Assemble
 Courtesy of GENERAL MOTORS COMPANY
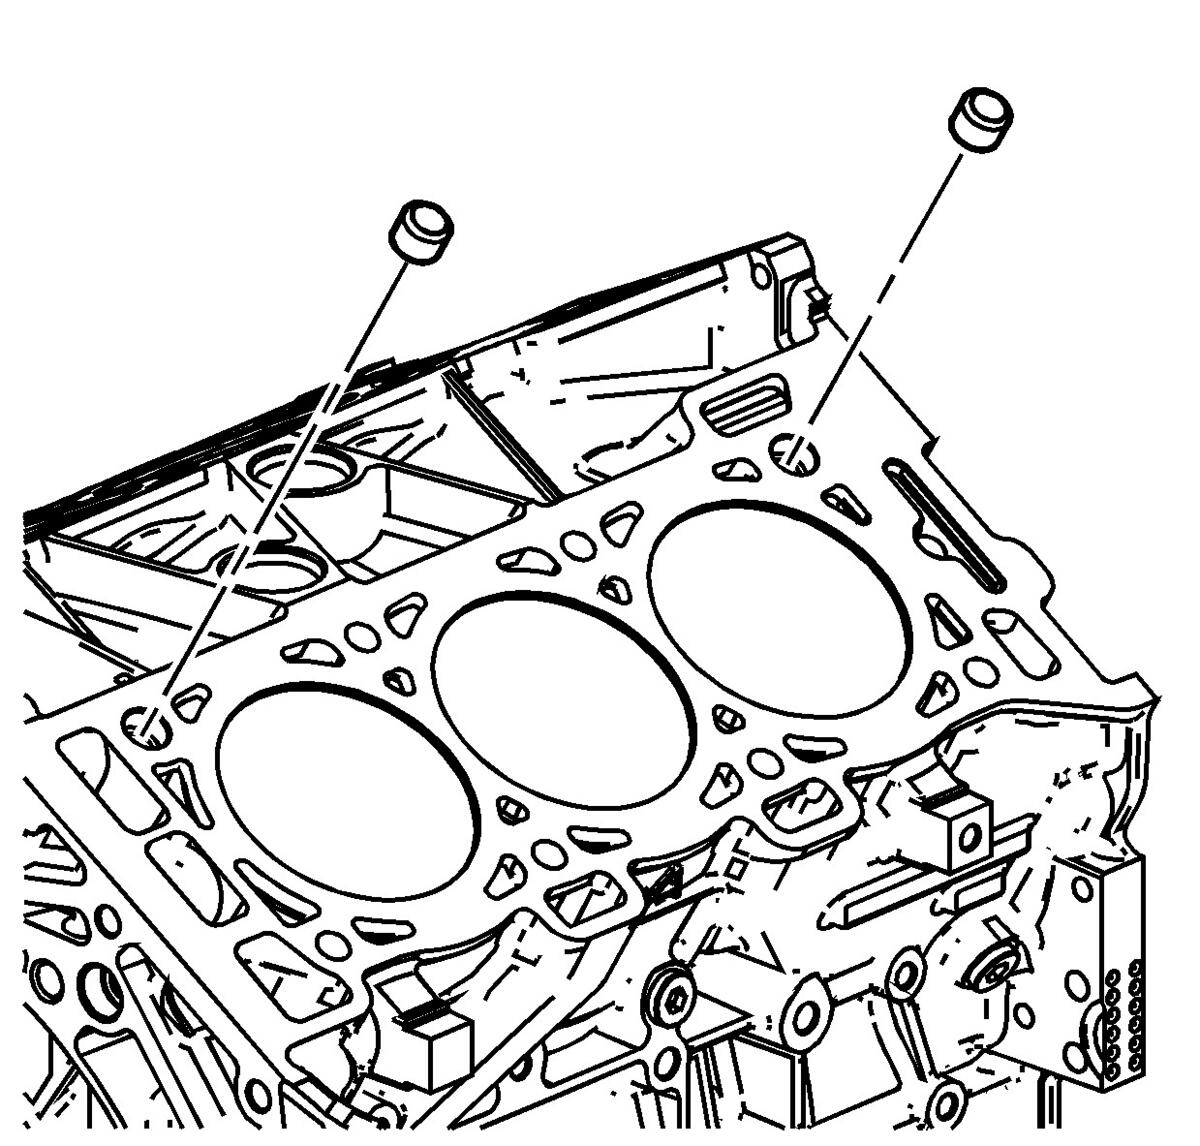
- Install the cylinder block-to-cylinder head alignment dowels.
 Courtesy of GENERAL MOTORS COMPANY
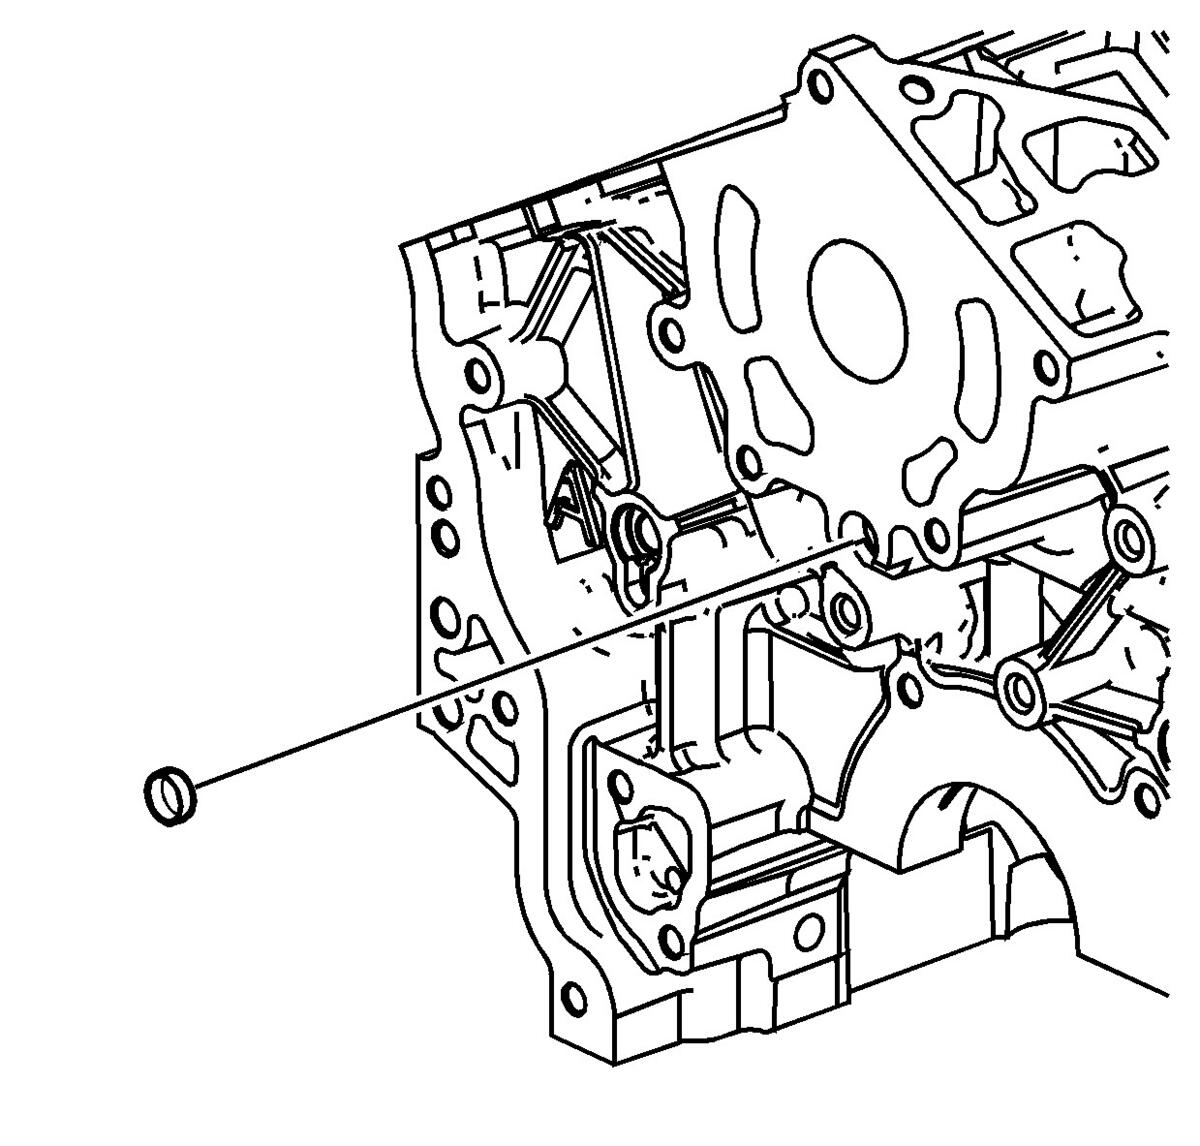
- Install the NEW front oil gallery expansion plug.
- Ensure the NEW front oil gallery expansion plug is installed to the proper depth.
 Courtesy of GENERAL MOTORS COMPANY
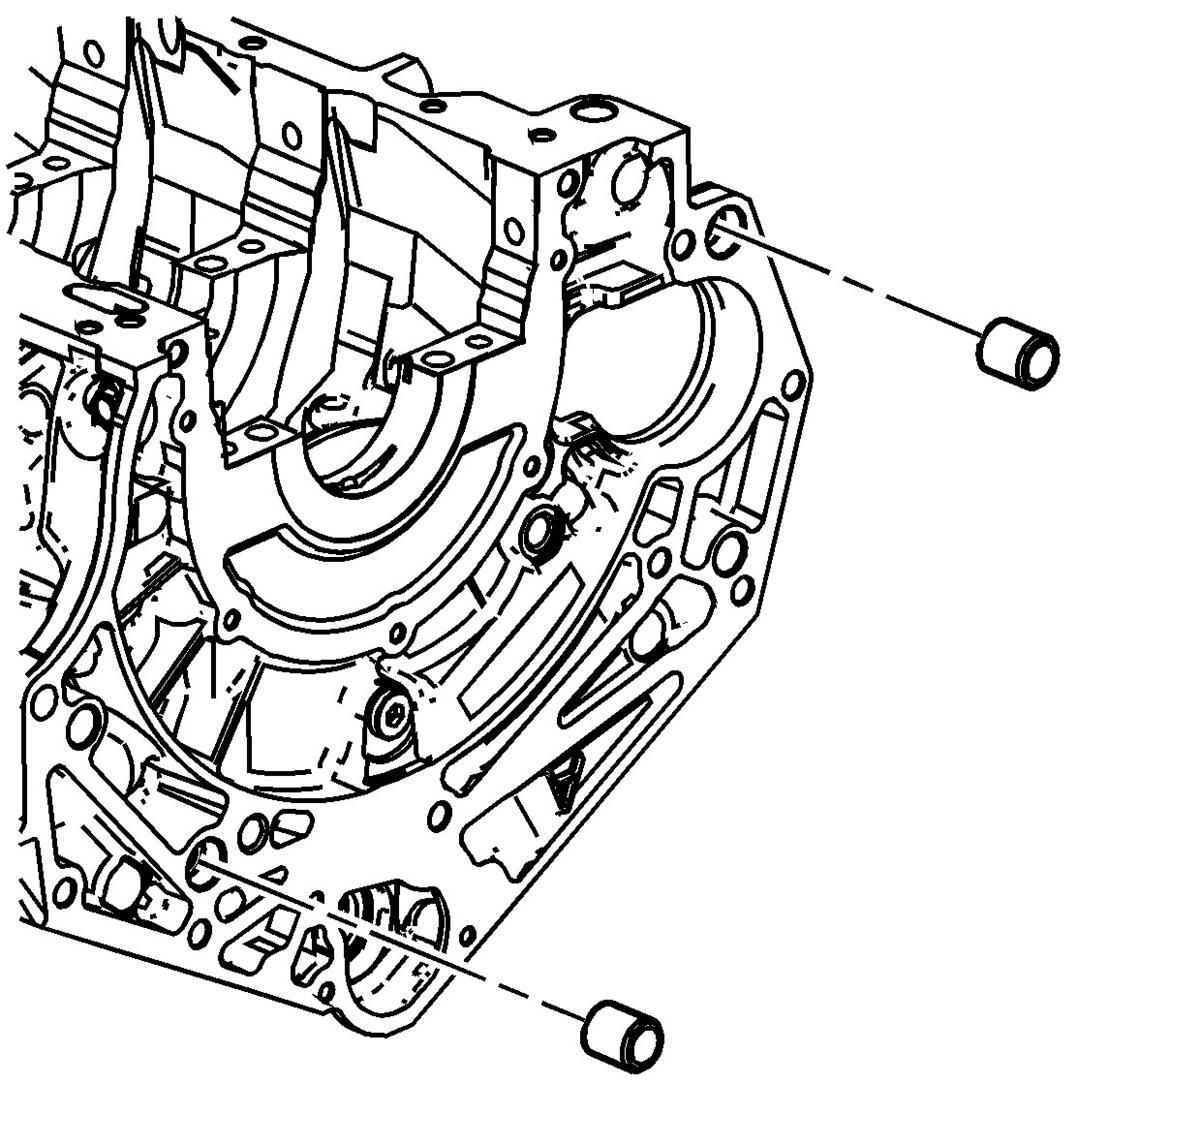
- Install the cylinder block-to-transmission alignment dowels.
 Courtesy of GENERAL MOTORS COMPANY
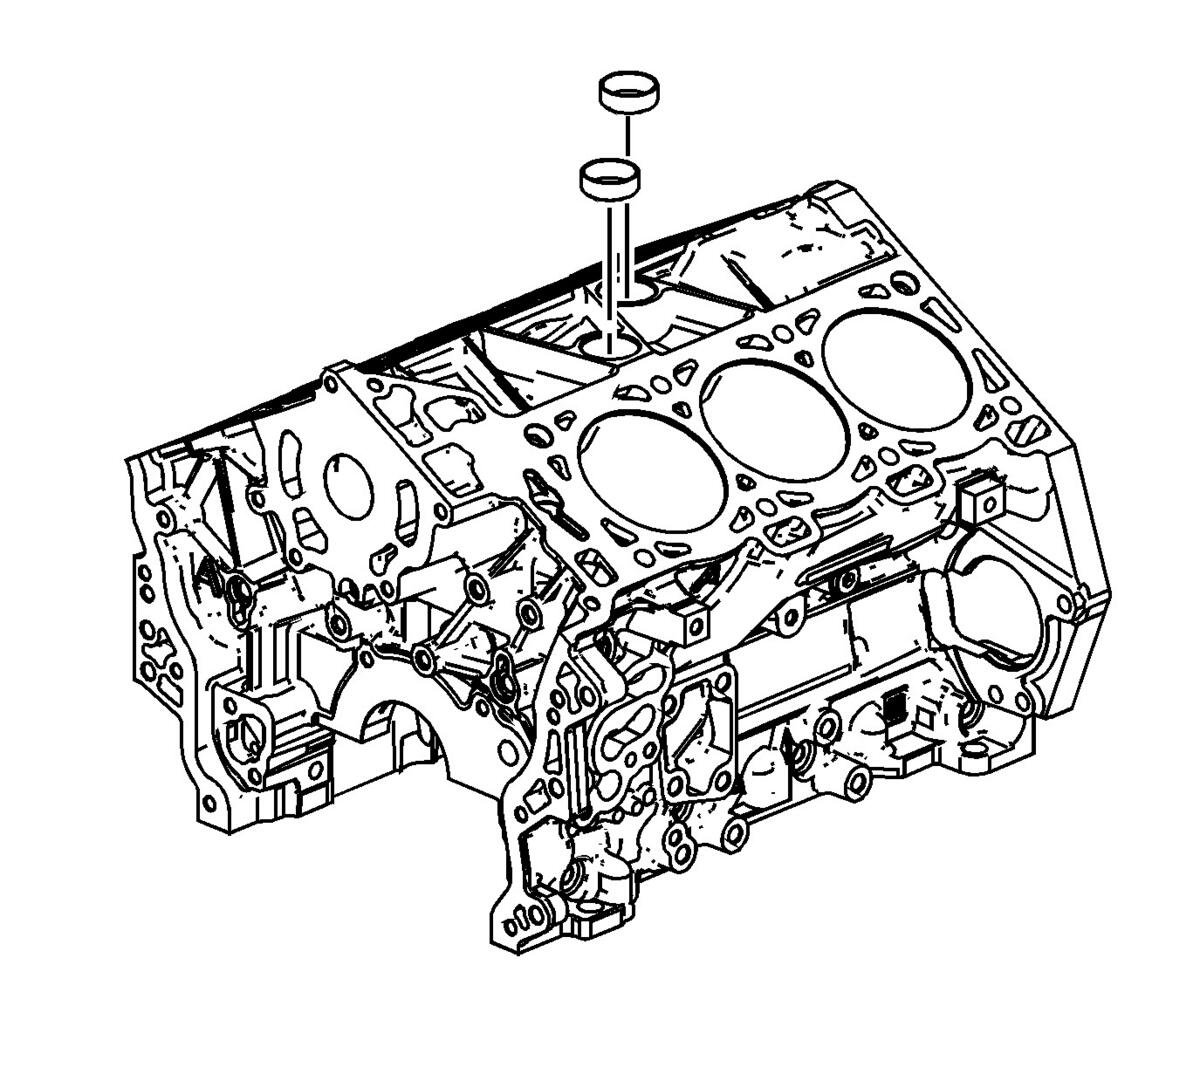
- Apply the RTV sealant on the NEW coolant expansion plugs. Refer to Adhesives, Fluids, Lubricants and Sealers
for recommended sealant.
- Install the NEW coolant expansion plugs.
- Ensure the NEW coolant expansion plugs are installed to the proper depth.
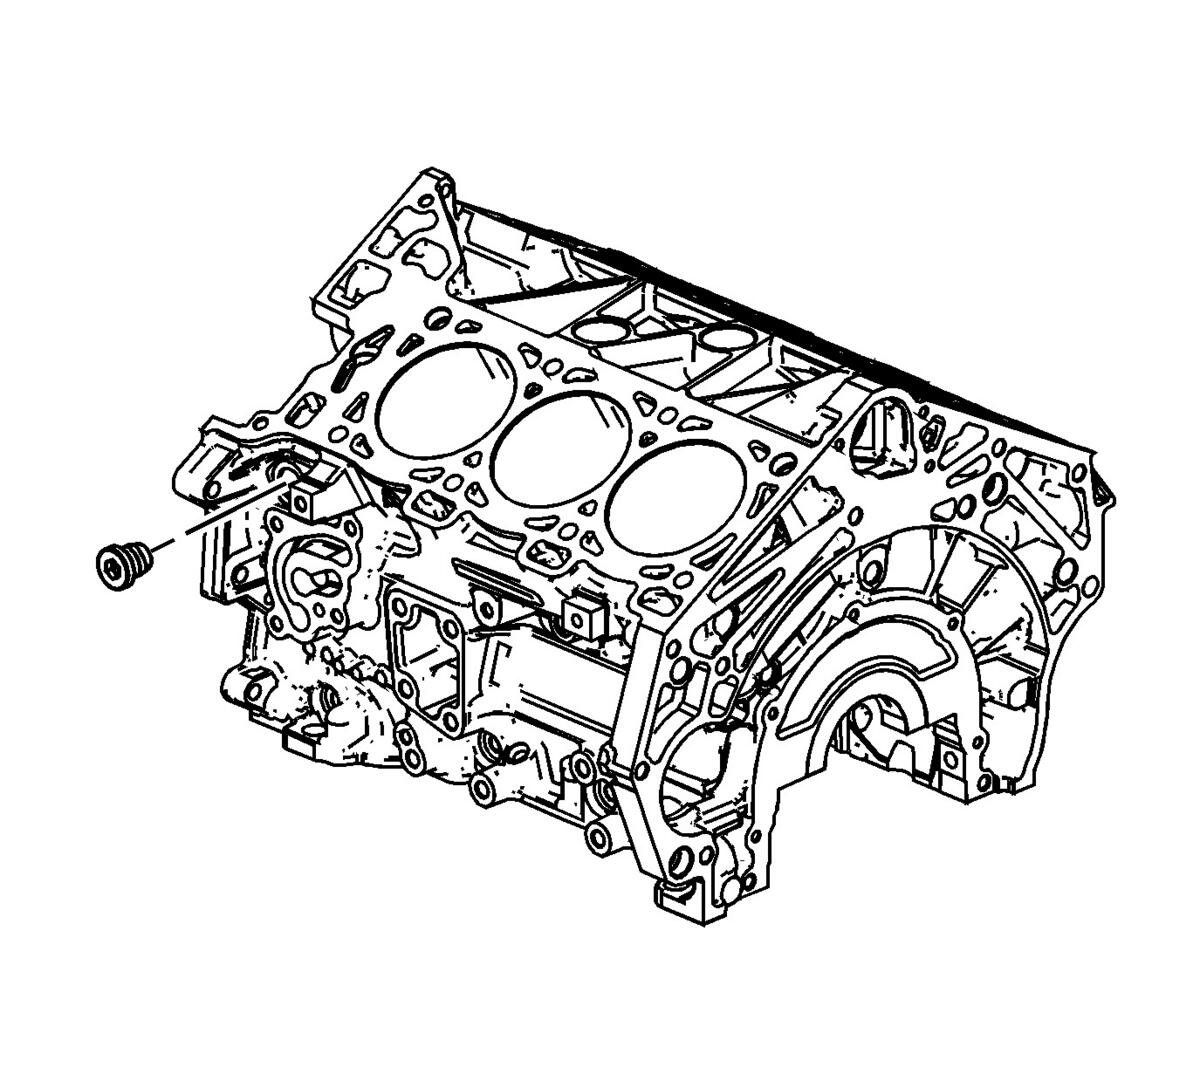 Courtesy of GENERAL MOTORS COMPANY
- Apply thread sealant on the threads of the M20 left side oil gallery threaded plug. Refer to Adhesives, Fluids, Lubricants and Sealers
for recommended sealant.
- Install the M20 left side oil gallery threaded plug and tighten to 75 N.m (55 lb ft).
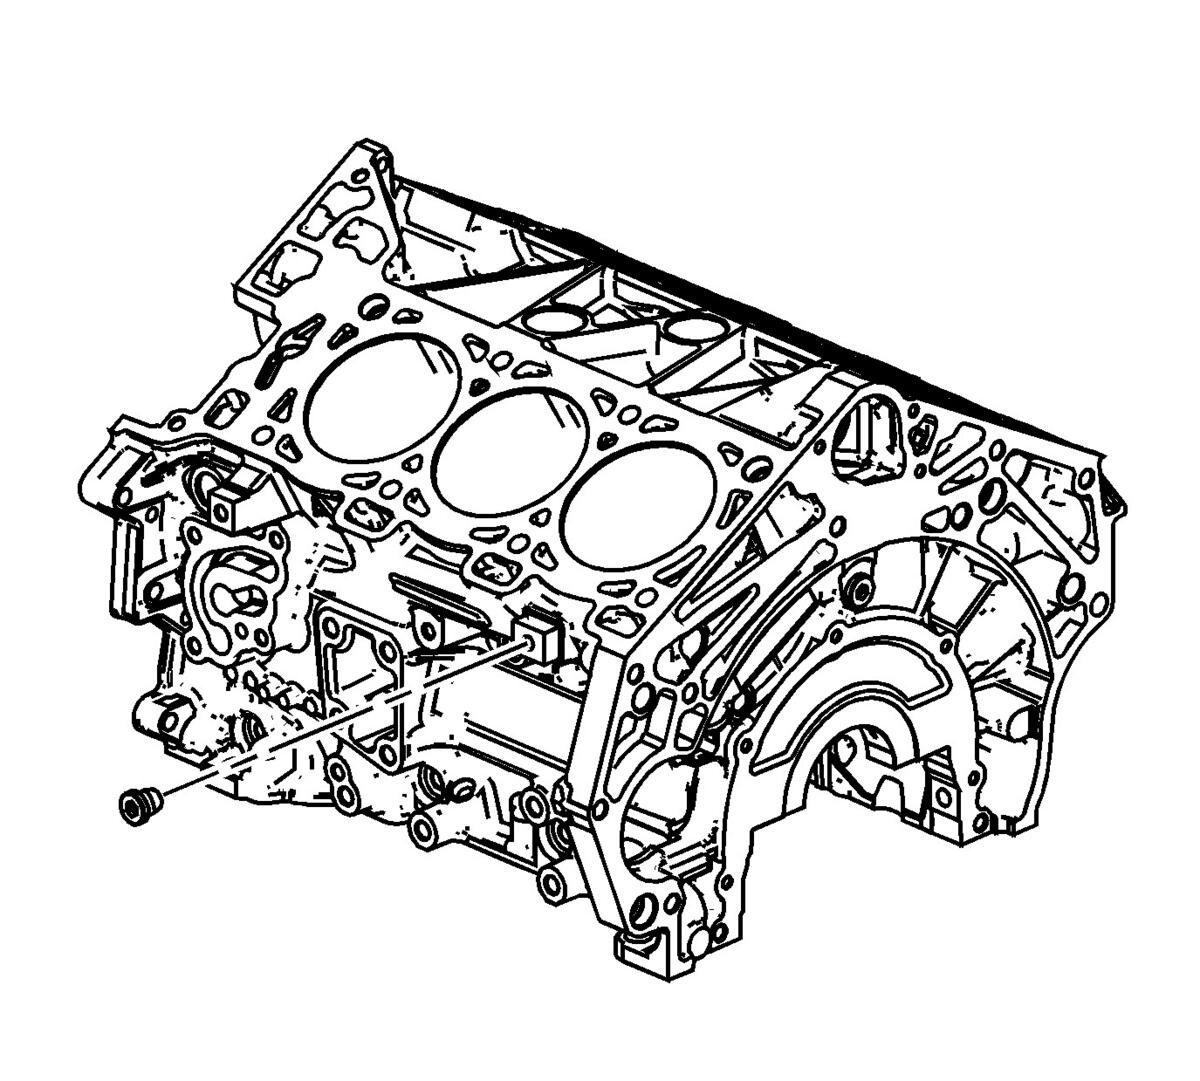 Courtesy of GENERAL MOTORS COMPANY
- Apply thread sealant on the threads of the M14 left side coolant drain threaded plug. Refer to Adhesives, Fluids, Lubricants and Sealers
for recommended sealant.
- Install the M14 left side coolant drain threaded plug and tighten to 50 N.m (37 lb ft).
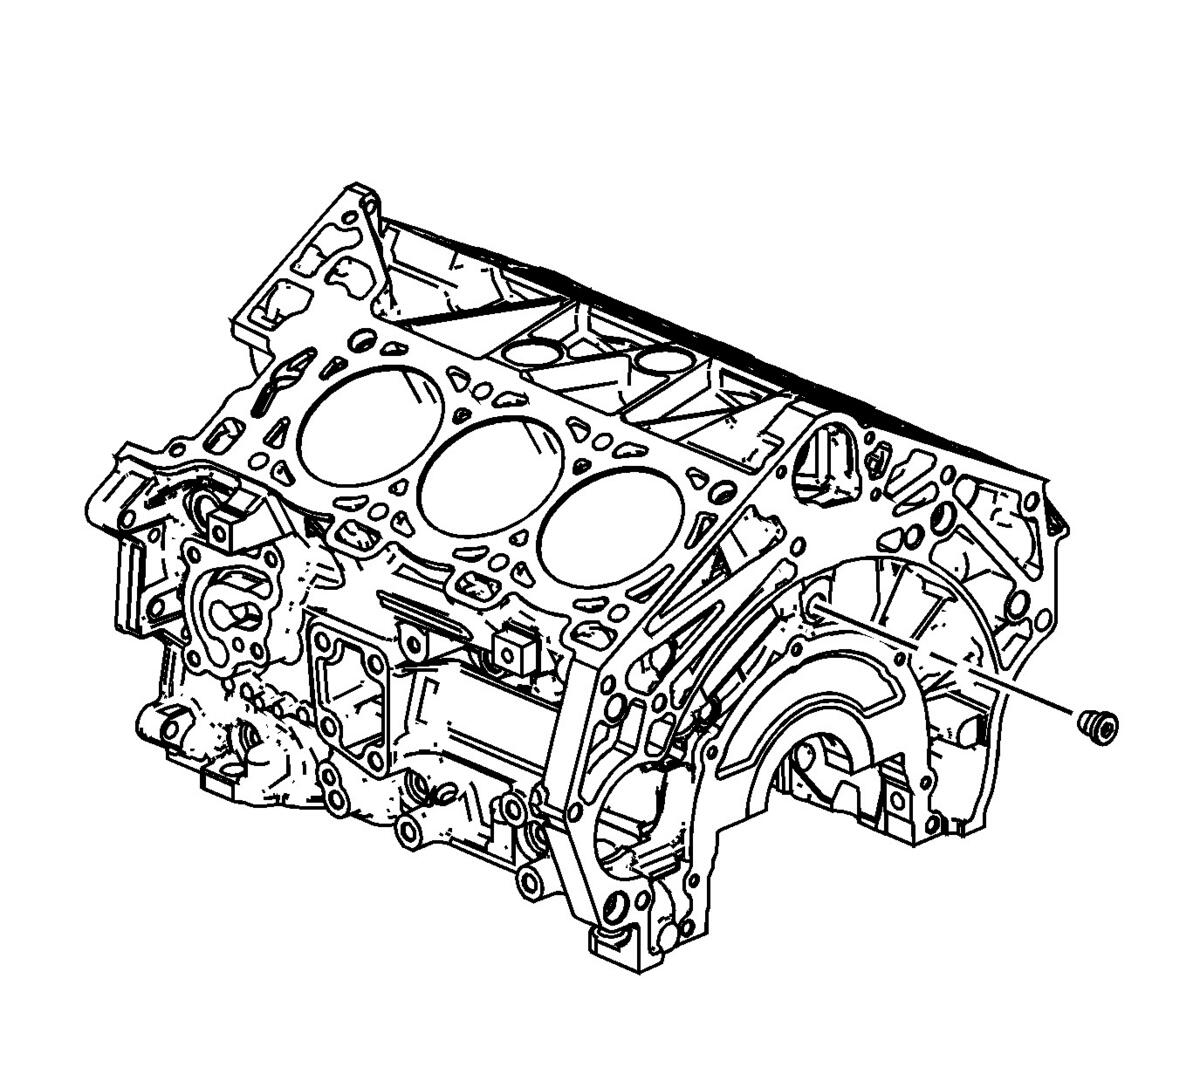 Courtesy of GENERAL MOTORS COMPANY
- Apply thread sealant on the threads of the M14 rear oil gallery threaded plug. Refer to Adhesives, Fluids, Lubricants and Sealers
for recommended sealant.
- Install the M14 rear oil gallery threaded plug and tighten to 50 N.m (37 lb ft).
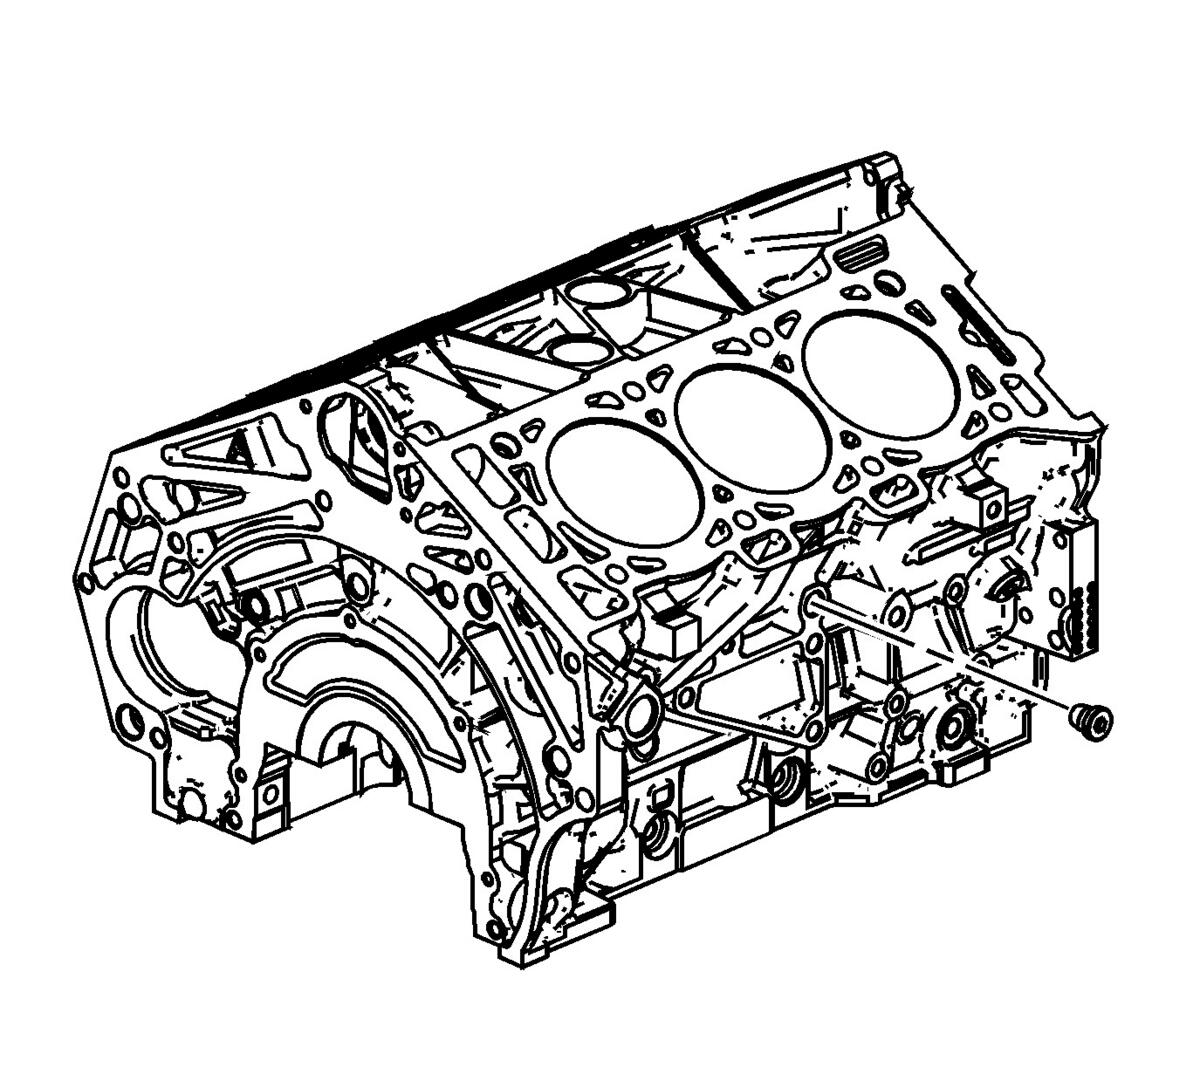 Courtesy of GENERAL MOTORS COMPANY
- Apply thread sealant on the threads of the M14 right side coolant drain threaded plug. Refer to Adhesives, Fluids, Lubricants and Sealers
for recommended sealant.
- Install the M14 right side coolant drain threaded plug and tighten to 50 N.m (37 lb ft).
 Courtesy of GENERAL MOTORS COMPANY
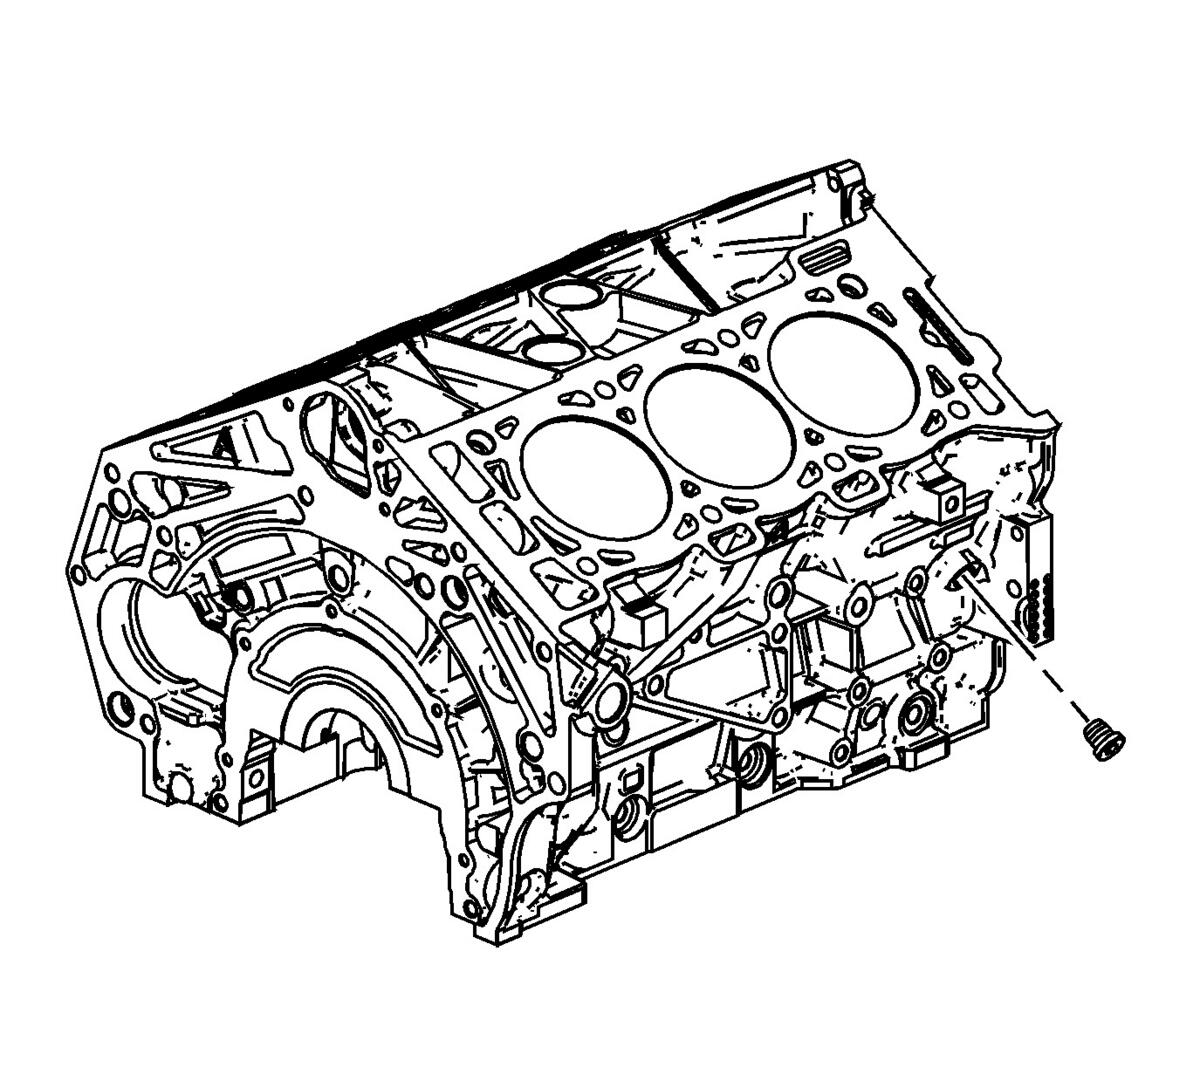
- Apply thread sealant on the threads of the M14 right side oil gallery threaded plug. Refer to Adhesives, Fluids, Lubricants and Sealers
for recommended sealant.
- Install the M14 right side oil gallery threaded plug and tighten to 50 N.m (37 lb ft).
 Courtesy of GENERAL MOTORS COMPANY
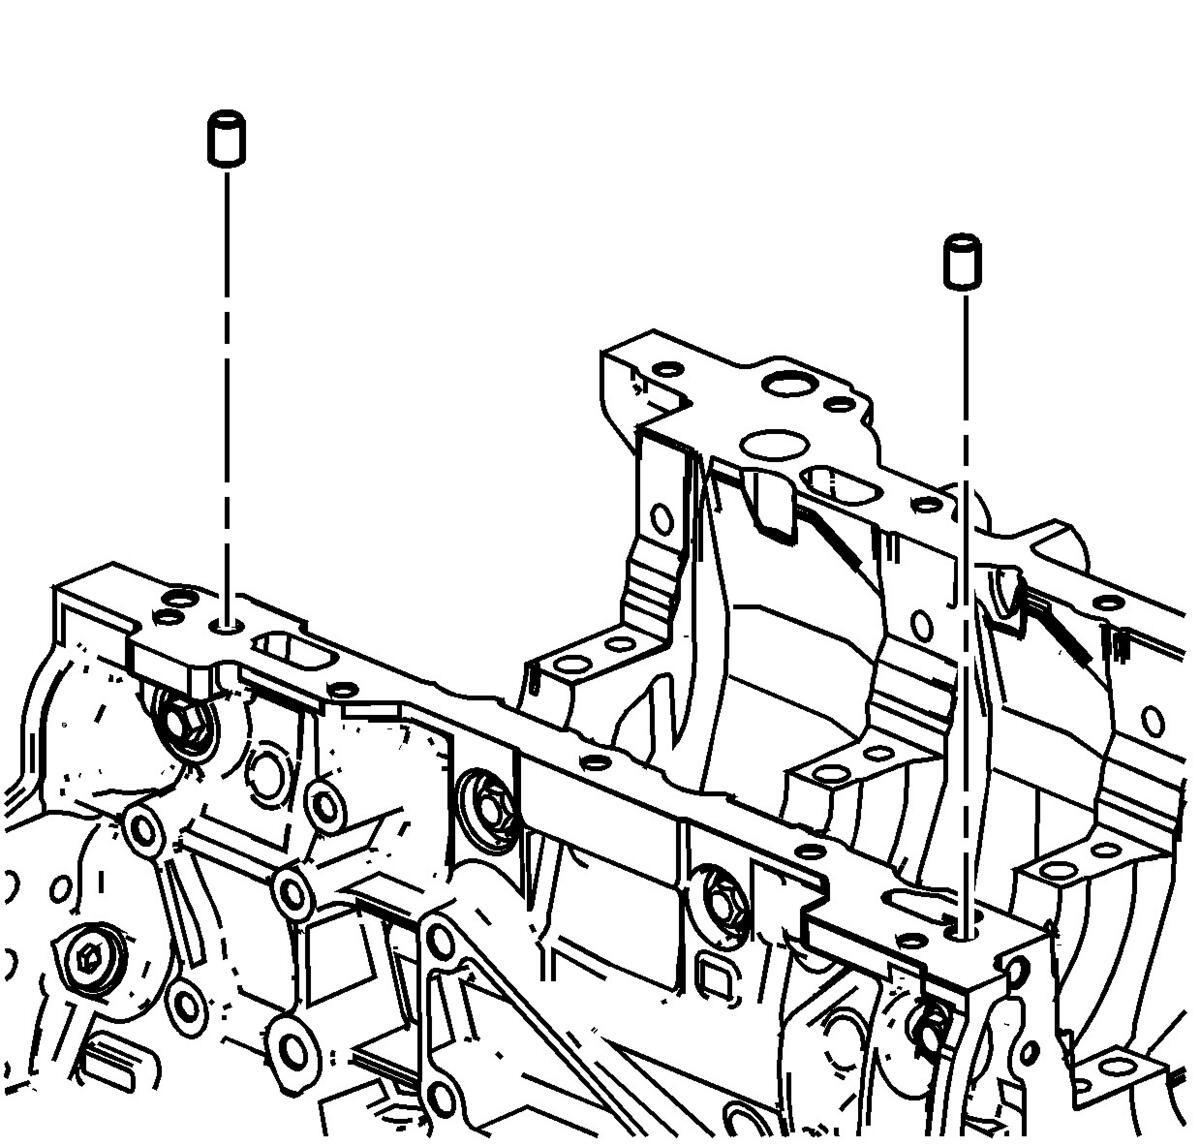
- Install the cylinder block-to-oil pan alignment dowels.
 Courtesy of GENERAL MOTORS COMPANY
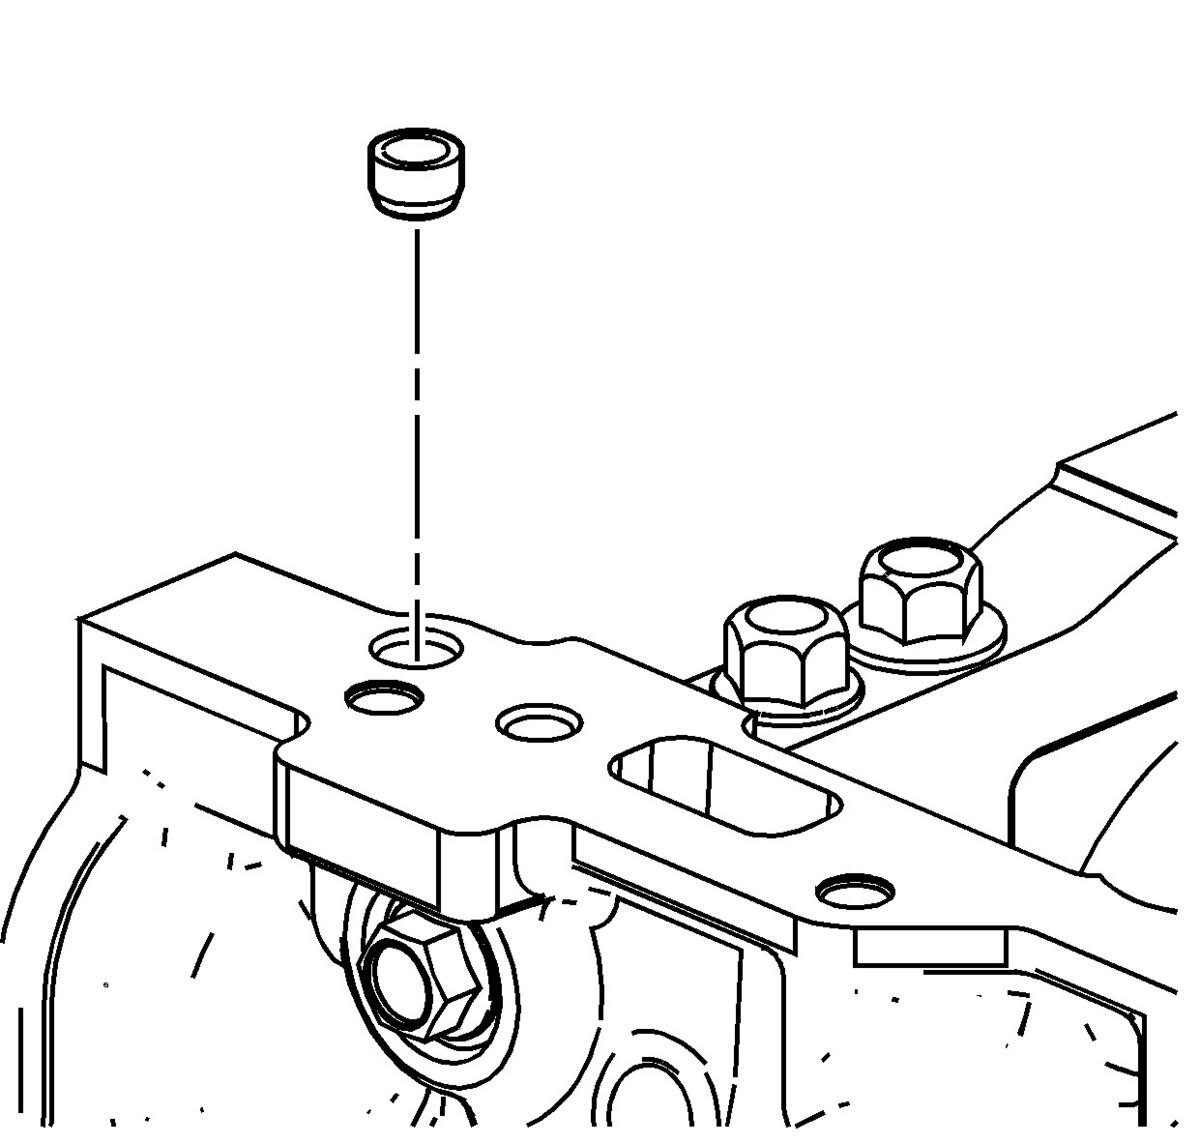
- Install the NEW right front oil pan rail oil gallery expansion plug.
- Ensure the NEW right front oil pan rail oil gallery expansion plug is installed to the proper depth.
 Courtesy of GENERAL MOTORS COMPANY
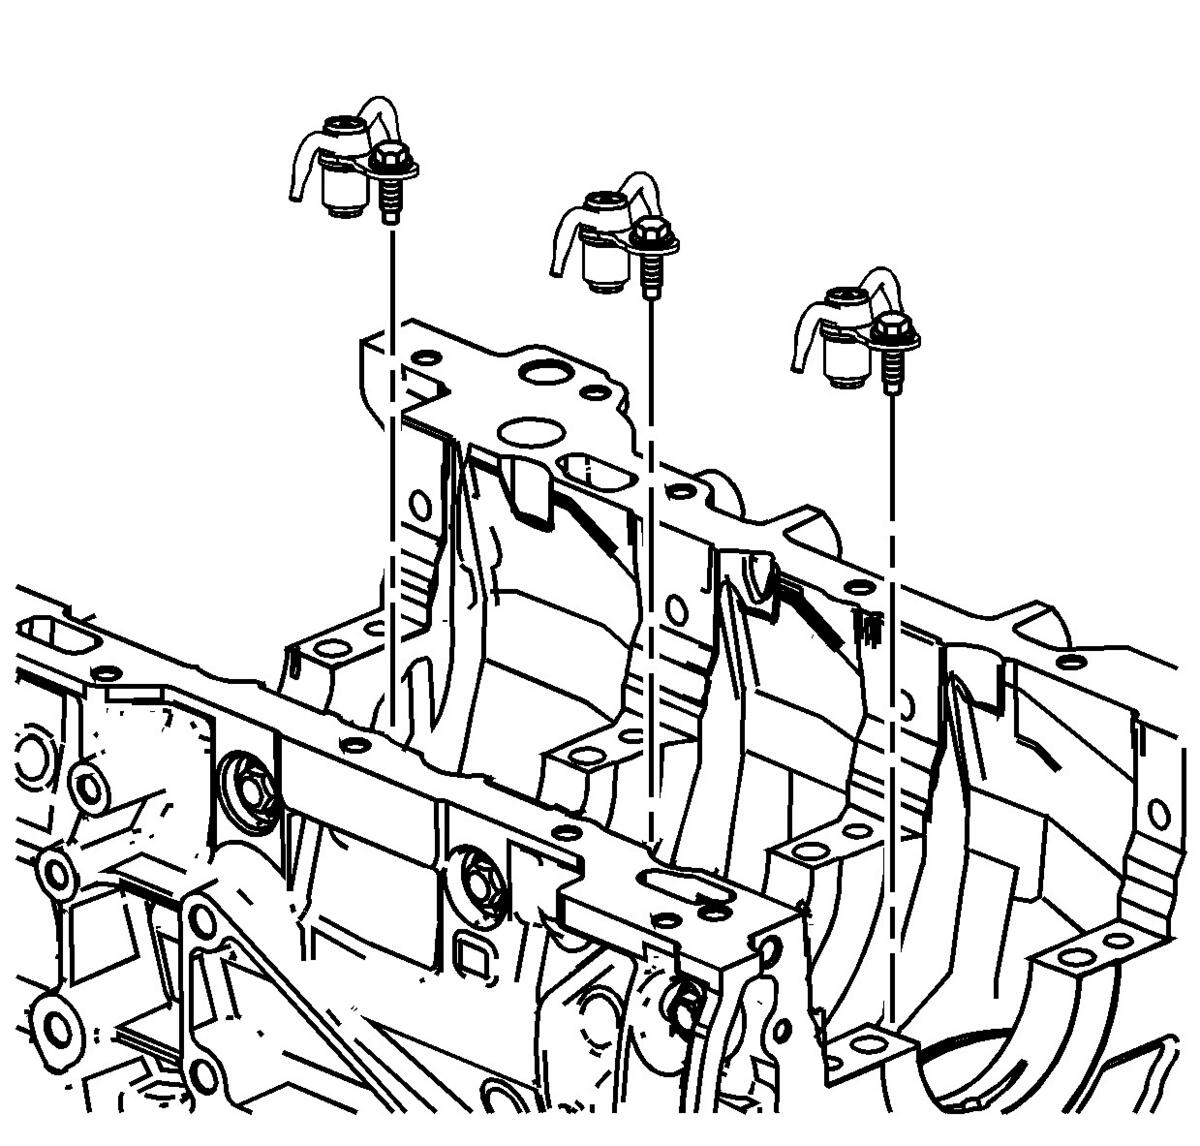
- Install the oil jets.
- Install the oil jet bolts and tighten to 10 N.m (89 lb in).
 Courtesy of GENERAL MOTORS COMPANY
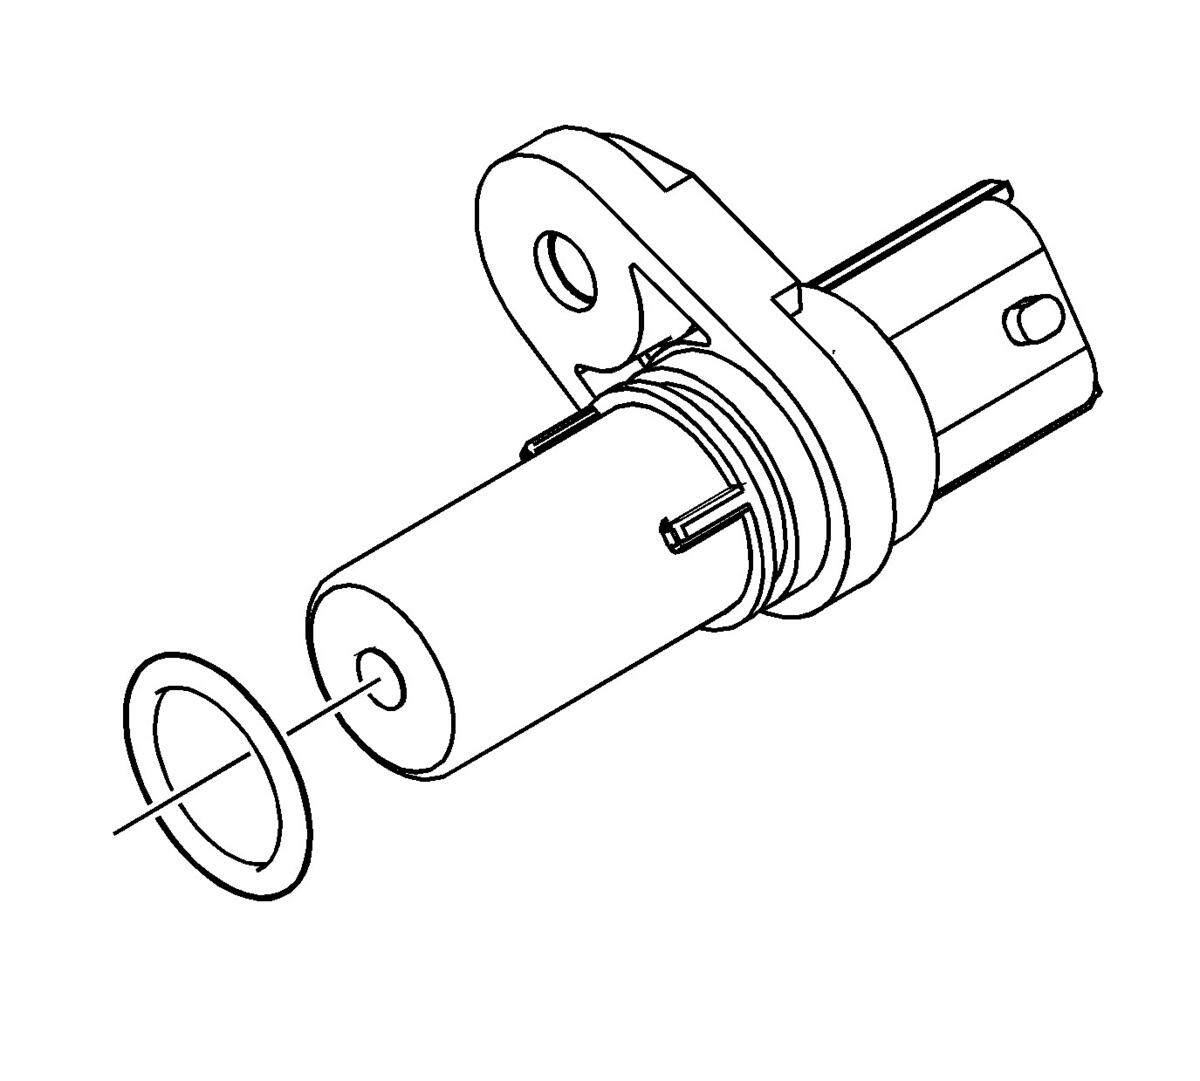
- Install the NEW crankshaft position sensor O-ring, if damaged.
 Courtesy of GENERAL MOTORS COMPANY
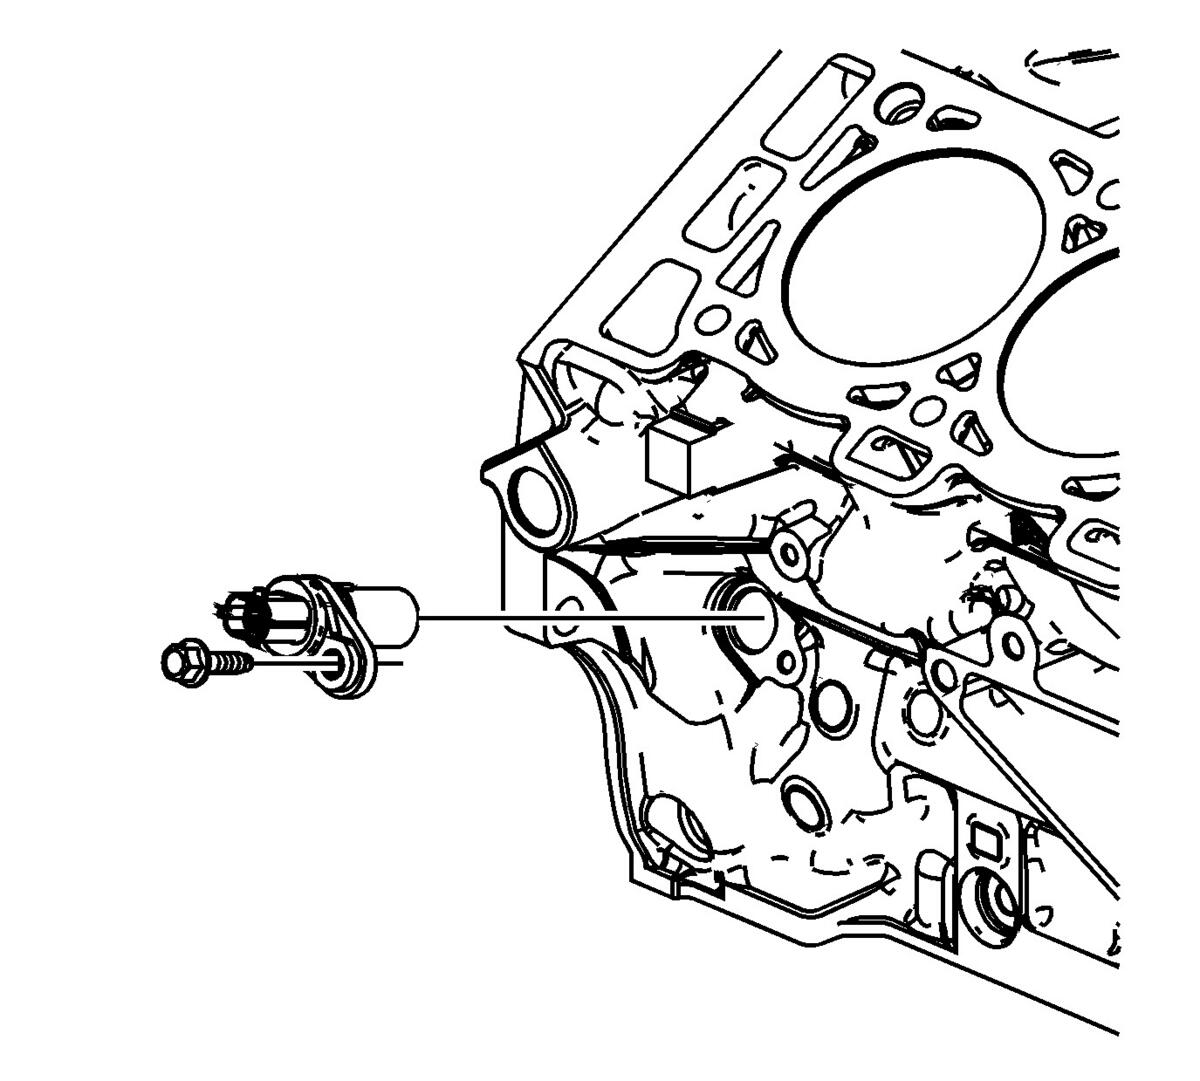
- Install the crankshaft position sensor.
- Install the crankshaft position sensor bolt and tighten to 10 N.m (89 lb in).
 Courtesy of GENERAL MOTORS COMPANY
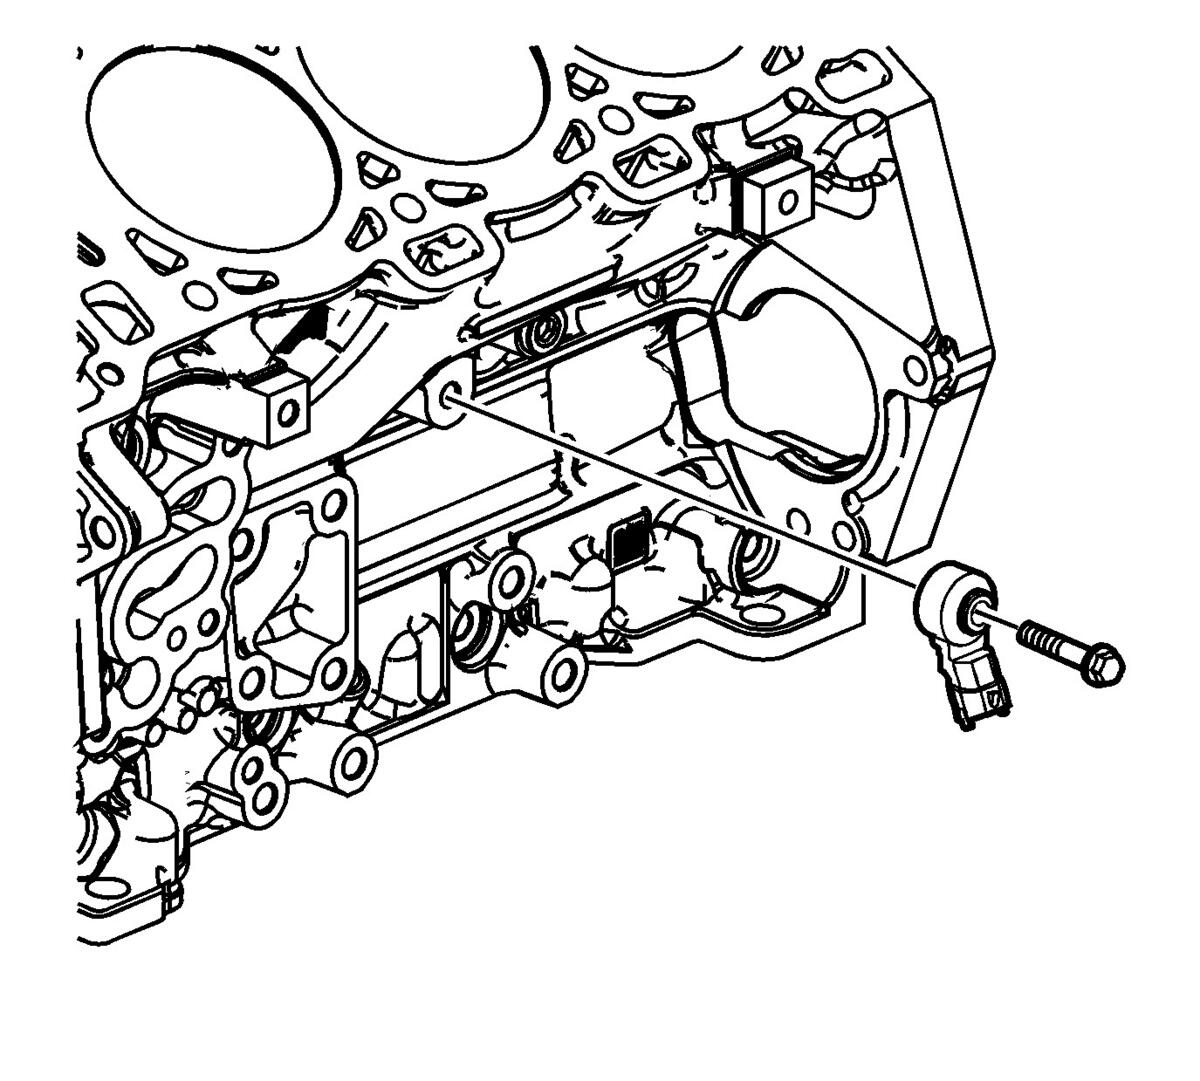
- Install the left knock sensor to the cylinder block, as shown.
- Install the left knock sensor bolt and tighten to 25 N.m (18 lb ft).
- Ensure proper sensor orientation.
 Courtesy of GENERAL MOTORS COMPANY
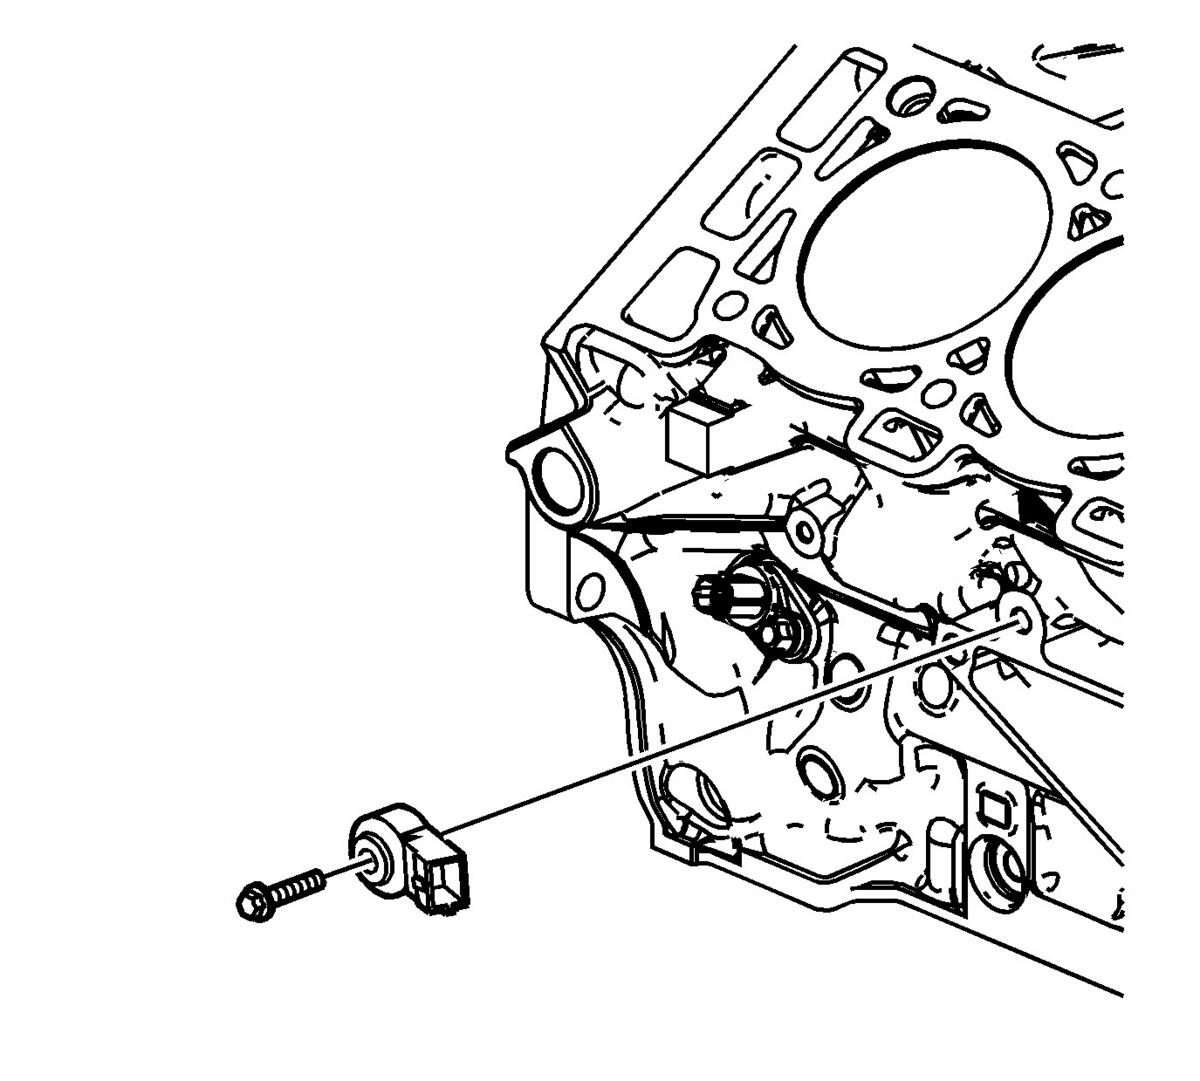
- Install the right knock sensor to the cylinder block, as shown.
- Install the right knock sensor bolt and tighten to 25 N.m (18 lb ft).
- Ensure proper sensor orientation.
 Courtesy of GENERAL MOTORS COMPANY
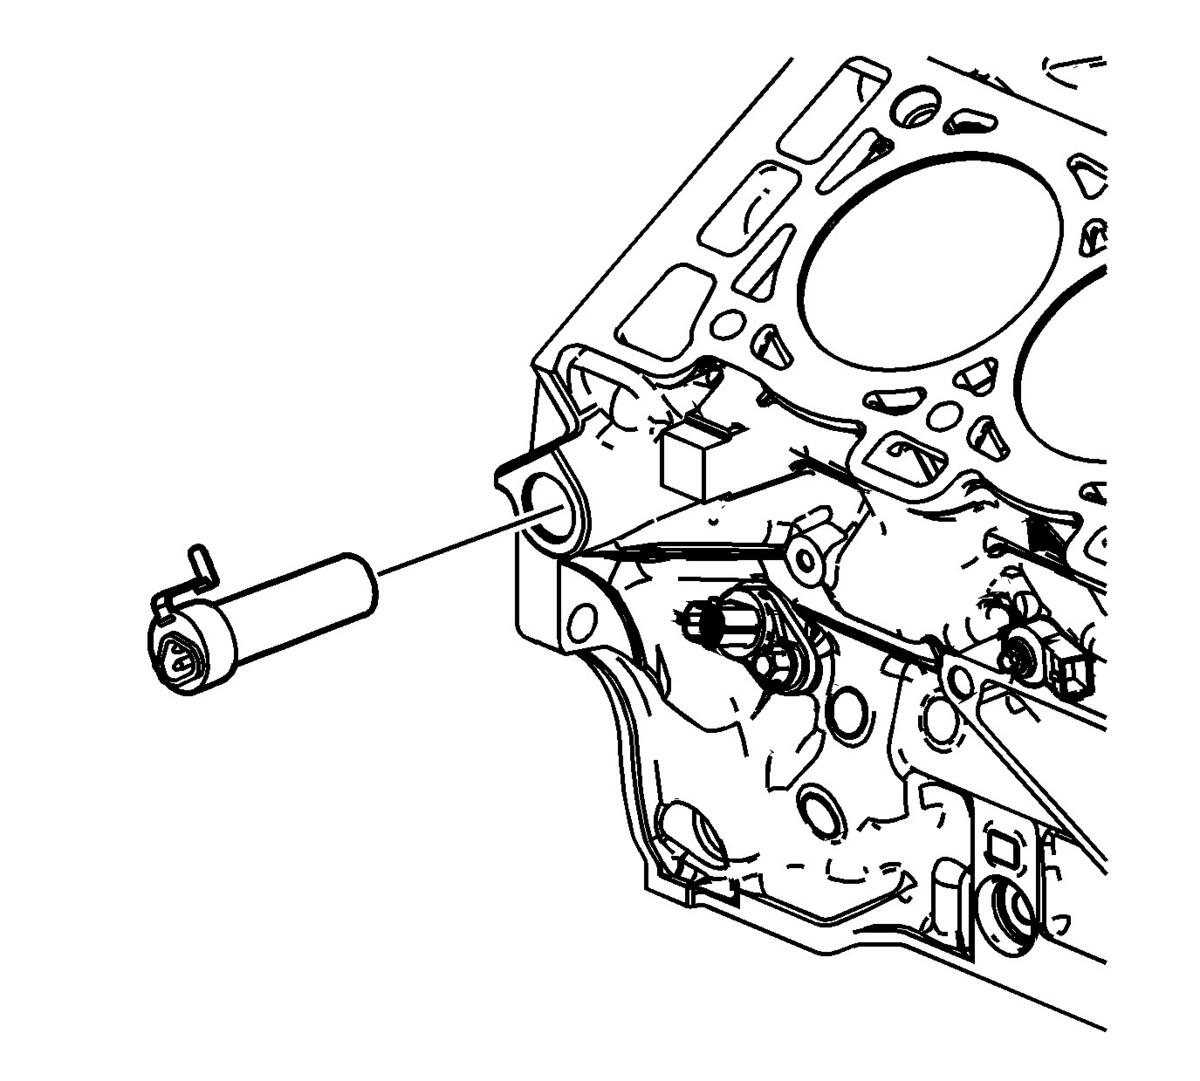
- Install the block heater cartridge, if equipped.
 Courtesy of GENERAL MOTORS COMPANY
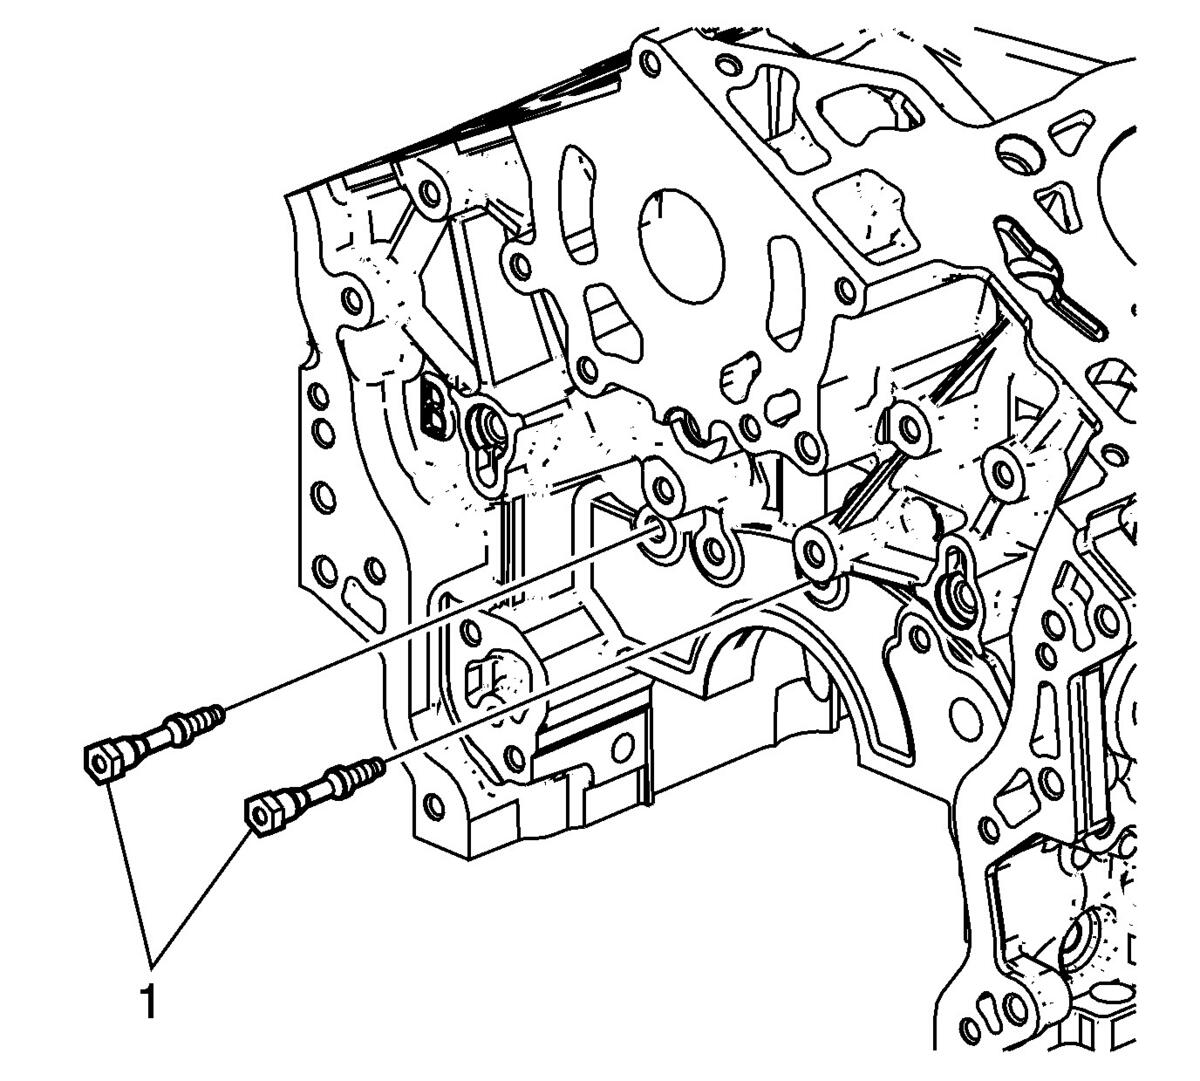
- Install the engine front cover studs (1) and tighten to 15 N.m (11 lb ft).