Roof Panel Joint Finish Molding Replacement (Traverse)
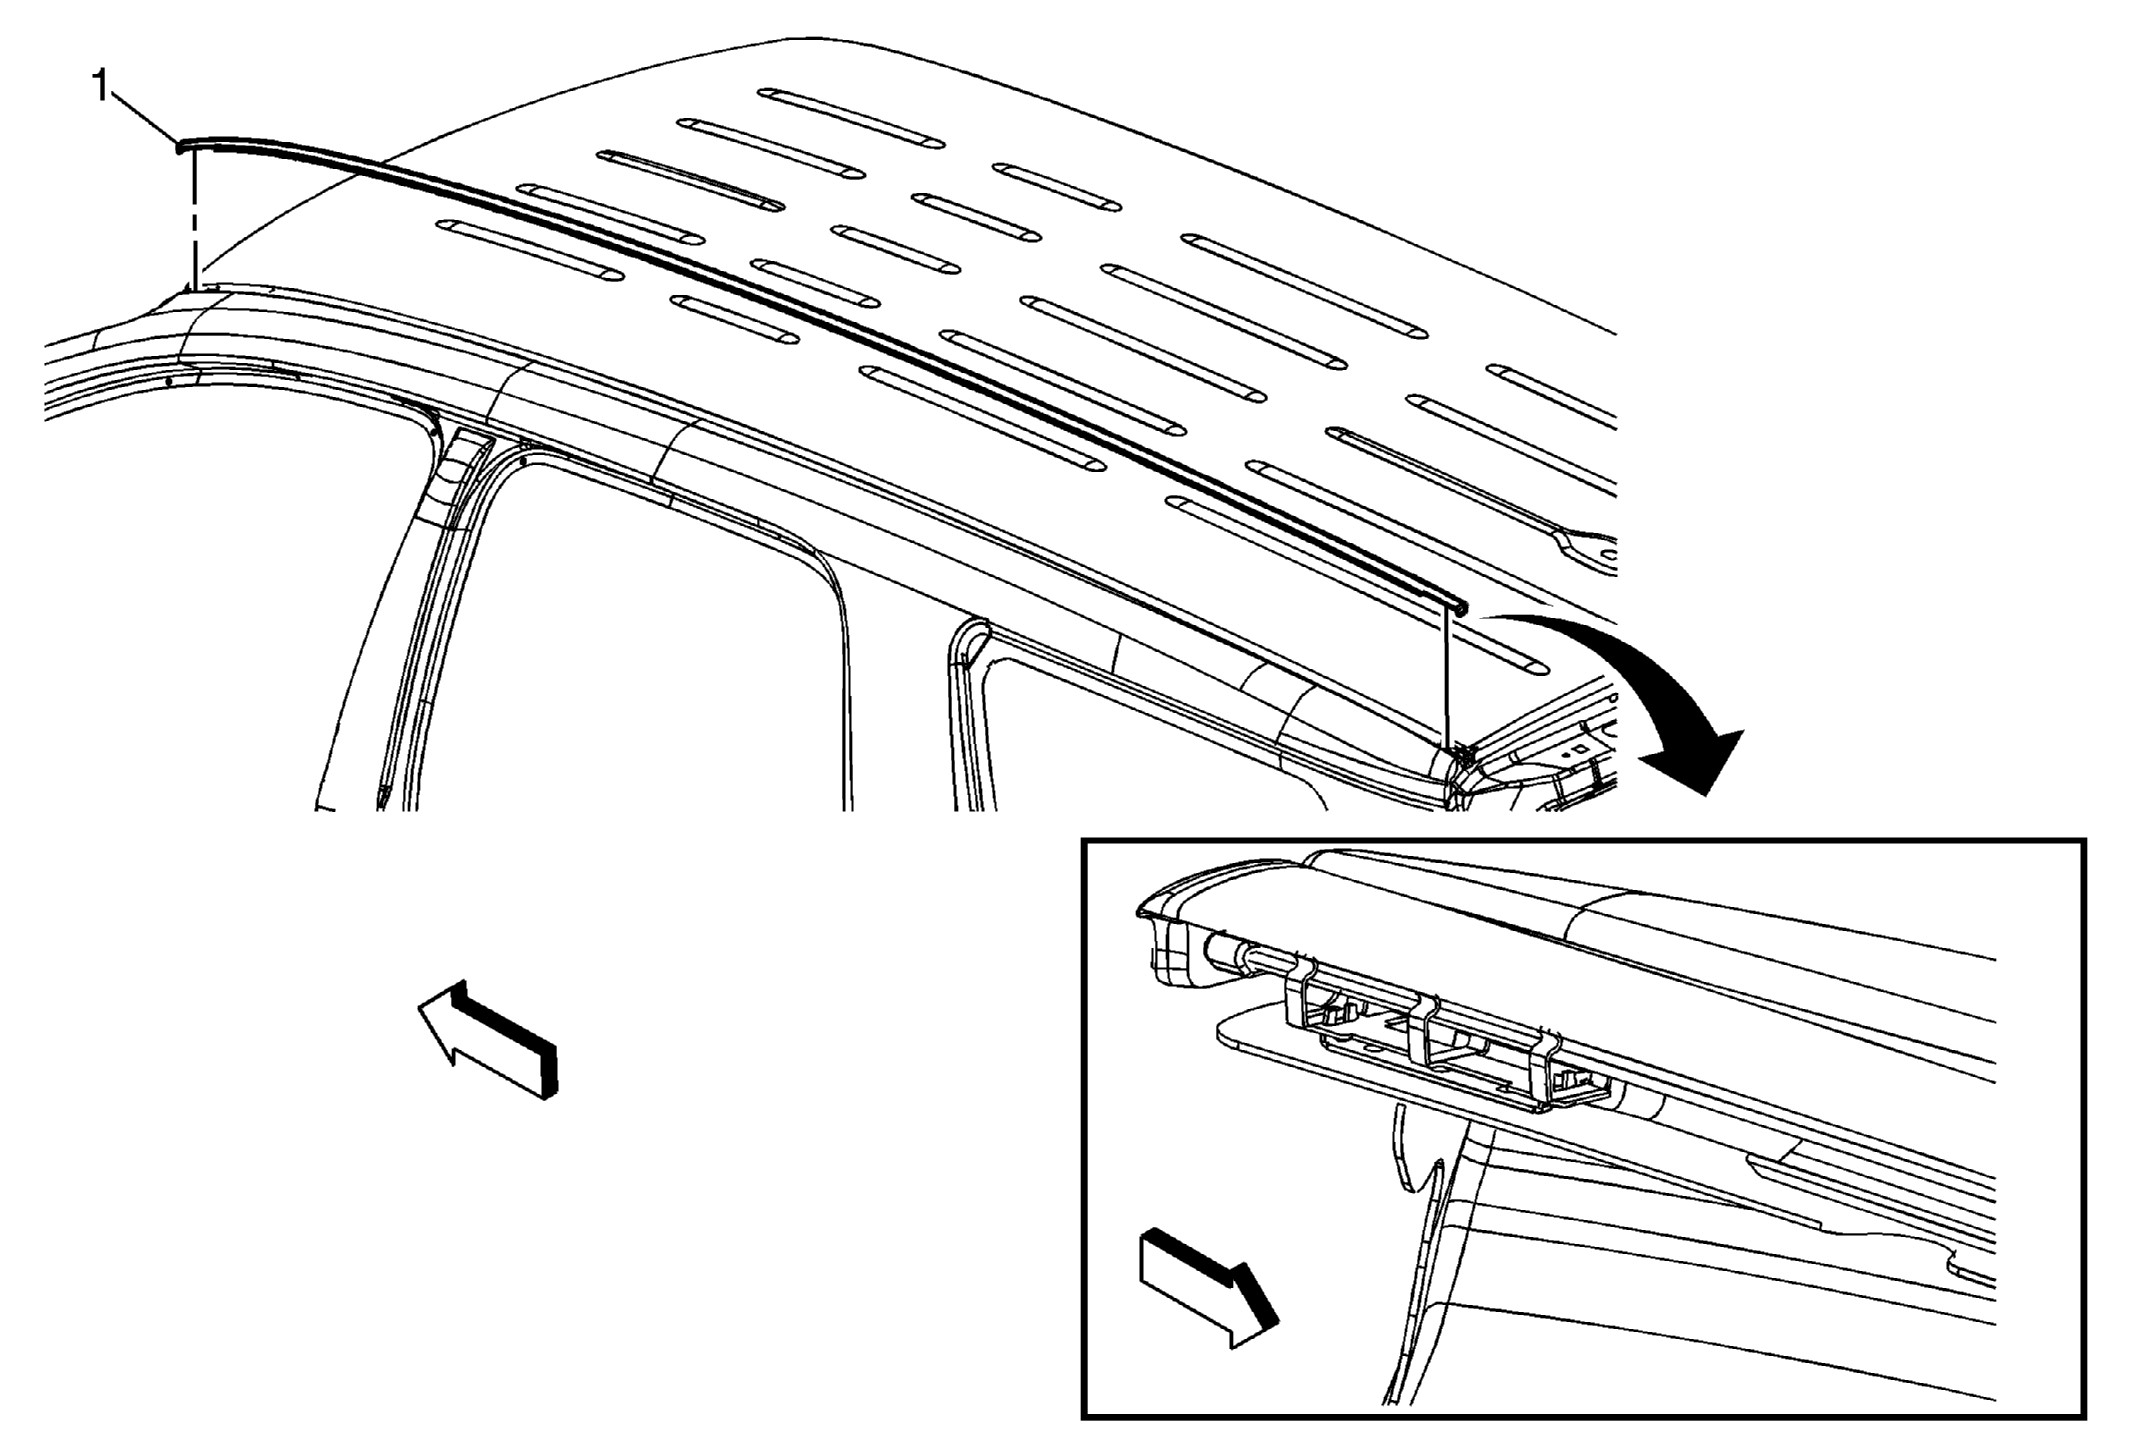 Courtesy of GENERAL MOTORS CORP.
 Roof Panel Joint Finish Molding Replacement (Traverse)
| Callout |
Component Name |
| 1 |
Roof Panel Joint Finish Molding Procedure
- Remove the luggage carrier (if equipped). Refer to Luggage Carrier Replacement (Traverse)
, Luggage Carrier Replacement (Enclave)
, Luggage Carrier Replacement (Acadia)
.
- Locate the finish molding fore/aft to be within 15-20 mm from the front edge of the windshield opening and also the rear edge of the roof panel.
- Insert molding into the front roof ditch clip securing one clip finger at a time from front to rear.
- Press small portions of the roof ditch molding front to rear.
- Secure the reminder of the molding into the rear ditch one clip finger at a time.
- If loose or damaged molding retainer clips are present, refer to Roof Panel Molding Retainer Replacement for the repair procedure.
|