Rear Compartment Floor Pan Rivet Procedure
REAR COMPARTMENT FLOOR PAN RIVET PROCEDURE1. Remove the rear cargo storage unit.
1.1 Raise the rear cargo storage unit bin center door.
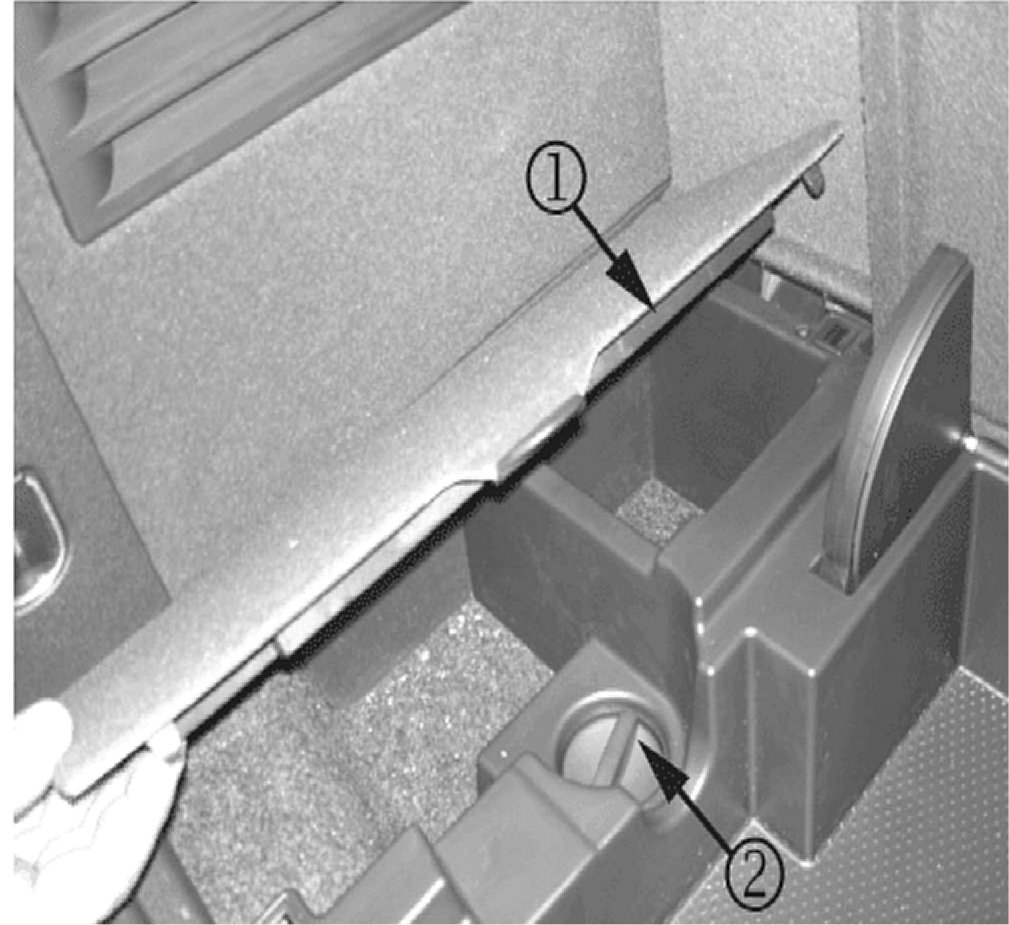
1.2 Remove the cargo storage unit side panels (1).
1.3 Stow the side panels in the cargo storage unit.
1.4 Loosen the two cargo storage unit bin fasteners (2).
1.5 Close the cargo storage unit bin door.
1.6 Remove the rear cargo storage unit from the rear compartment of the vehicle.
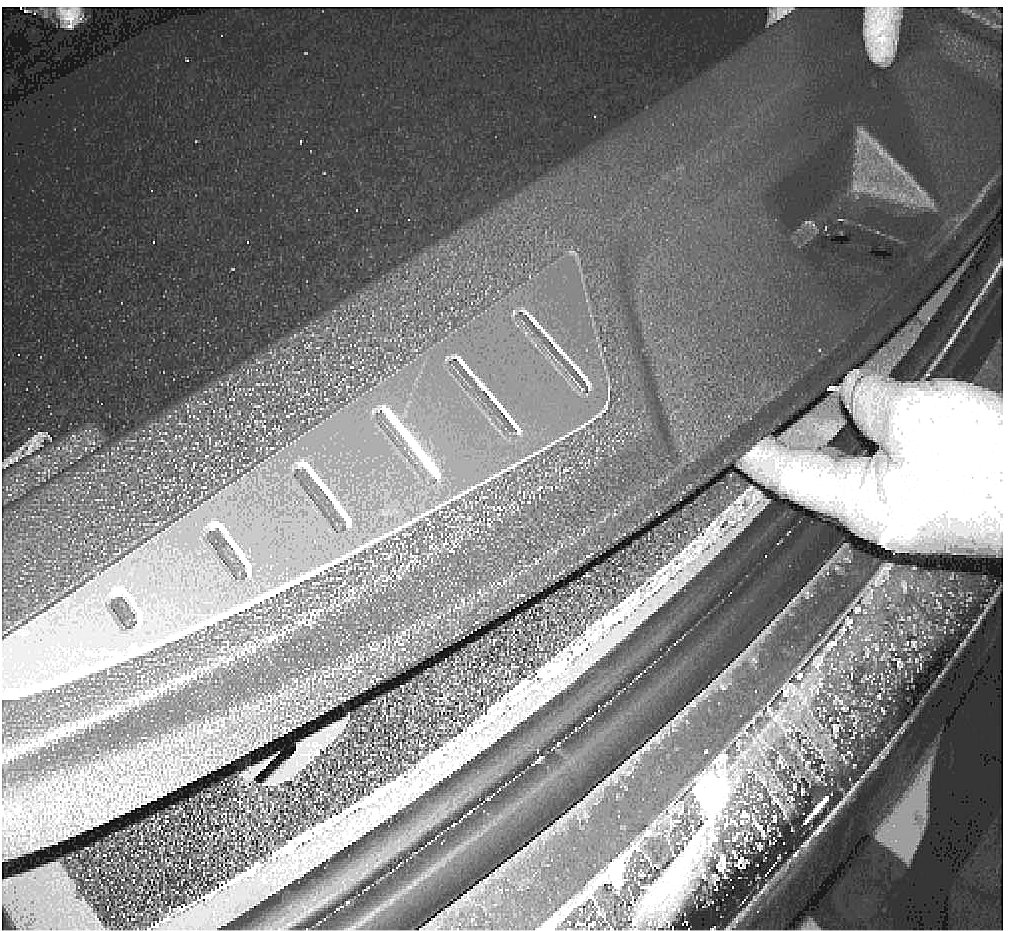
2. Remove the liftgate sill plate assembly. The liftgate sill plate assembly is secured by eight clips. Use a flat-bladed plastic trim tool in order to release the clips and remove the sill plate.
3. Gain access to the rear compartment floor pan by pulling back the rear compartment carpet.
3.1 Pull the carpet out from underneath the rear quarter trim panel on both the driver and passenger side of vehicle.
3.2 Pull the carpet forward to the backside of the 3rd row seats.
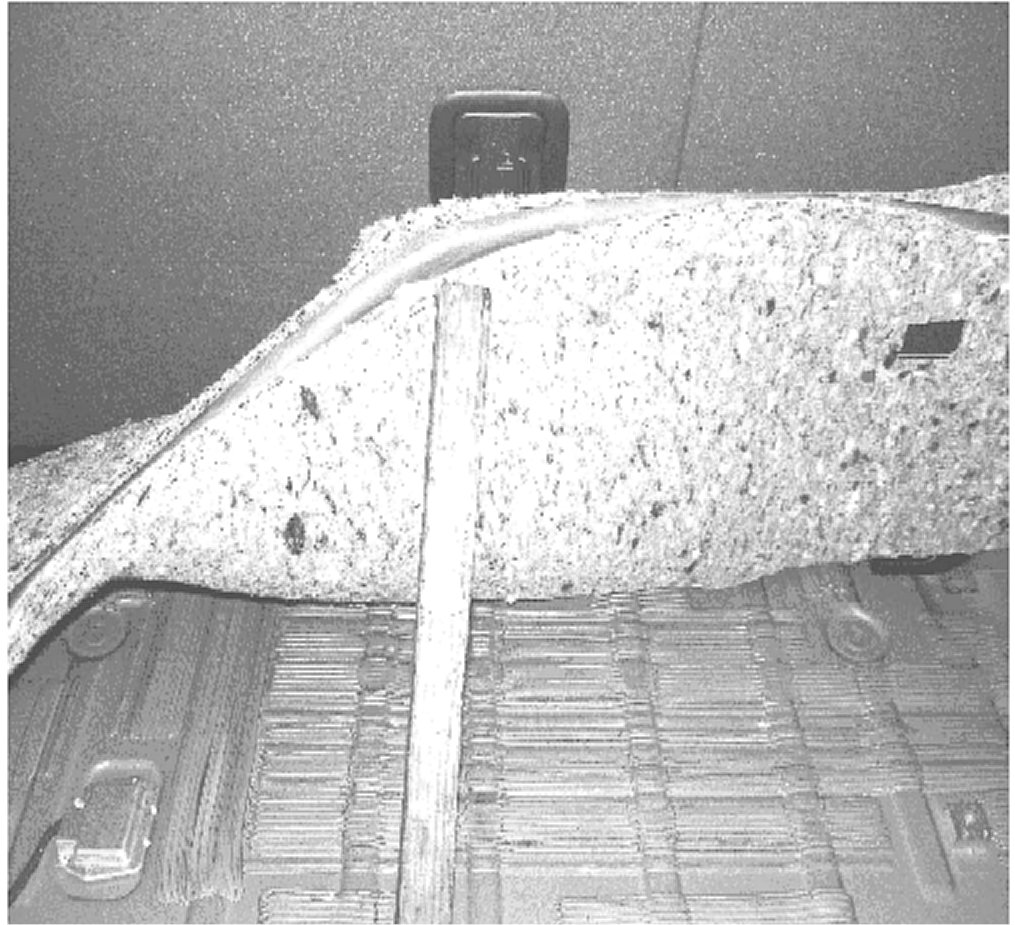
3.3 Hold the carpet in place with a support bar or equivalent.
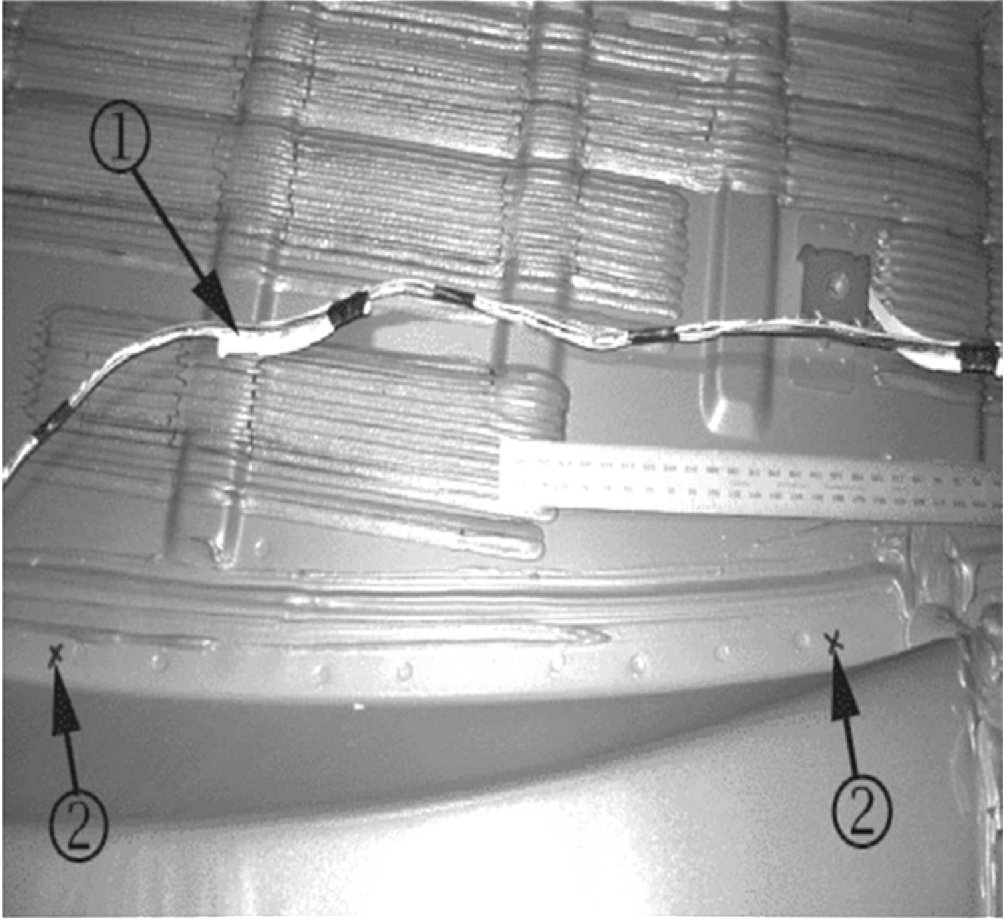
4. Remove the tape from the wire harness (1) and move it away from the weld locations (2).
Important:
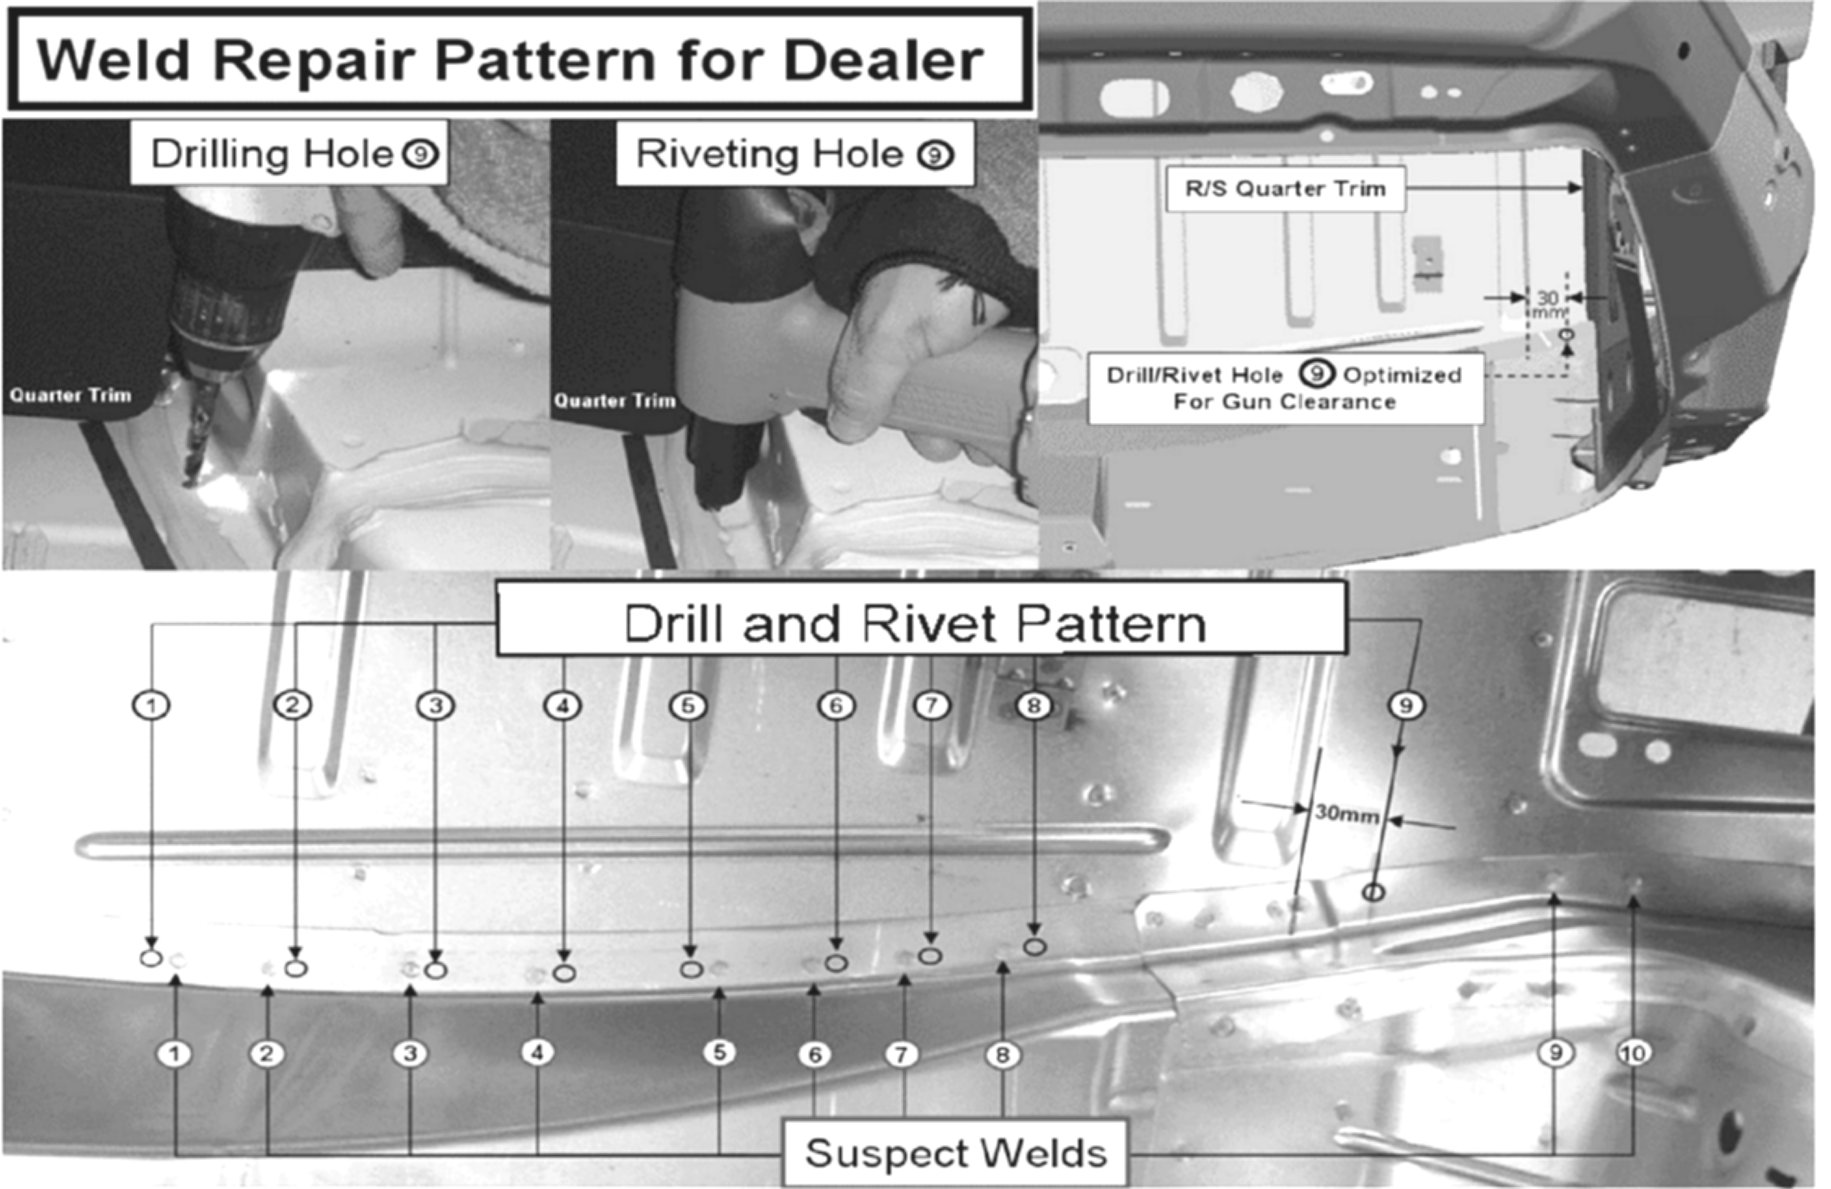
Perform the weld repair on the passenger's side portion of the rear compartment floor pan. Refer to the Weld Repair Pattern for Dealer illustration to view the location of the nine (9) rivet holes and eight (8) weld depressions. There is no weld depression for reference for the location of the ninth (9) rivet hole. To make the 9th rivet hole, measure 30 mm (1-13/64 in) from the outboard edge of depression in the floor pan as shown in the illustration. Ensure each rivet hole is close to the weld but not into the weld depression. Vertically and horizontally align the rivet holes with the weld depressions. Ensure that the ninth rivet hole is aligned with rivet holes 1-8. All of the rivet holes must remain in the flange area of the floor pan.
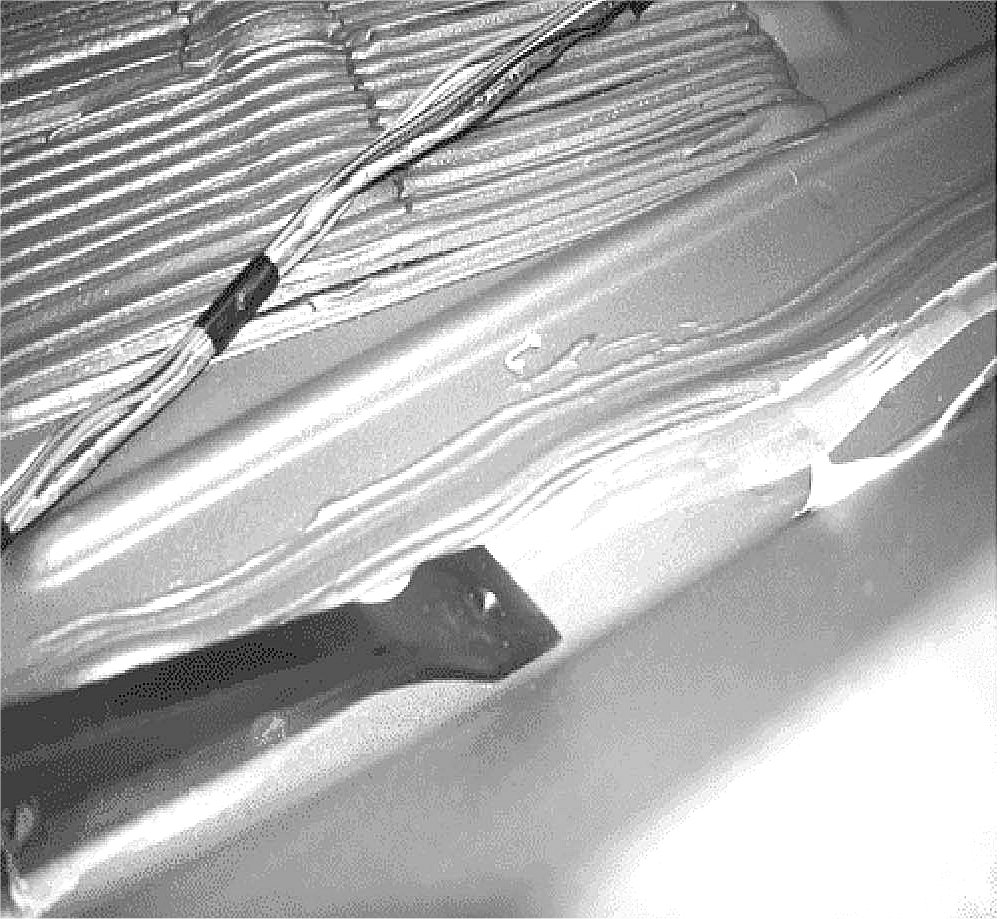
5. Scrape the sealer from the weld depression locations, when necessary. Remove the sealer to the surface of the paint. Clean a minimum of 15 mm (19/32 in) diameter area around each weld depression.
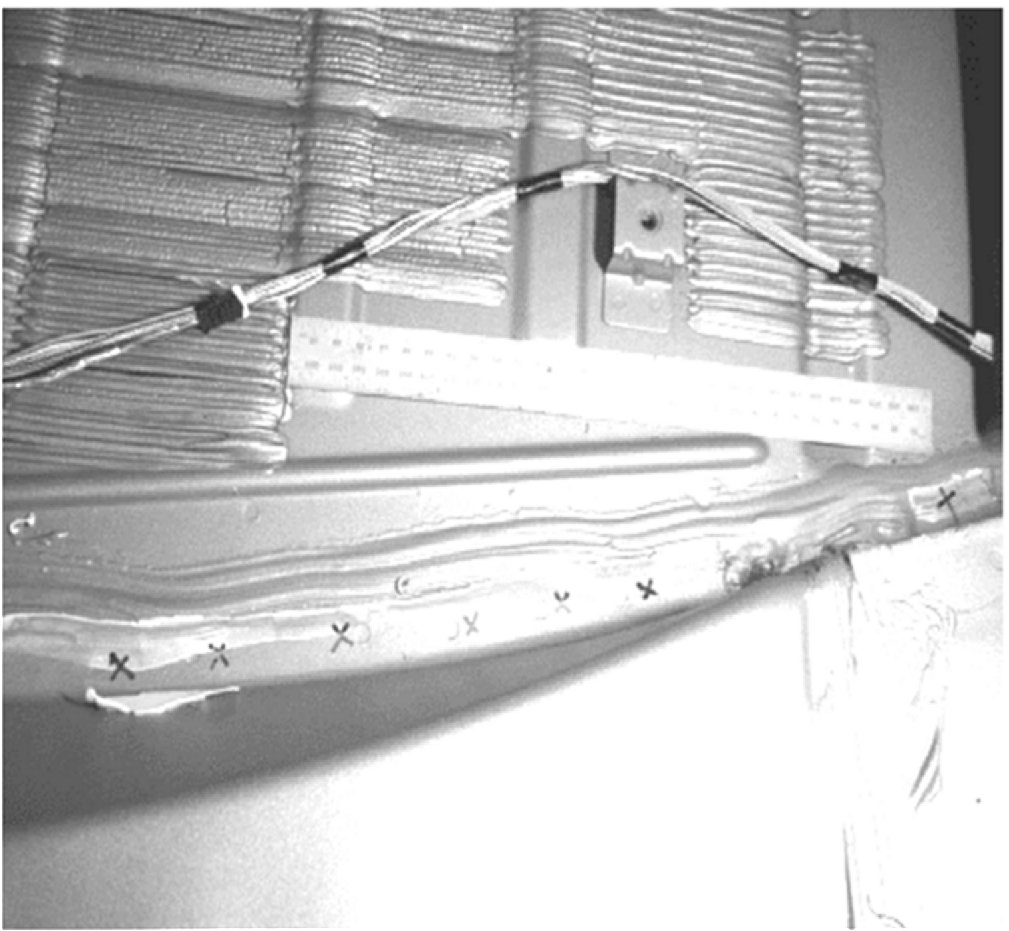
6. Mark the location of the rivet holes with a pen. Refer to the Weld Repair Pattern for Dealer illustration for the location of the rivet holes.
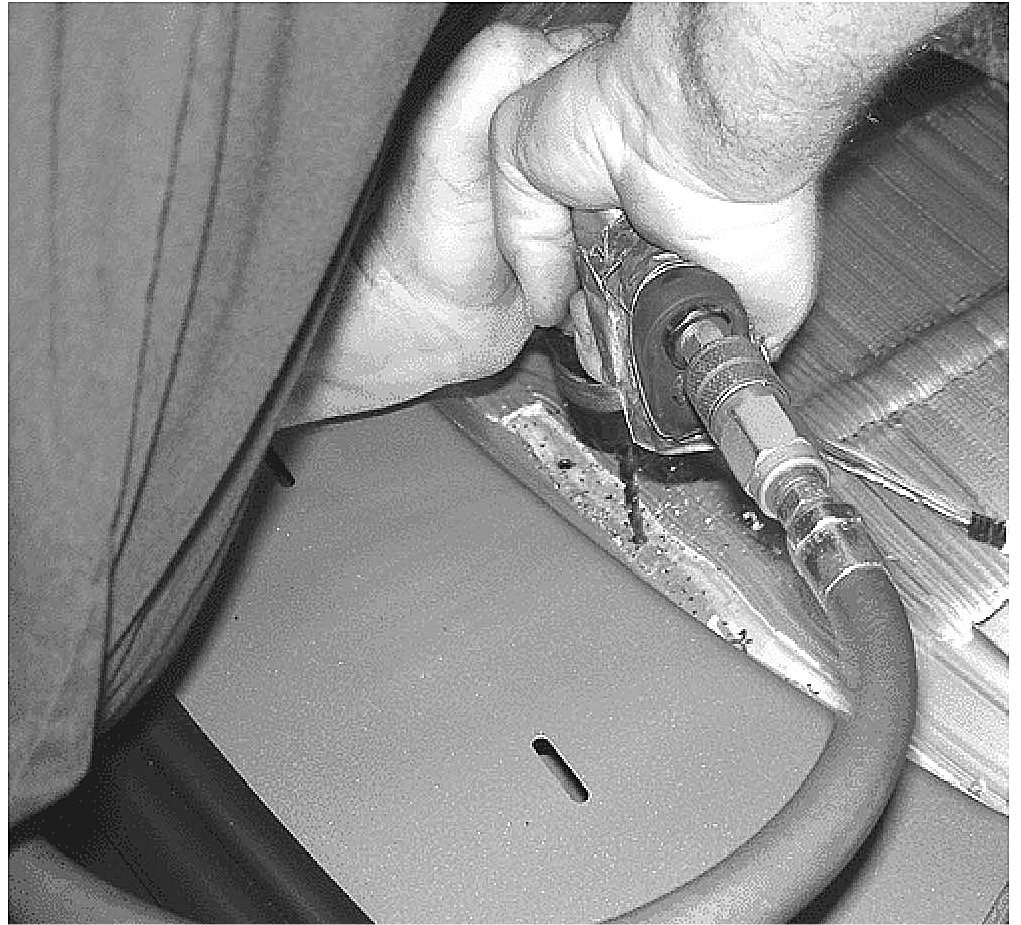
7. Drill a 6.8 mm (17/64 in) hole at each marked rivet location.
8. Vacuum the metal shavings and the remains of the sealer from the rear compartment floor pan.
9. Apply a thin coat of GM Vehicle Care Synthetic Lubricant with Teflon or equivalent rust-preventative lubricant to the exposed metal around the rivet holes.
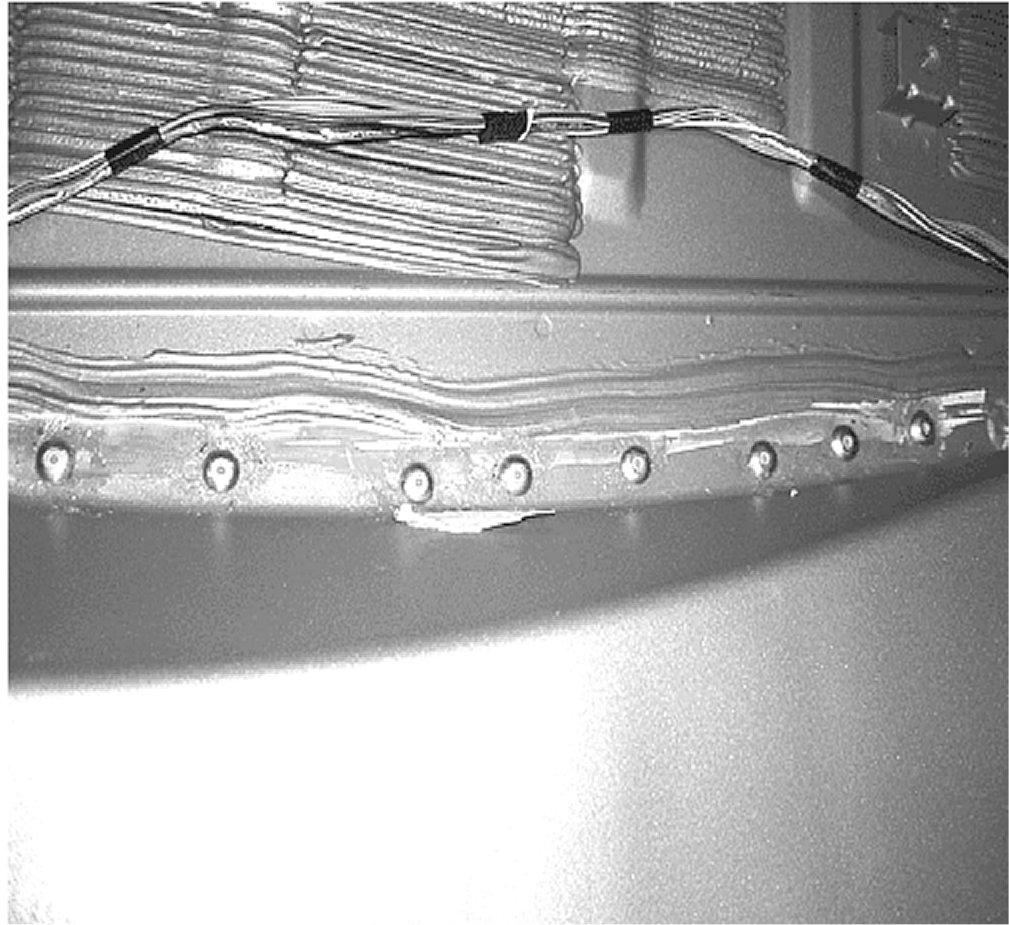
10. Install rivets into the nine (9) required rivet hole locations. Install rivets from the topside of floor pan.
11. Apply GM Vehicle Care Medium Body Seam Sealing Compound Urethane, High Tech Seam Sealer by Kent Automotive, P/N 10200, or an equivalent body seam sealing compound on top of and around the rivet. Use a generous portion of the body seam sealing compound.
Important:
Refer to the body seam sealing compound for dry time. The body seam sealing compound recommended for this repair is tack free in one hour. Allow the body seam sealing compound to dry to the recommended tack free time specified on the package of the body seam sealing compound.
12. Write the time that the sealer was applied to the floor pan on the floor pan. Allow the body seam sealing compound to dry until tack free before installing the carpet, liftgate sill plate, and cargo storage unit. Proceed to the Engine/Transmission Mount Drain Hole Procedure below.
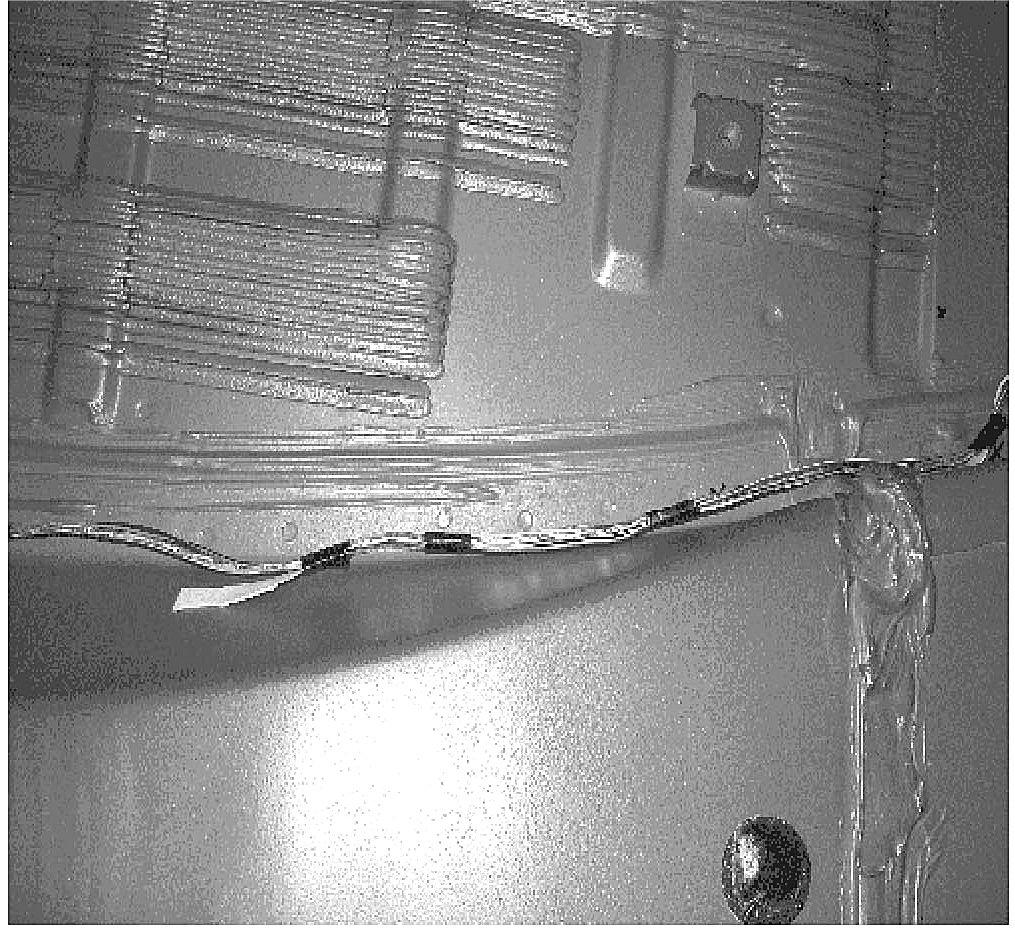
13. Tape the wire harness to the factory location.
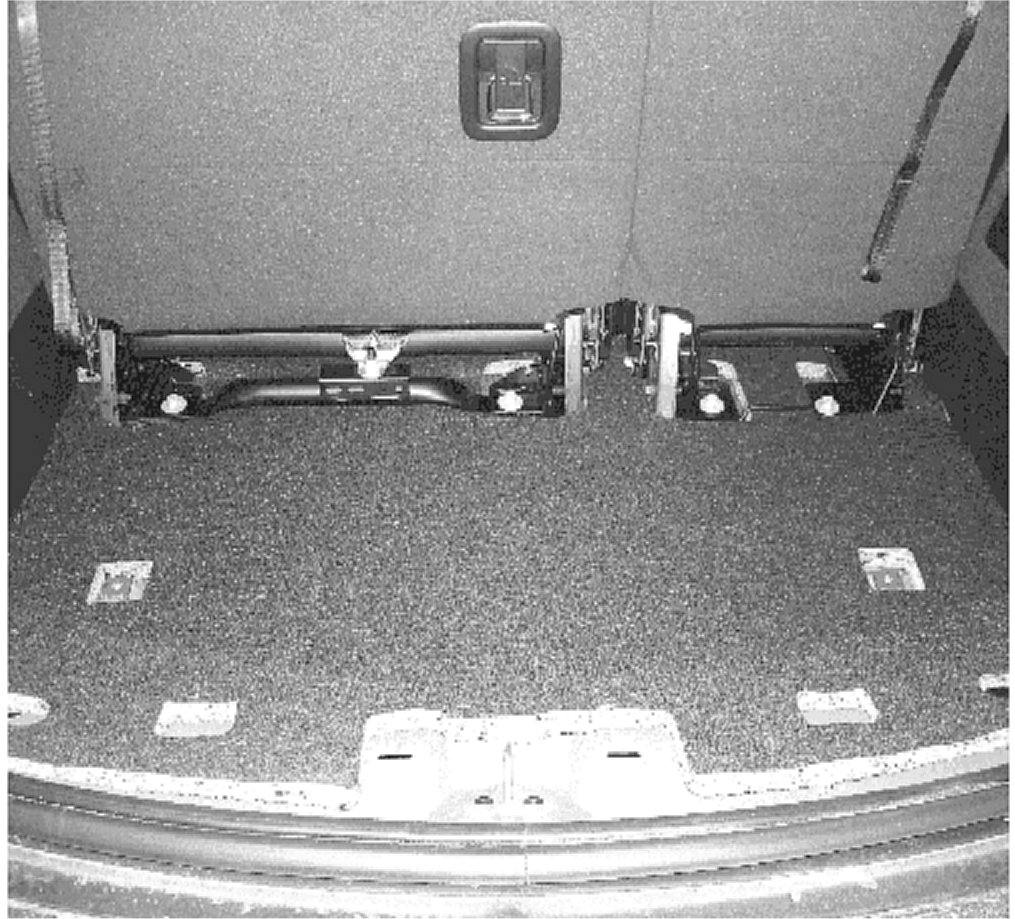
14. Install the rear compartment floor pan carpet. Ensure that the carpet is fit properly underneath the the rear quarter panel trim.
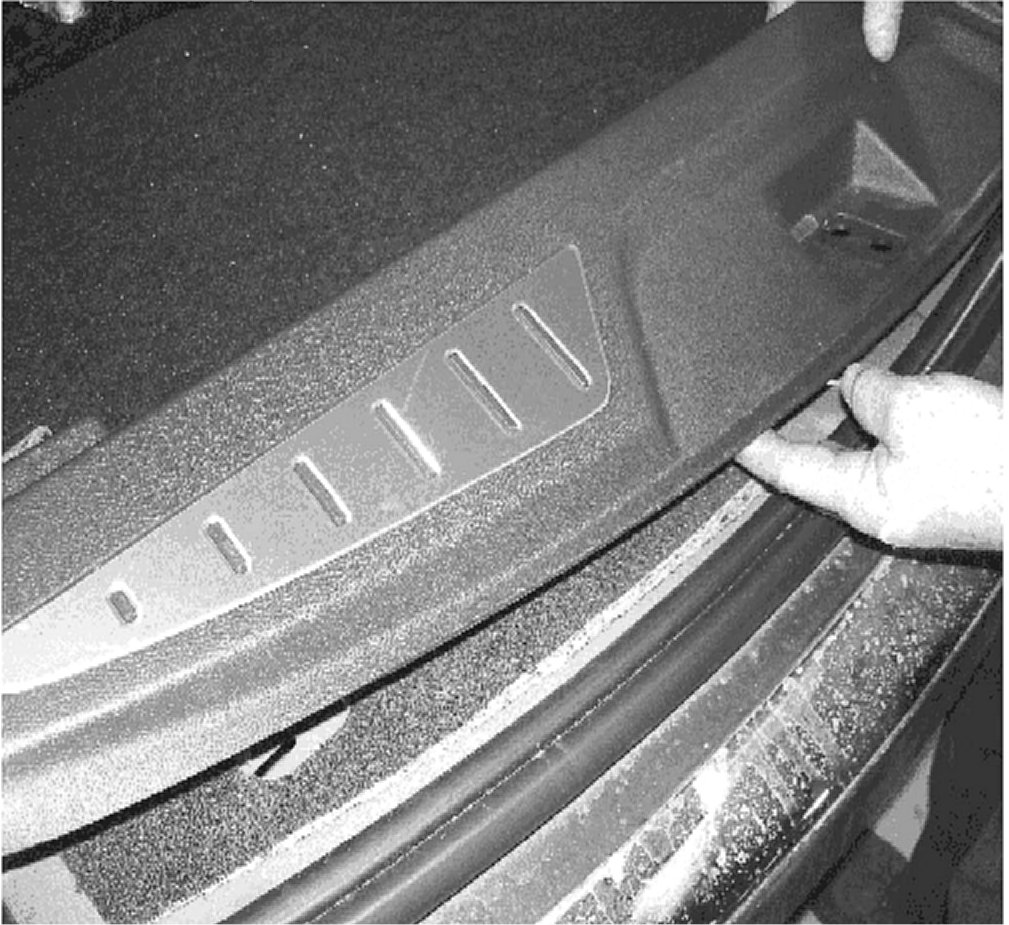
15. Install the liftgate sill plate assembly. Push down on the liftgate sill plate assembly to snap the clips into place.
16. Install the cargo storage unit into the rear compartment of the vehicle.
16.1 Place the cargo storage unit into the rear compartment of the vehicle.
16.2 Raise the cargo storage bin center door.
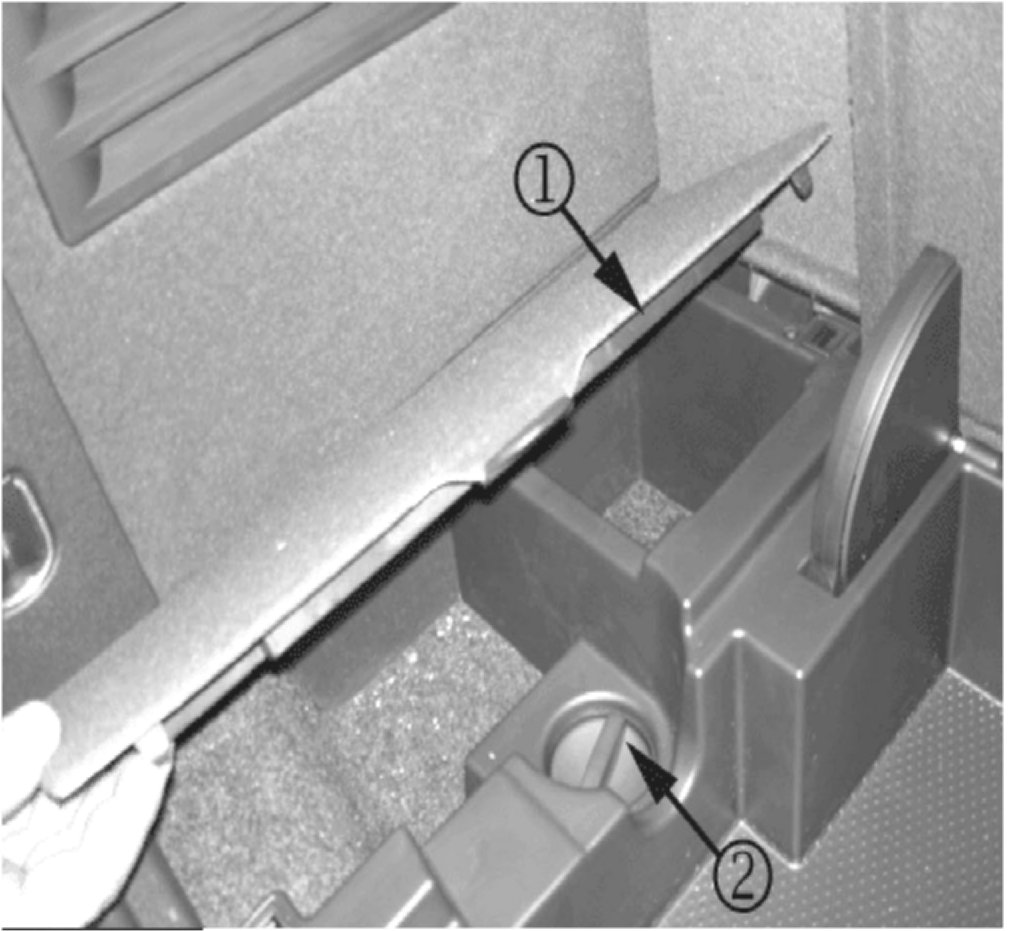
16.3 Tighten the cargo storage unit fasteners (2).
16.4 Install the cargo storage unit side panels (1).
16.5 Close the cargo storage unit bin door.