Door Body Side Molding Replacement (Chevrolet)
WARNING: This page is about a different car, the 2010 GMC Sierra, 2010 GMC Cab & Chassis Sierra, 2010 Chevrolet Silverado, and 2010 Chevrolet Cab & Chassis Silverado. However, it is still accessible from the selected car via links, so may be relevant.
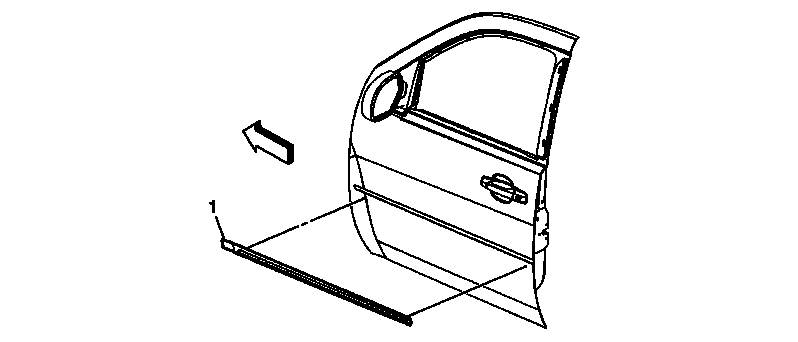 Courtesy of GENERAL MOTORS CORP.
| Callout |
Component Name |
| 1 |
Front Side Door Molding Procedure
- Use a strip of masking tape on the topside of the molding to mark the position of the molding prior to removing the old molding for replacement.
- The part and surface should be 21°C (70°F) prior to installation. The vehicle should remain 21°C (70°F) for one hour after assembly to allow adhesive to develop sufficient bond strength.
- Using a J 25070
Heat Gun in a circular motion, warm the front side door molding prior to removal. Carefully clean the body panel thoroughly prior to bonding the new front body side molding to the door.
- Ensure the front door is in the closed position prior to installing the new front side door molding.
- Remove the protective liner from the backside of the molding adhesive tape.
- Ensure full adhesion of the molding to the door using the palm of the hand with a clean dry towel working from the rear edge of the door to the front, down the entire molding.
- Remove the masking tape from the door.
|