Removal Procedure
- Disconnect the battery. Refer to BATTERY NEGATIVE CABLE DISCONNECT/CONNECT PROCEDURE
in Engine Electrical.
- Raise the vehicle. Refer to LIFTING AND JACKING THE VEHICLE
in General Information.
- Drain the transmission fluid. Refer to AUTOMATIC TRANSMISSION FLUID/FILTER REPLACEMENT
- Remove the rear propeller shaft. Refer to PROPELLER SHAFT REPLACEMENT - REAR
in Propeller Shaft.
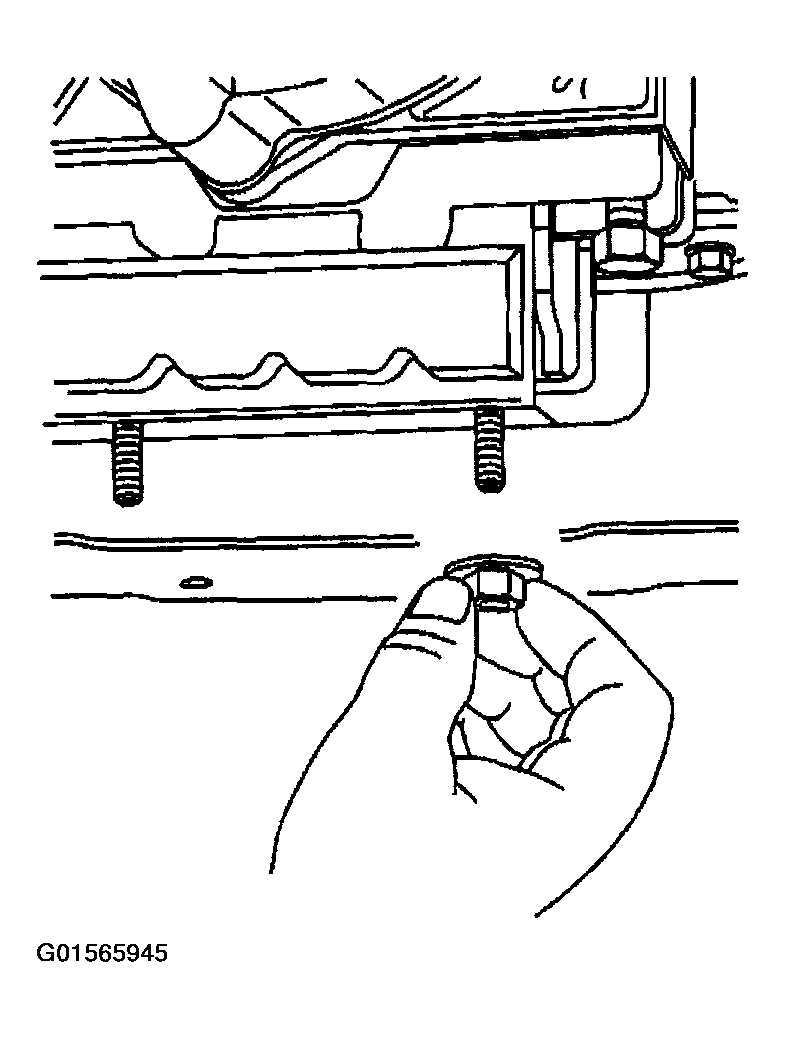
- Support the transmission with a transmission jack.
 Courtesy of GENERAL MOTORS CORP.
- Remove the nut (2WD) or nuts (AWD) securing the transmission mount to the transmission support.
- Raise the transmission slightly and remove the transmission support from the vehicle.
- Remove the front exhaust pipe assembly. Refer to CATALYTIC CONVERTER REPLACEMENT (RWD)
or CATALYTIC CONVERTER REPLACEMENT (A4WD)
in Engine Exhaust.
- Remove the starter motor. Refer to STARTER MOTOR
in Engine Electrical.
- Lower the transmission to gain access to the top and sides of the transmission.
- Disconnect the vent tube hose and the electrical connections from the transfer case, if equipped.
- Remove the transmission mount. Refer to TRANSMISSION MOUNT REPLACEMENT .
- Remove the transfer case, if equipped. Refer to TRANSFER CASE ASSEMBLY REPLACEMENT
in Transfer Case - NVG 136-NP4 (One Speed Automatic).
- Remove the range selector cable end from the transmission range selector lever ball stud and bracket. Refer to AUTOMATIC TRANSMISSION RANGE SELECTOR CABLE REPLACEMENT .
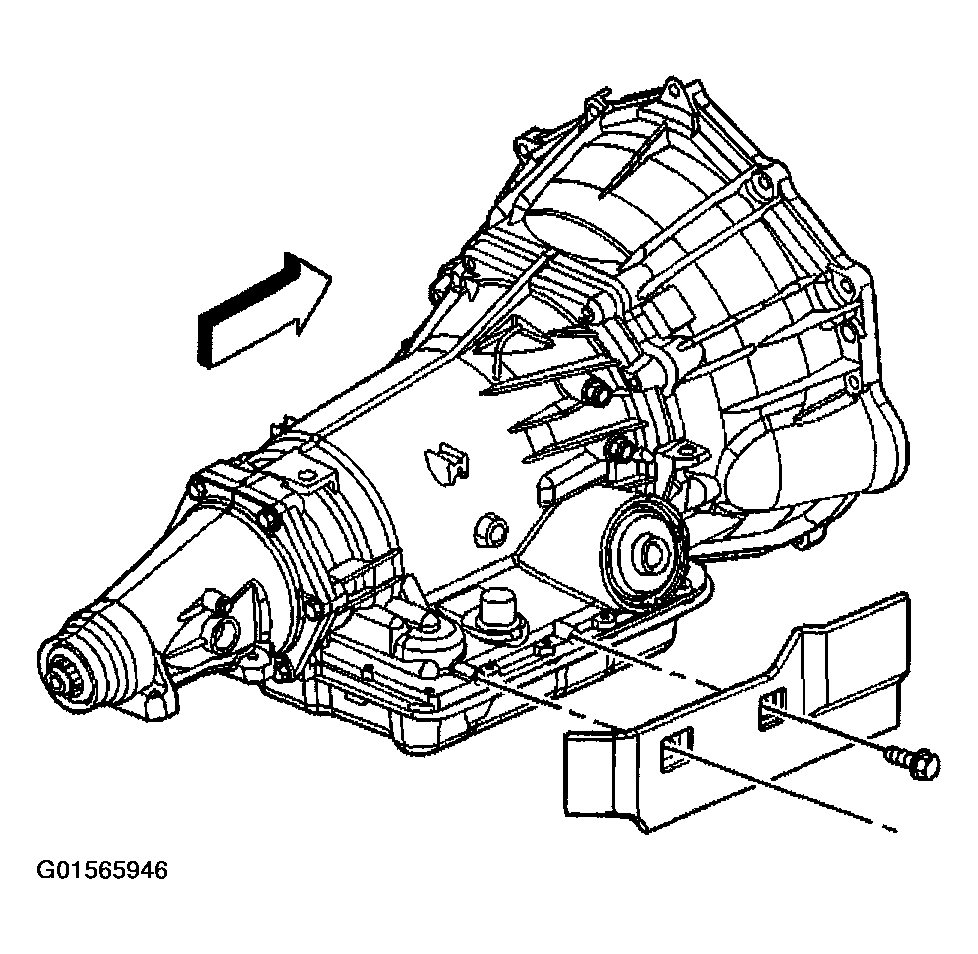
- Remove the transmission heat shield. Refer to HEAT SHIELD REPLACEMENT .
 Courtesy of GENERAL MOTORS CORP.
- Disconnect the transmission vent hose, the park/neutral position switch connector, and the main electrical connector from the transmission. Refer to PARK/NEUTRAL POSITION SWITCH REPLACEMENT .
- Remove the bolt that secures the fuel line bracket to the left side of the transmission.
- Remove the torque converter access plug.
- Remove the flywheel to torque converter bolts.
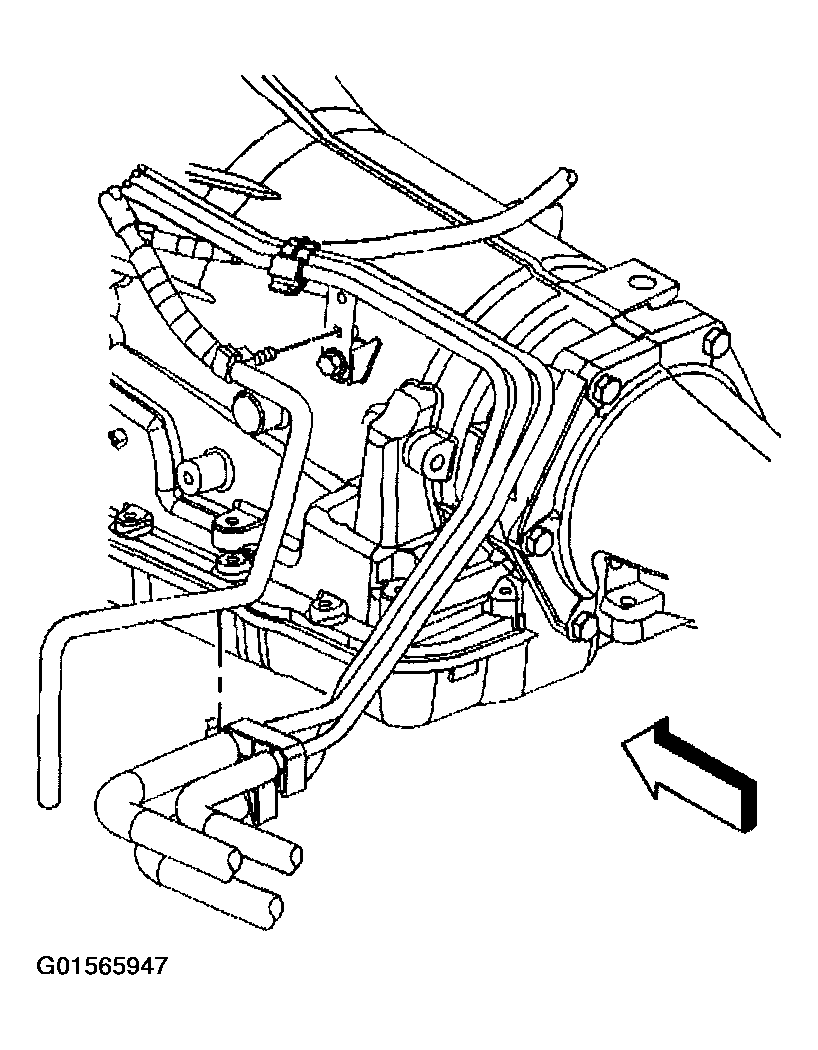
- Disconnect the transmission oil cooler pipes from the transmission. Refer to TRANSMISSION FLUID COOLER HOSE/PIPE REPLACEMENT .
 Courtesy of GENERAL MOTORS CORP.
- Plug the transmission oil cooler pipe connectors in the transmission case.
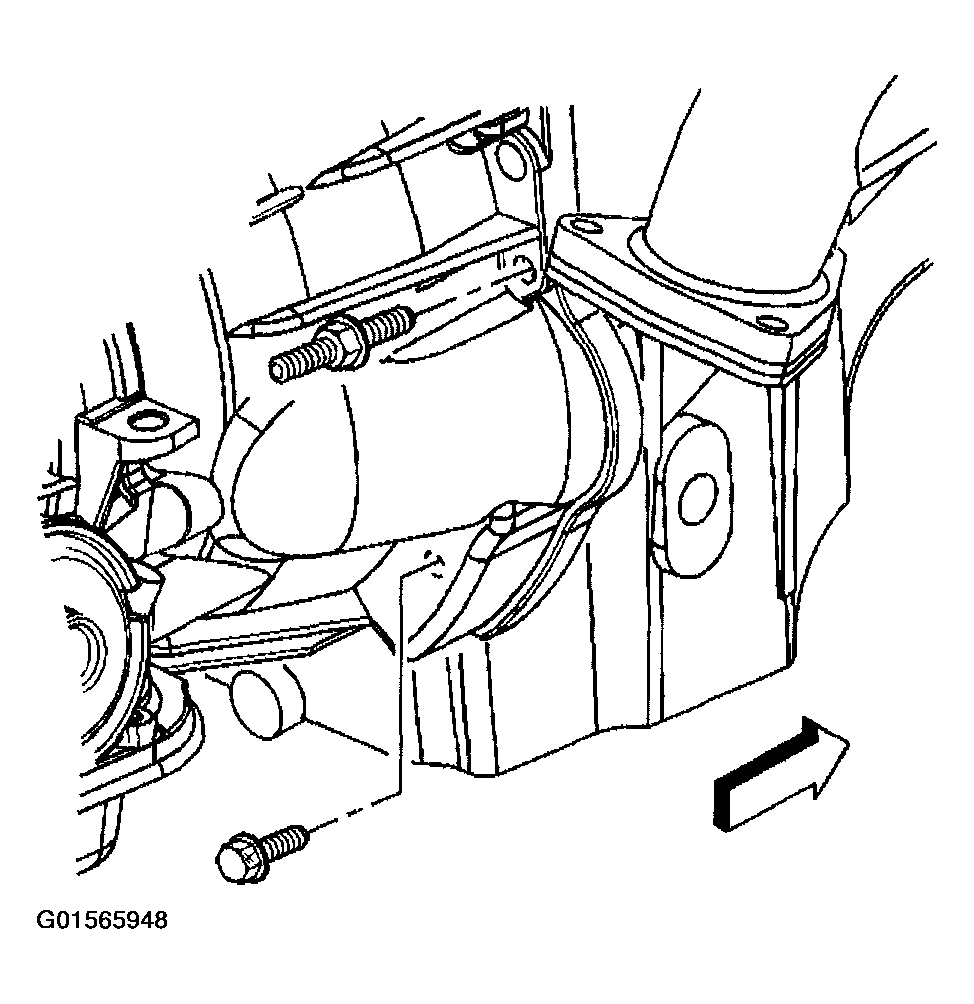
- Remove the stud and the bolt securing the transmission to the engine.
 Courtesy of GENERAL MOTORS CORP.
- Remove the six studs and one bolt securing the transmission to the engine.
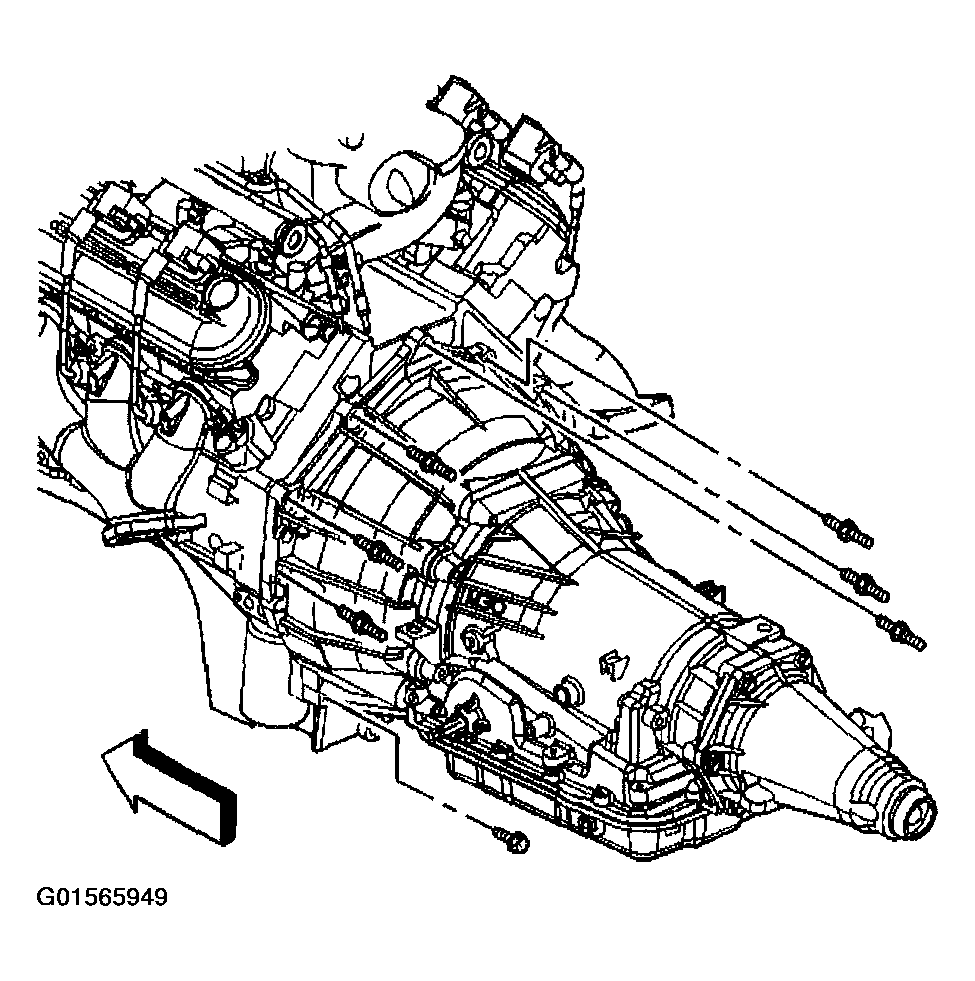 Courtesy of GENERAL MOTORS CORP.
- Install the J 21366
onto the transmission bell housing to retain the torque converter.
- Pull the transmission straight back.
- Remove the transmission from the vehicle while simultaneously removing the fluid level indicator tube.