Removal Procedure
- Raise and support the vehicle. Refer to LIFTING AND JACKING THE VEHICLE
in General Information.
- Remove the tire and the wheel. Refer to TIRE AND WHEEL REMOVAL AND INSTALLATION
in Tires and Wheels.
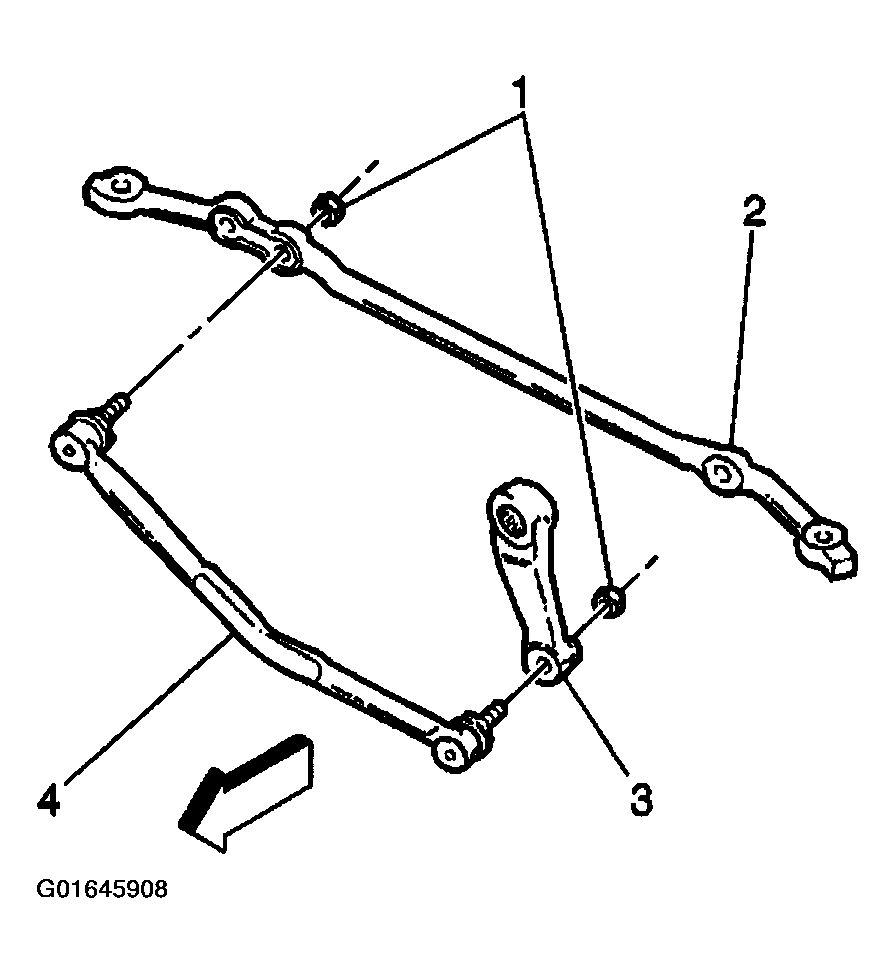
- Remove the pitman arm (3) to connecting rod (4) retaining nut (1).
 Courtesy of GENERAL MOTORS CORP.
- Disconnect the pitman arm from the connecting rod.
- Remove the stabilizer links. Refer to STABILIZER SHAFT LINK REPLACEMENT (RWD)
or STABILIZER SHAFT LINK REPLACEMENT (AWD)
in Front Suspension.
- Rotate the stabilizer shaft downward.
- Lower the vehicle.
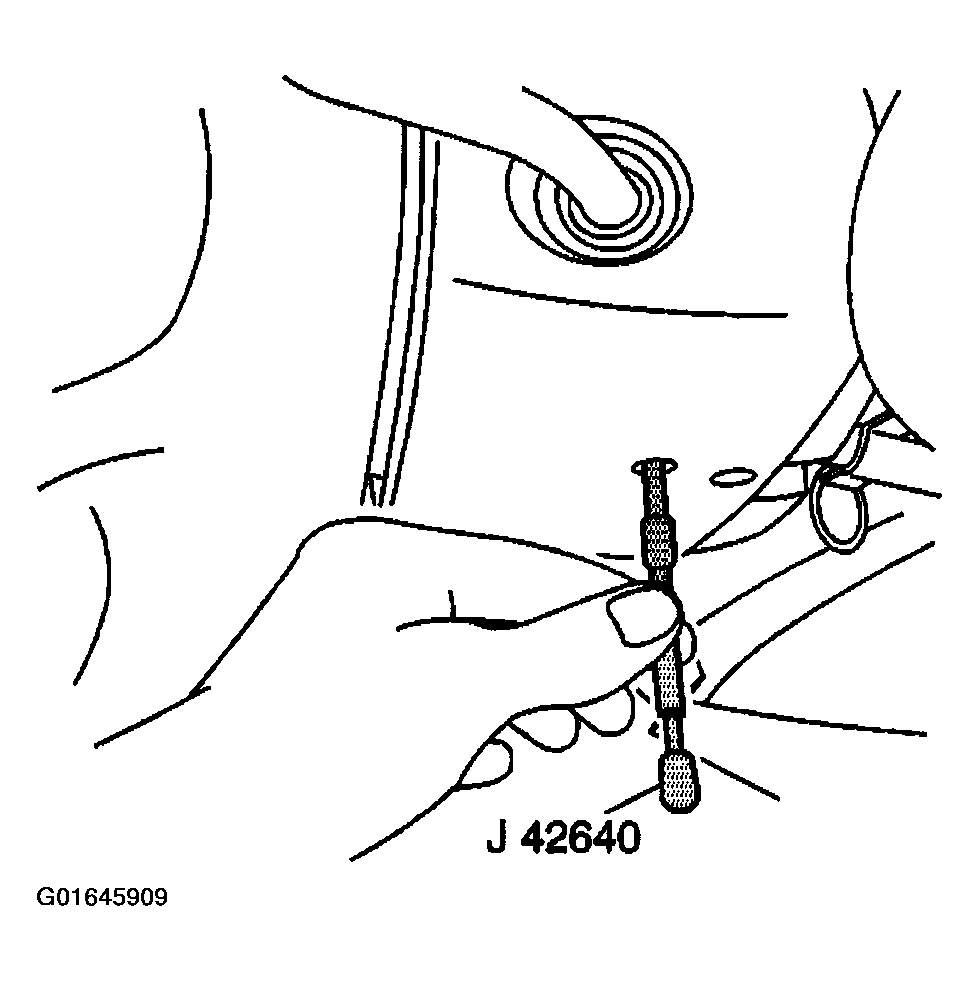
- Install the J 42640
into the lower steering column trim cover in order to lock the steering column.
 Courtesy of GENERAL MOTORS CORP.
- Remove the lower fan shroud. Refer to FAN SHROUD REPLACEMENT - LOWER
in Engine Cooling.
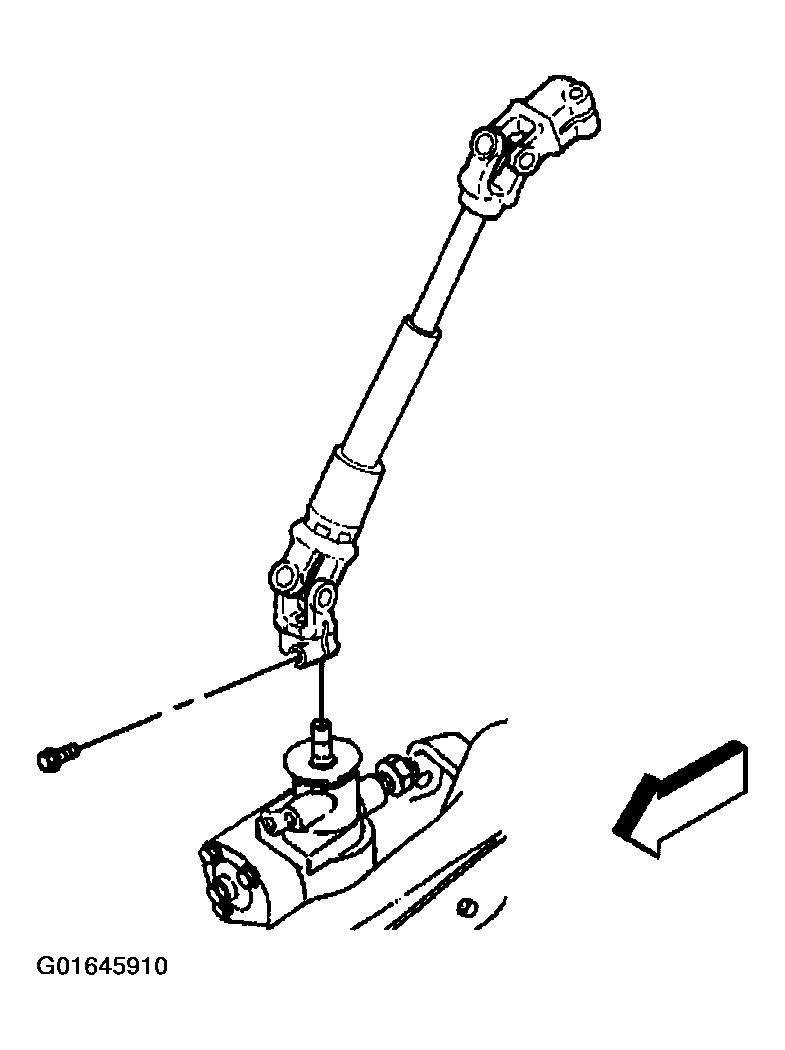
- Remove the intermediate shaft to power steering gear pinch bolt.
 Courtesy of GENERAL MOTORS CORP.
- Disconnect the intermediate shaft from the power steering gear.
- Place a drain pan under the vehicle.
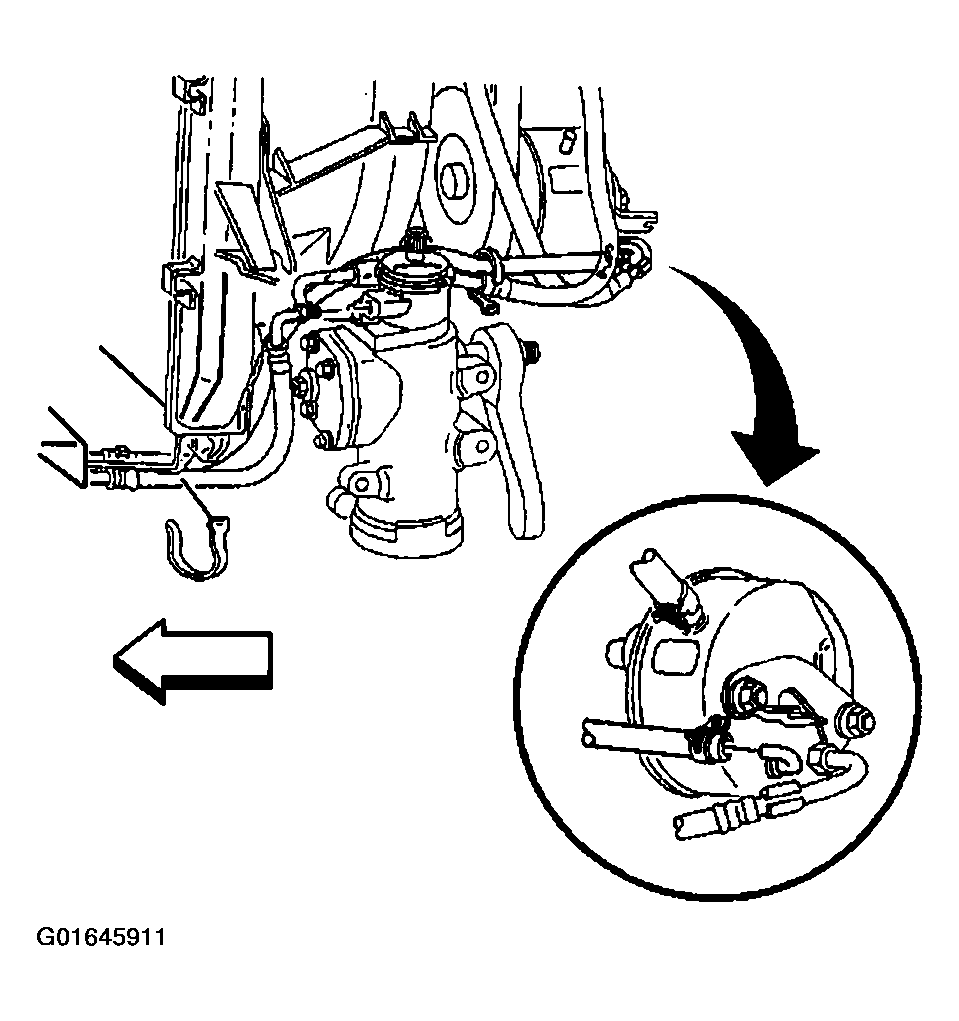
- Disconnect the power steering cooler hose from the power steering gear.
 Courtesy of GENERAL MOTORS CORP.
- Disconnect the hydraulic brake booster from the power steering gear.
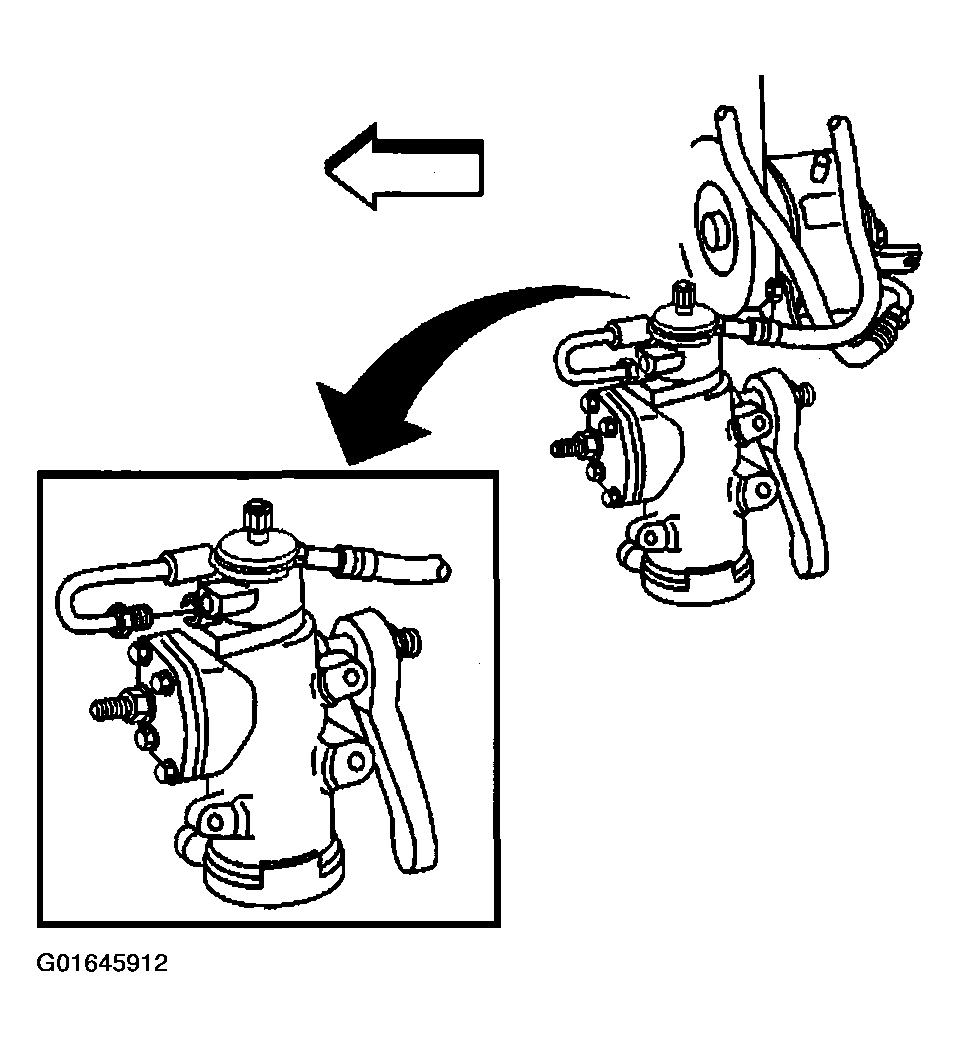 Courtesy of GENERAL MOTORS CORP.
- Raise the vehicle. Refer to LIFTING AND JACKING THE VEHICLE
in General Information.
- Remove the power steering gear mounting bolts.
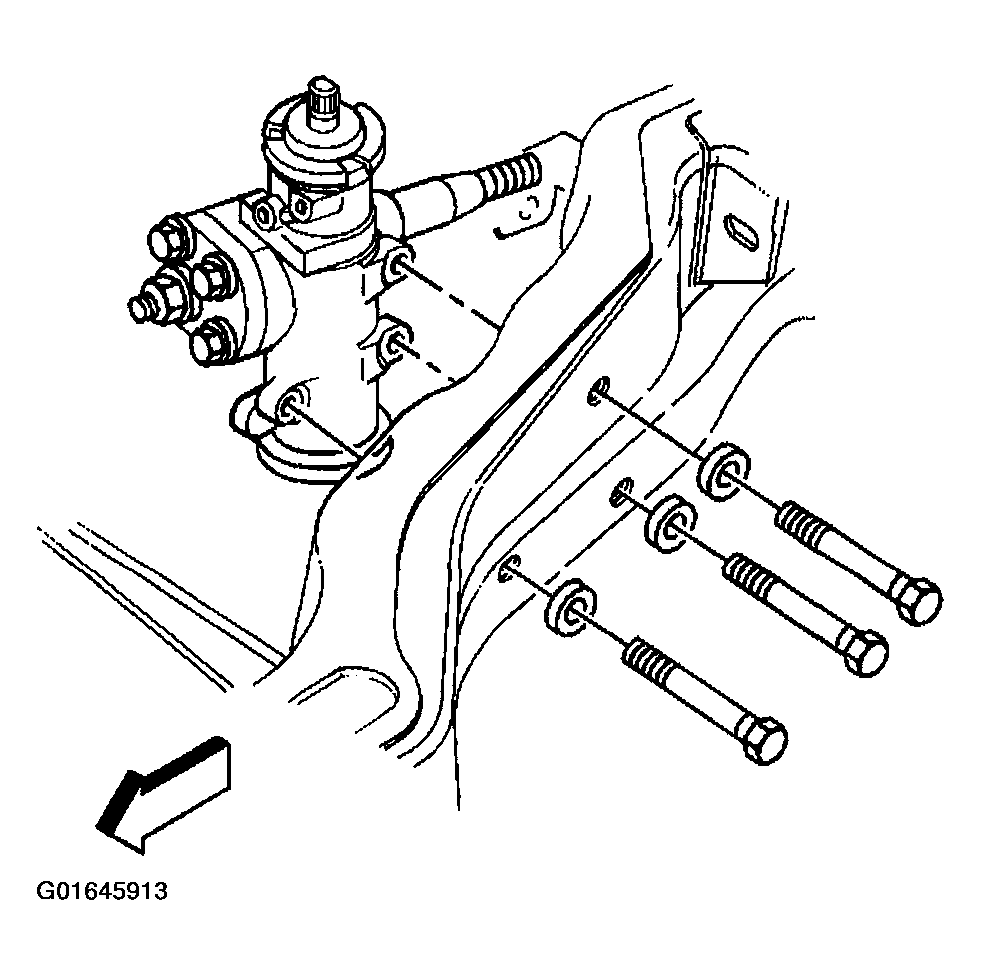 Courtesy of GENERAL MOTORS CORP.
- Lower the vehicle.
- Remove the power steering gear.
- Remove the pitman arm from the power steering gear, Refer to STEERING LINKAGE (NON-RACK & PINION)
or STEERING LINKAGE (NON-RACK & PINION)
in Steering Linkage.