Removal & Installation (Metal Collar)
- Release fuel pressure. See FUEL SYSTEM PRESSURE RELEASE
. Remove the retainer from the disconnect fitting.
- Blow any dirt out of the disconnect fitting using compressed air. Choose correct size fitting tool from Disconnect Fitting Tool Set (J-37088-A). Insert disconnect fitting tool into female connector, then push inward to release the locking tabs. See Fig 1
. Pull connection apart.
- Inspect all connections for dirt or burrs. If necessary, remove rust or burrs with an emery cloth. Using a clean shop towel, wipe off male tube ends. Clean or replace components and/or assemblies as necessary.
- To install, ensure fuel line and disconnect fitting are clean. Lubricate fuel line and disconnect fitting with clean engine oil. Push both sides of disconnect fitting together to cause retaining tabs to snap into place. After connecting fitting, ensure connection is secure by pulling on both sides of disconnect fitting. Install retainer into the disconnect fitting.
- Connect negative battery cable. Torque to specification. See TORQUE SPECIFICATIONS
. Turn ignition switch to ON position for 2 seconds. Turn ignition switch to OFF position for 10 seconds. Turn ignition switch to ON position. Check for fuel leaks. Repair as necessary.
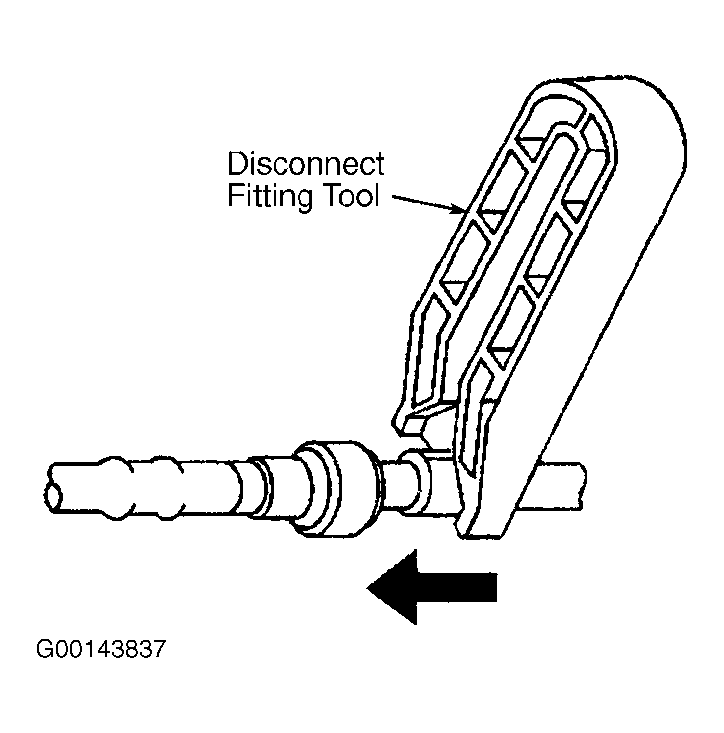 Courtesy of GENERAL MOTORS CORP.
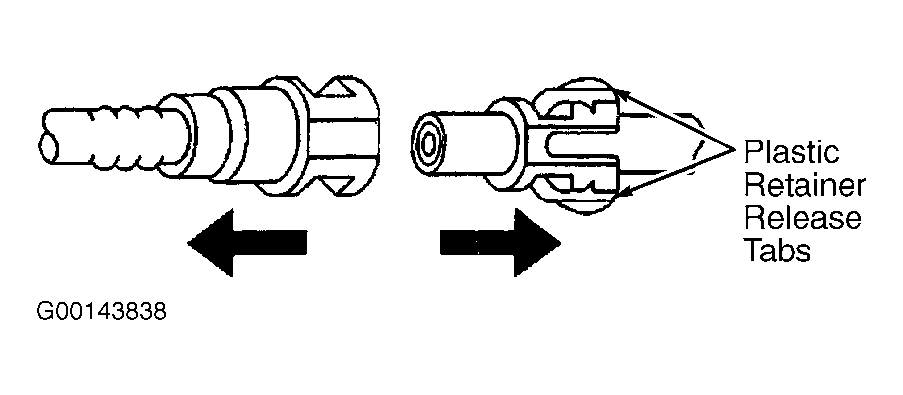 Courtesy of GENERAL MOTORS CORP.