Part 1
Camshaft
Removal
NOTICE: During engine repair procedures, cleanliness is extremely important. Any foreign material, including any material created while cleaning gasket surfaces, that enters the oil passages, coolant passages or the oil pan may cause engine failure.
All camshafts
1. With the vehicle in NEUTRAL, position it on a hoist.
2. Recover the A/C system.
3. Remove the cowl panel grille.
4. Detach the brake booster vacuum hose retainer from the strut tower brace.
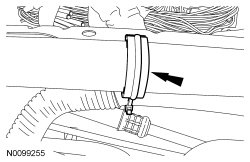
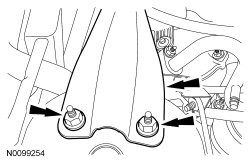
5. Remove the 4 nuts (2 shown) and the strut tower brace.
6. Release the fuel system pressure.
7. Remove the engine Air Cleaner (ACL) and ACL (Air Cleaner) outlet pipe.
8. Remove the battery tray.
9. Disconnect the engine wiring harness electrical connector.
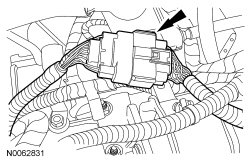
10. Remove the nut and disconnect the 2 power feed wires from the positive battery terminal.
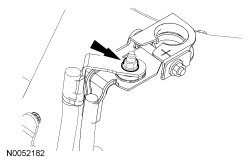
11. Remove the nut and disconnect the ground cable from the negative battery terminal.
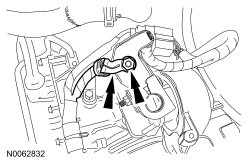
12. Drain the cooling system.
13. Remove the LF wheel and tire.
14. Remove the accessory drive belt and the power steering belt.
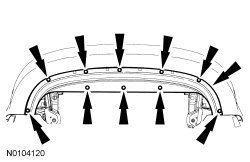
15. Remove the 3 pin-type retainers, 7 bolts and the front valance.
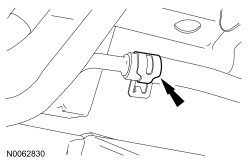
16. Disconnect the power steering cooler tube located at the left front subframe and drain the power steering fluid into a suitable container.
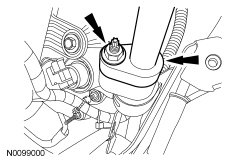
17. Remove the nut and disconnect the A/C tube.
- Discard the O-ring seal and gasket seal.
18. Remove the nut and the A/C tube.
- Discard the O-ring seal and gasket seal.
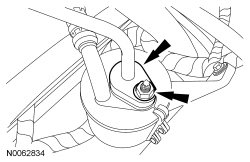
19. Remove the degas bottle.
20. Disconnect the vacuum hose and the Evaporative Emission (EVAP) tube from the upper intake manifold.
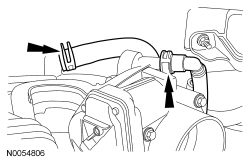
21. Detach the EVAP (Evaporative Emission) tube pin-type retainer from the upper intake manifold.
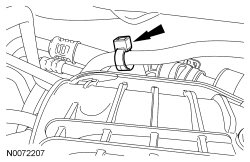
22. Remove the EVAP (Evaporative Emission) canister purge valve.
23. Disconnect the PCM and engine harness electrical connectors.
- Detach the wiring harness retainer.
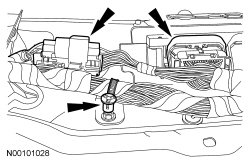
24. Disconnect the 2 PCM electrical connectors.
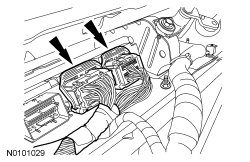
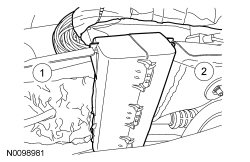
25. Remove the engine wiring harness retainer from the bulkhead.
1. Push the wiring harness retainer tab in.
2. Slide the wiring harness up and out of the bulkhead.
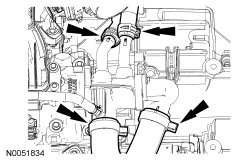
26. Disconnect the upper radiator hose, lower radiator hose and 2 heater hoses from the thermostat housing.