Antenna Cable - AM/FM
Antenna Cable - AM/FM
NOTE: Only the front AM/FM antenna cable is shown.
NOTE: Glove compartment shown removed for clarity.
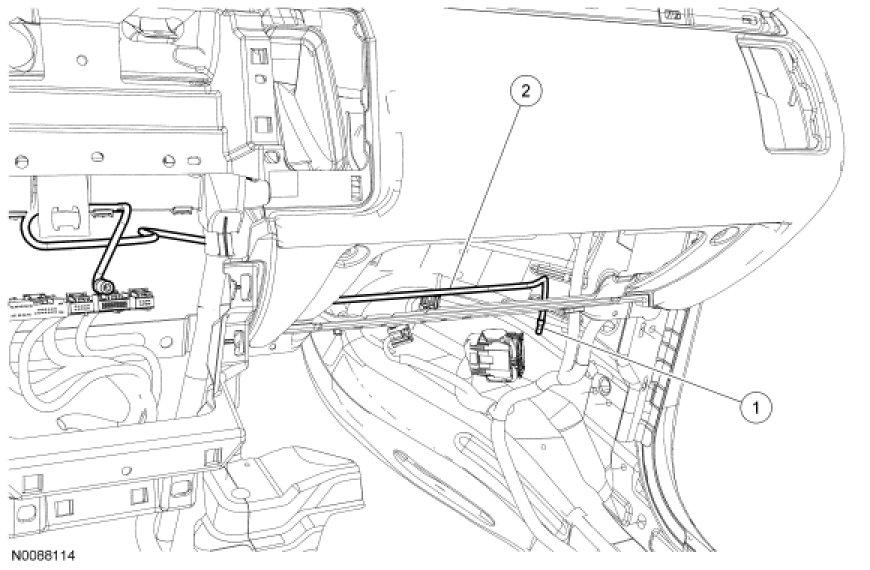

Removal and Installation
NOTE: Both the front and rear AM/FM antenna cables are part of the vehicle wiring harness. Because the cables cannot be removed from the harness, this procedure applies to replacement of the cables only.
Front cable
1. Remove the Audio Control Module (ACM). For additional information, refer to Audio Control Module (ACM) Audio Control Module (ACM).
2. Lower the glove compartment completely.
Rear cable
3. Remove the RH front scuff plate trim panel. For additional information, refer to Interior Trim and Ornamentation Service and Repair.
4. Remove the RH quarter trim panel. For additional information, refer to Interior Trim and Ornamentation Quarter Trim Panel.
5. Remove the LH D-pillar trim panel. For additional information, refer to Interior Trim and Ornamentation D-Pillar Trim Panel.
6. Remove the rear dome lamp. For additional information, refer to Interior Lamp in Interior Lighting Service and Repair.
7. Carefully lower the rear of the headliner to gain access to the antenna bolt.
8. Loosen the antenna cable bolt and disconnect the cable from the antenna.
- To install, tighten to 8 Nm (71 lb-in).
Both cables
9. NOTE: Pull the carpet back to access the antenna connection.
Disconnect the front-to-rear AM/FM antenna connection at the RH kick panel.
10. Cut the ends of the existing cable and tape them back to prevent NVH concerns.
11. To install, reverse the removal procedure.
- Overlay the new AM/FM antenna cable on the vehicle wiring harness, following the routing of the original cable.
- Secure the new AM/FM antenna cable with tape or zip ties, as necessary.