Part 1
Camshaft
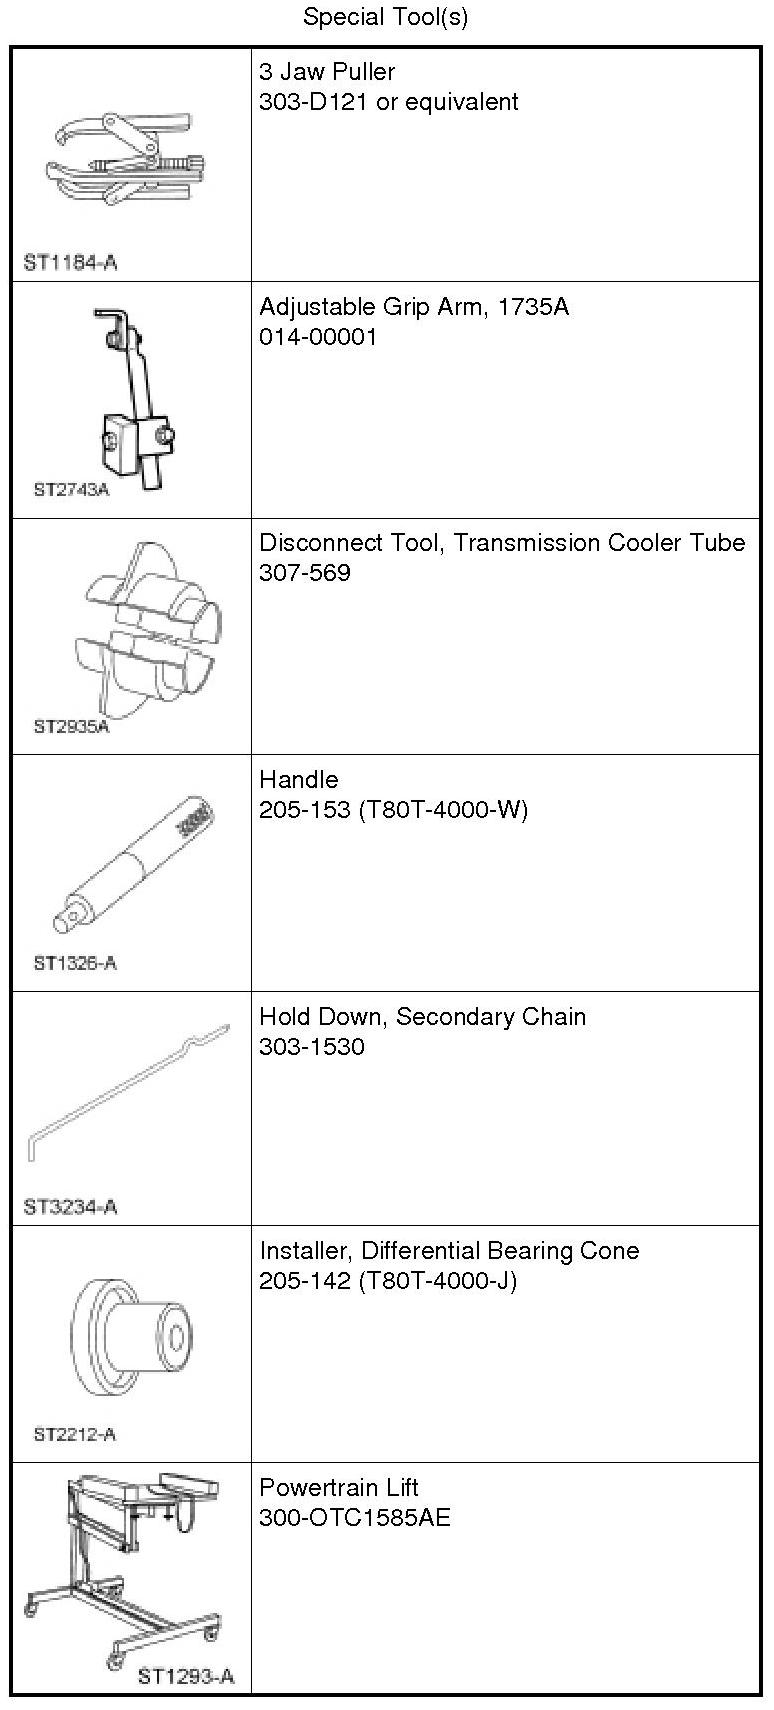
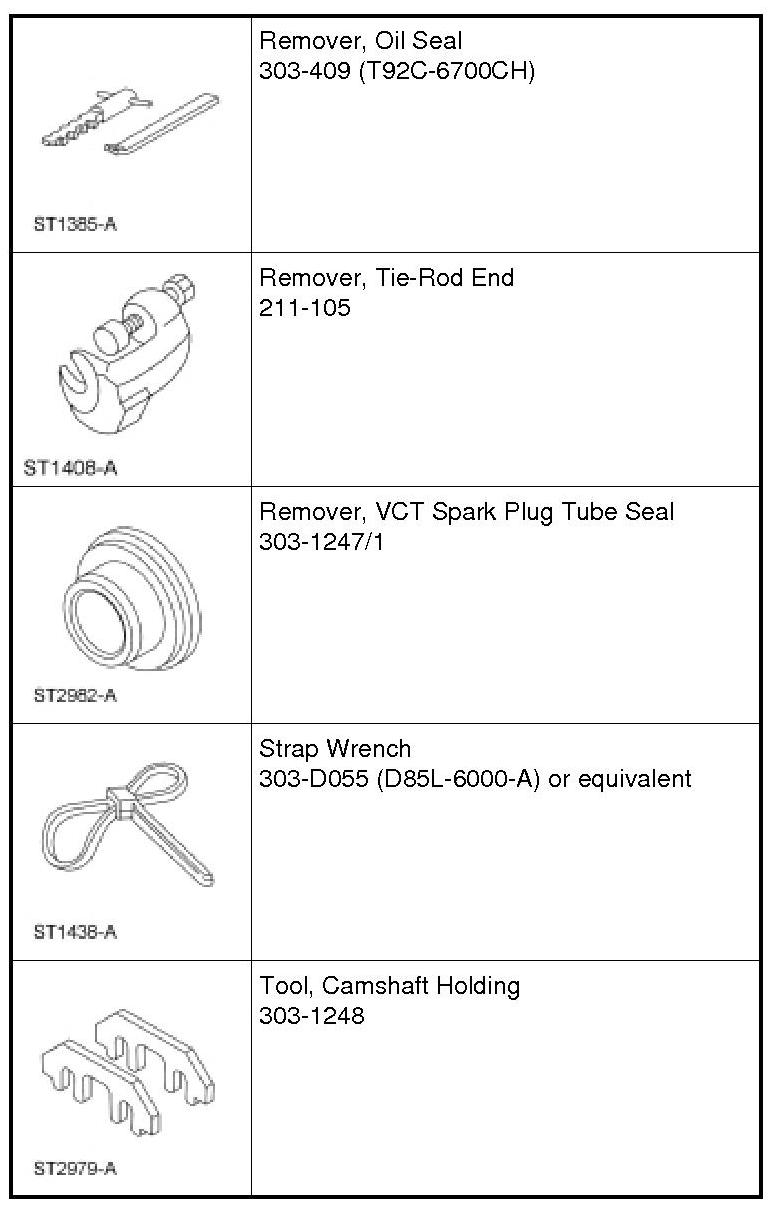
WARNING: Do not smoke, carry lighted tobacco or have an open flame of any type when working on or near any fuel-related component. Highly flammable mixtures are always present and may be ignited. Failure to follow these instructions may result in serious personal injury.
NOTICE: During engine repair procedures, cleanliness is extremely important. Any foreign material, including any material created while cleaning gasket surfaces that enters the oil passages, coolant passages or the oil pan, may cause engine failure.
All vehicles
1. With the vehicle in NEUTRAL, position it on a hoist.
2. Remove the engine appearance cover. For additional information, refer to Engine Appearance Cover- Exploded View [1][2]Access Cover, Engine.
3. Recover the A/C system.
4. Release the fuel system pressure.
5. NOTE: Use a steering wheel holding device (such as Hunter(R) 28-75-1 or equivalent).
Using a suitable holding device, hold the steering wheel in the straight-ahead position.
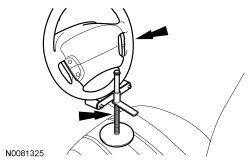
6. Drain the engine cooling system.
7. Remove the accessory drive belt and the power steering belt.
8. Remove the LH halfshaft and intermediate shaft.
9. Disconnect the power steering cooler hose and drain the power steering fluid into a suitable drain pan.
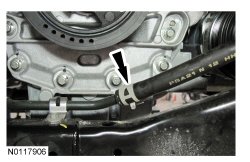
10. Remove the degas bottle.
11. Remove the engine Air Cleaner (ACL) and ACL (Air Cleaner) outlet pipe.
12. Remove the battery tray.
13. Remove the 2 nuts and disconnect the power feed from the battery terminal.
- Disconnect the wiring harness electrical connector.
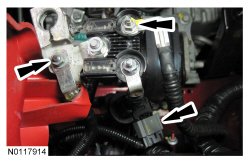
14. Remove the nut and the ground wire.
- Disconnect the wiring harness electrical connector.
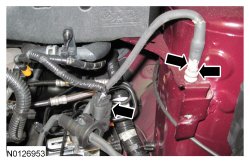
15. Detach the 2 wiring harness retainers from the stud bolt and bracket.
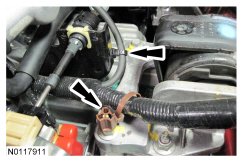
16. Disconnect the wiring harness electrical connector.
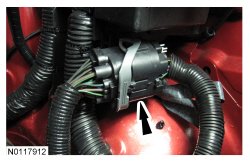
17. Detach the 3 wiring harness retainers from the bracket and inner fender.
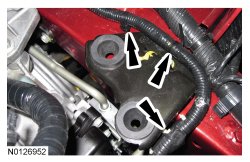
18. Disconnect the vacuum hose from the upper intake manifold.
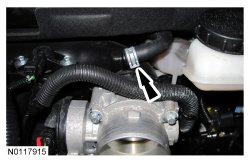
19. Disconnect the upper radiator hose, lower radiator hose and 2 heater hoses from the thermostat housing.
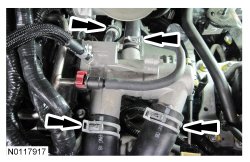
20. Disconnect the transaxle control cable from the control lever.
- Detach the control cable from the bracket.
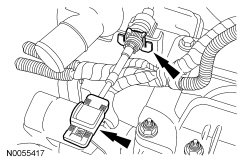
21. If equipped, detach the engine block heater harness retainers from the radiator support and the A/C suction tube.
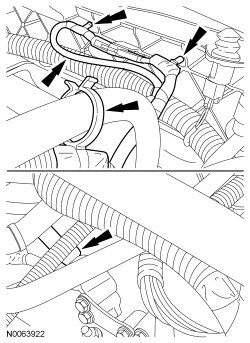
22. Remove the nut and disconnect the A/C pressure tube fitting.
- Discard the O-ring seal.
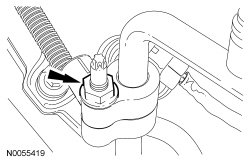
23. Remove the safety clip from the A/C fitting.
- Disconnect the A/C suction tube fitting.
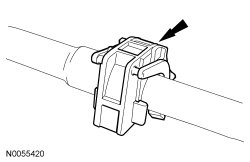
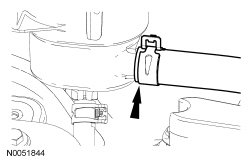
24. Disconnect the hose from the power steering reservoir.
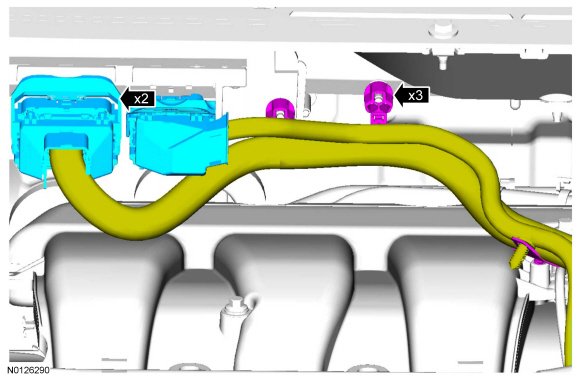
25. Disconnect the 2 PCM electrical connectors.
- Detach the 3 wiring harness retainers.
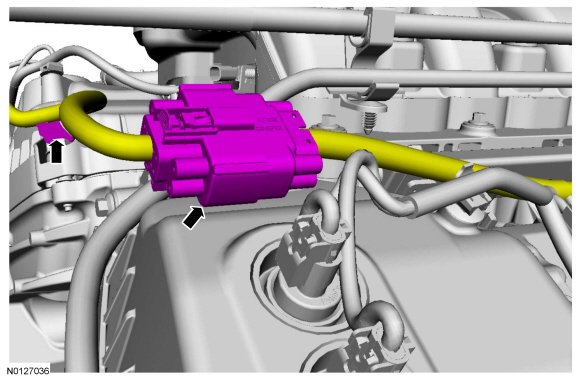
26. Disconnect the wiring harness electrical connector.
- Detach the wiring harness retainer from the RH valve cover stud bolt.
27. Remove the oil level indicator.
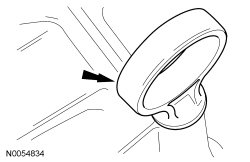
28. Remove the bolt and the ground wire from the engine front cover.
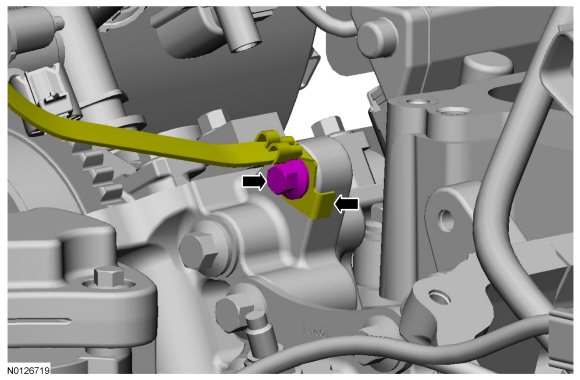
29. Remove the nut and the radio interference capacitor wire from the engine front cover stud.
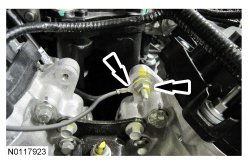
30. Remove the exhaust Y-pipe.
31. Remove the LH inner splash shield.
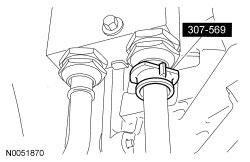
32. Remove the 2 secondary latches from the transmission fluid cooler tubes.
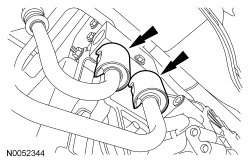
33. Using the Transmission Cooler Tube Disconnect Tool, disconnect the transmission cooling tubes.
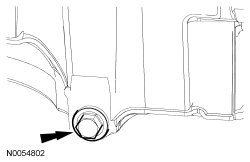
34. Remove the drain plug and drain the engine oil.
- Install the drain plug and tighten to 27 Nm (20 lb-ft).
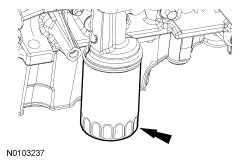
35. Remove and discard the engine oil filter.
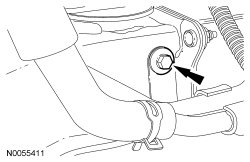
36. Remove the power steering cooler bracket bolt from the RH side of the subframe.
All-Wheel Drive (AWD) vehicles
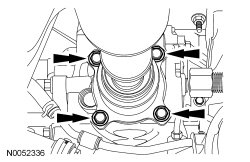
37. NOTE: Index-mark the driveshaft for installation.
Remove the 4 bolts and support the driveshaft with a length of mechanic's wire.
All vehicles
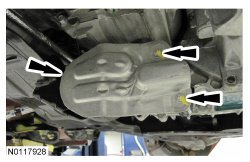
38. Remove the 2 nuts and the roll restrictor heat shield.
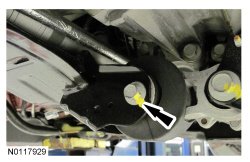
39. Remove the engine roll restrictor-to-subframe through bolt.
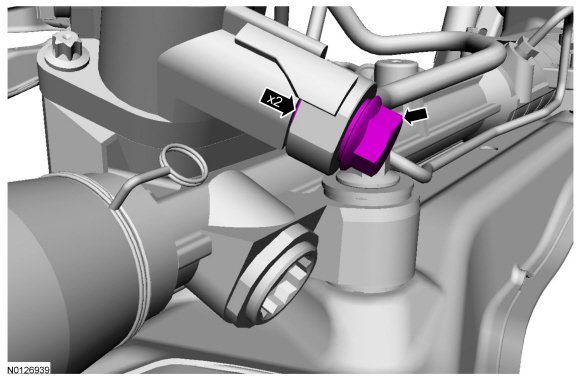
40. Remove and discard the Power Steering Pressure (PSP) tube-to-steering gear banjo bolt and the 2 seals.