Driveshaft - Rear, Two-Piece
Driveshaft - Rear, Two-Piece, Four Wheel Drive (4WD)
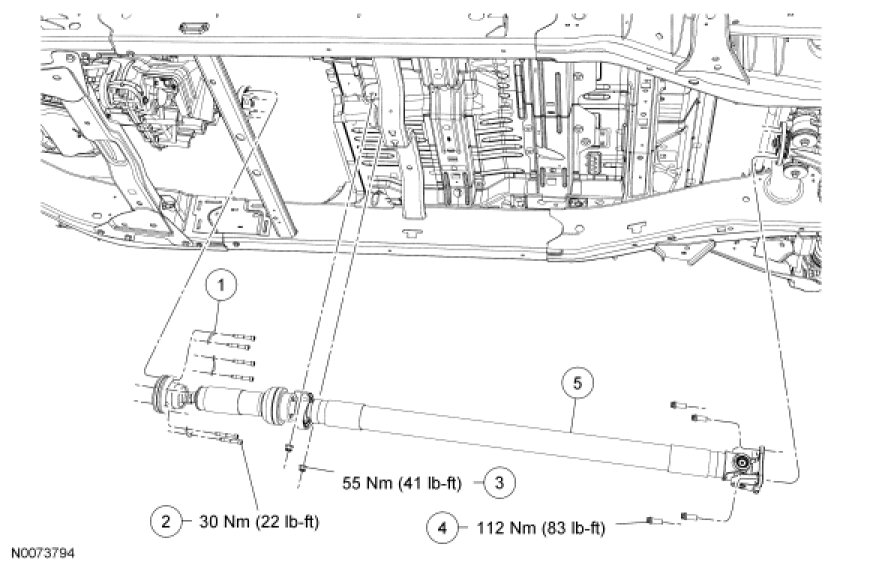
1. With the vehicle in NEUTRAL, position it on a hoist. For additional information, refer to Vehicle Jacking and Lifting.
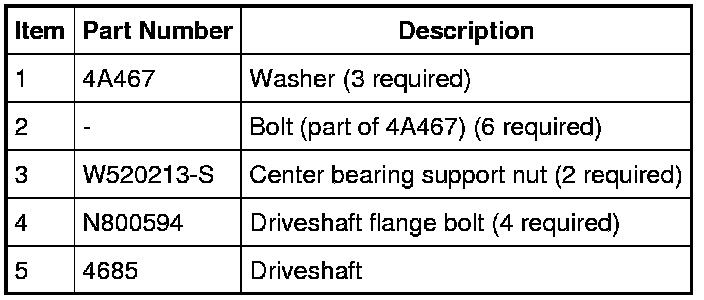
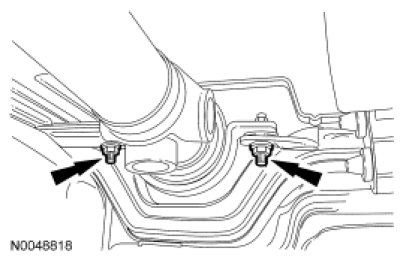
2. Remove the 2 nuts from the driveshaft center bearing bracket.
- To install, tighten to 55 Nm (41 lb-ft).
3. Index-mark the CV joint to the transfer case output flange.
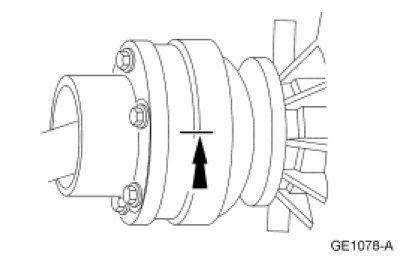
4. Index-mark the rear U-joint flange to the differential pinion flange.
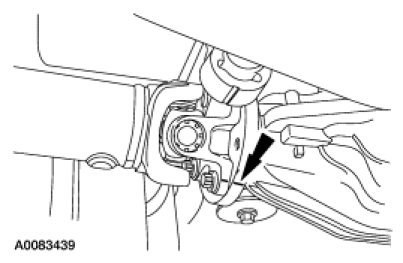
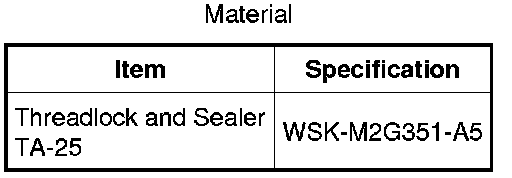
5. NOTE: If new CV flange bolts and washers are not available and the originals are not damaged, they can be reused if the threads are coated with threadlock and sealer.
Remove and discard the 6 CV joint bolts and 3 CV joint washers.
- To install, tighten the 6 new bolts to 30 Nm (22 lb-ft).
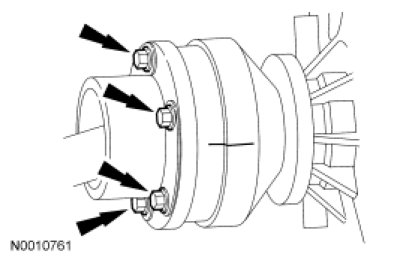
6. NOTE: If new flange bolts are not available and the originals are not damaged, they can be reused if the threads are coated with threadlock and sealer.
Remove and discard the 4 driveshaft flange bolts.
- To install, tighten the 4 new bolts to 112 Nm (83 lb-ft).
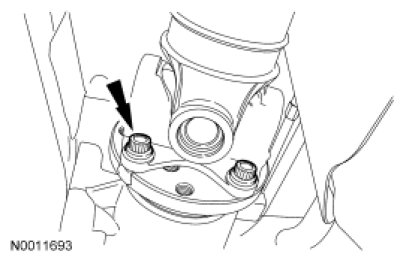
7. NOTE: Never hammer on the driveshaft, or any of its components, to disconnect the driveshaft flange from the differential pinion flange.
Using a suitable tool, pry only in the area shown to separate the driveshaft flange and the differential pinion flange.
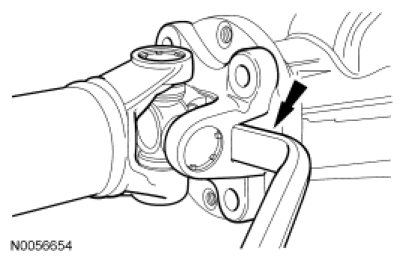
8. Slide the driveshaft toward the rear of the vehicle, while maneuvering the front section over the top of the vehicle frame crossmember and remove the driveshaft.
9. To install, reverse the removal procedure.