Pinpoint Test J: The STOPLAMPS Are Inoperative
- J1 CHECK CIRCUIT 10 (LG/RD) FOR VOLTAGE
- Key in OFF position.
- Disconnect: Stoplamp Switch C278.
- Measure the voltage between the stoplamp switch C278-2, circuit 10 (LG/RD), harness side and ground.
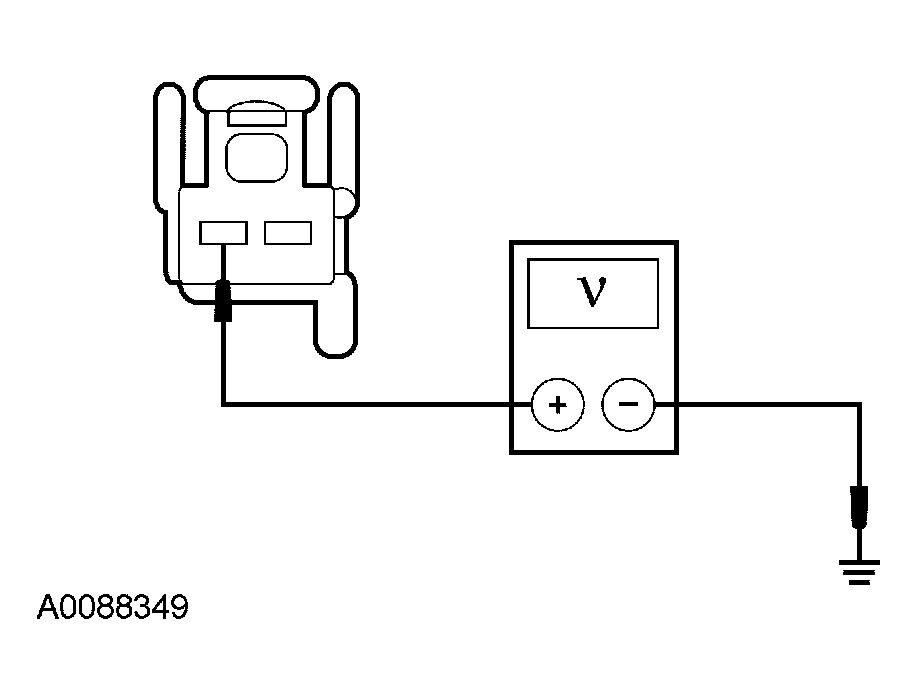 Courtesy of FORD MOTOR CO.
- Is the voltage greater than 10 volts?
- Yes
: GO to J2.
- No
: GO to J3.
- J2 CHECK THE STOPLAMP SWITCH
- Connect a fused (15A) jumper wire between the stoplamp switch C278-2, circuit 10 (LG/RD), harness side and the stoplamp switch C278-1, circuit 511 (LG), harness side.
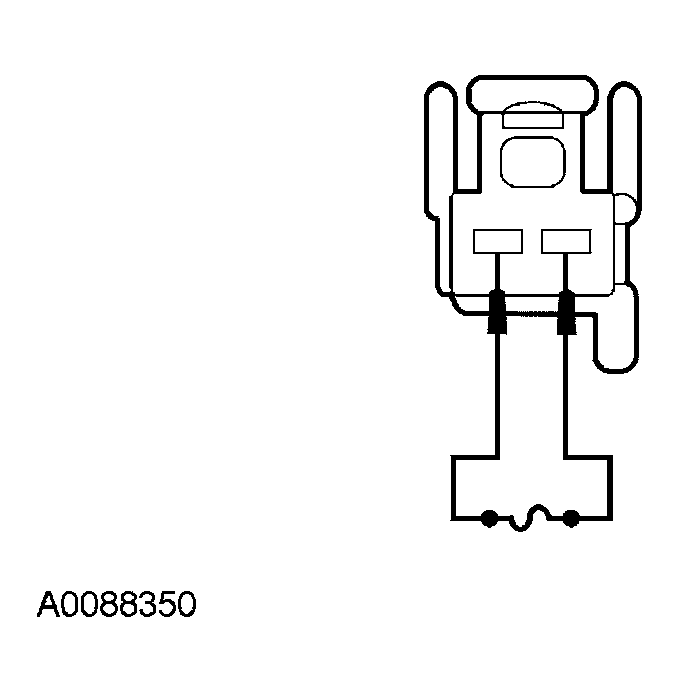 Courtesy of FORD MOTOR CO.
- Are the stoplamps illuminated?
- Yes
: INSTALL a new stoplamp switch. REFER to STOPLAMP SWITCH . TEST the system for normal operation.
- No
: REPAIR circuit 511 (LG). TEST the system for normal operation.
- J3 CHECK CIRCUIT 10 (RD/LG) FOR AN OPEN
- Disconnect: Smart Junction Box (SJB) C2280c.
- Measure the resistance between the SJB C2280c-17, circuit 10 (LG/RD), harness side and the stoplamp switch C278-2, circuit 10 (LG/RD), harness side.
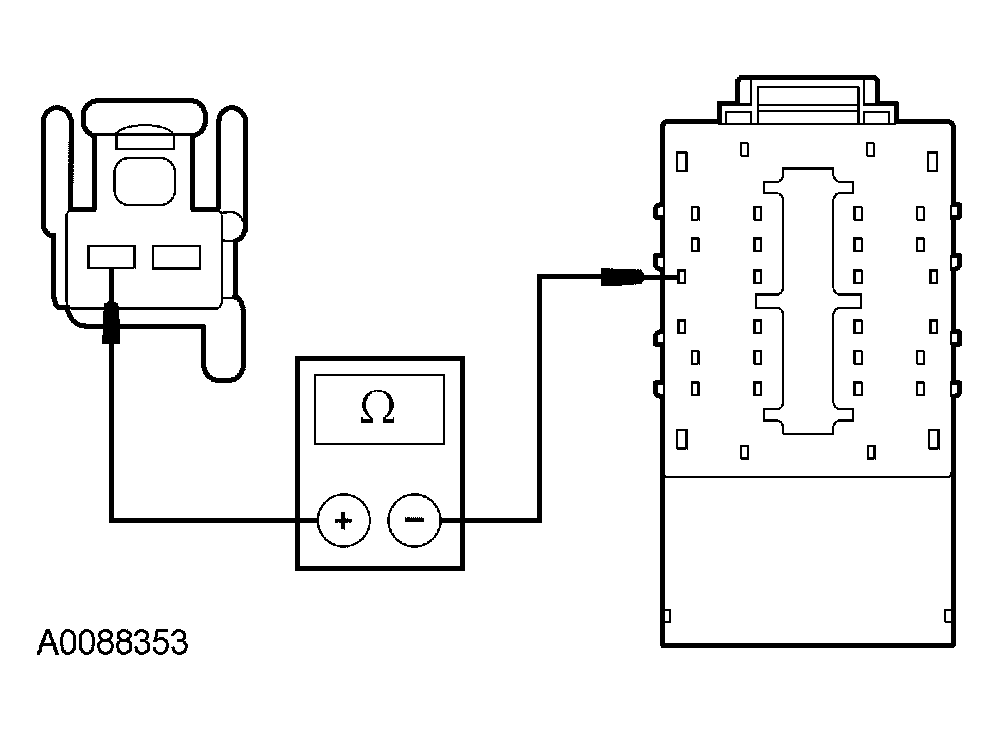 Courtesy of FORD MOTOR CO.
- Is the resistance less than 5 ohms?
- Yes
: GO to J4.
- No
: REPAIR the circuit. TEST the system for normal operation.
- J4 CHECK FOR CORRECT SJB OPERATION
- Disconnect all the SJB connectors.
- Check for:
- corrosion
- pushed-out pins
- Connect all the SJB connectors and make sure they seat correctly.
- Operate the system and verify the concern is still present.
- Is the concern still present?
- Yes
: INSTALL a new SJB. REFER to MULTIFUNCTION ELECTRONIC MODULES
. TEST the system for normal operation.
- No
: The system is operating correctly at this time. The concern may have been caused by a loose or corroded connector. CLEAR any DTCs. REPEAT the self-test.