Removal and Installation
- Remove the seat. Refer to REAR SEAT - EXCURSION, SECOND ROW .
- Remove the seat cushion handle.
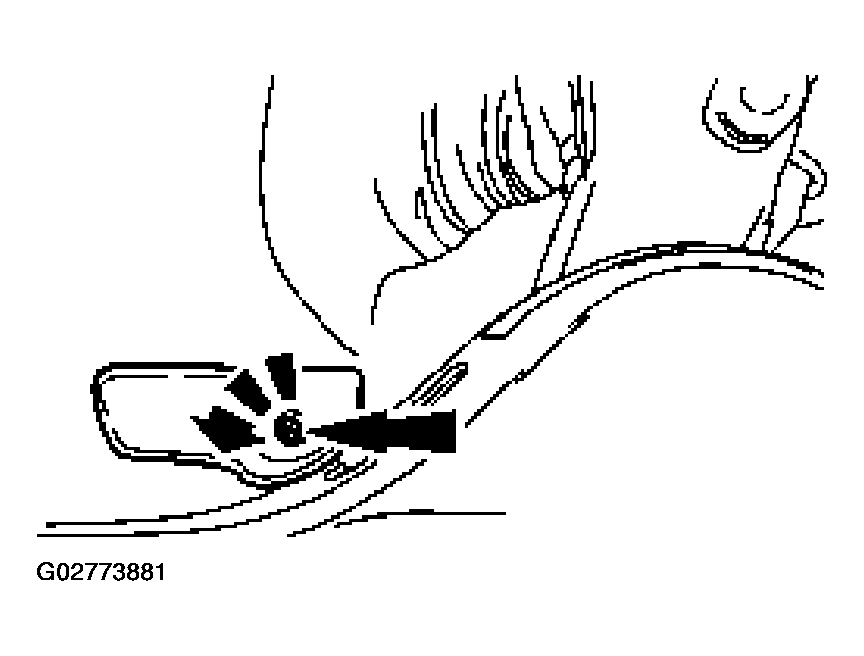 Courtesy of FORD MOTOR CO.
- Remove the screws and the left trim cover.
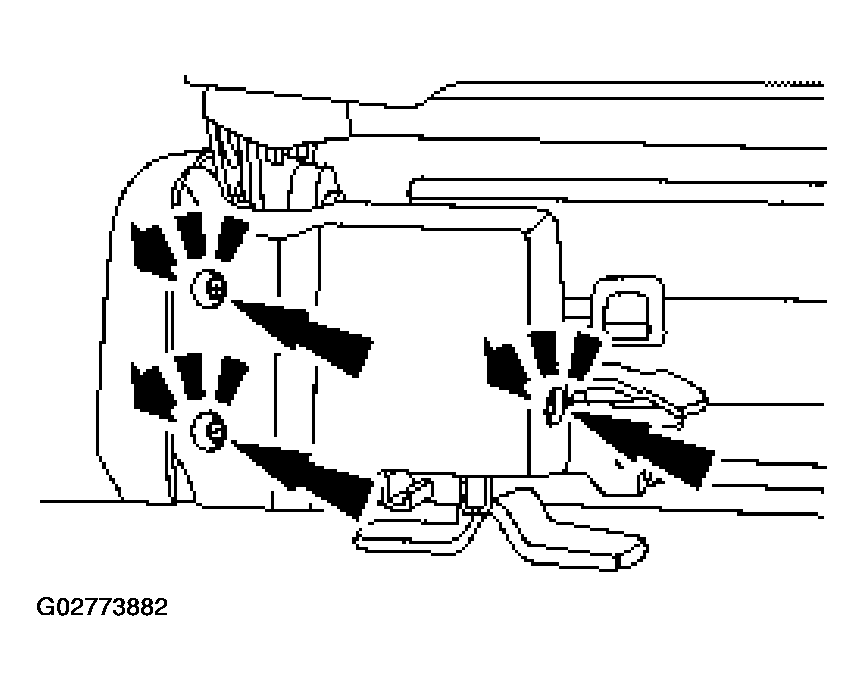 Courtesy of FORD MOTOR CO.
- Remove the screws and the trim cover.
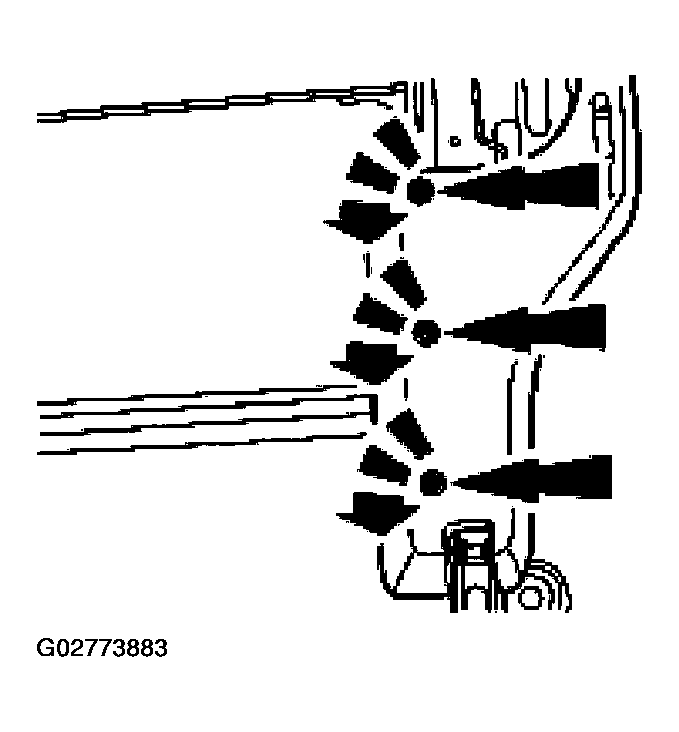 Courtesy of FORD MOTOR CO.
- Remove the right trim cover.
- Detach the right seat track linkage clip.
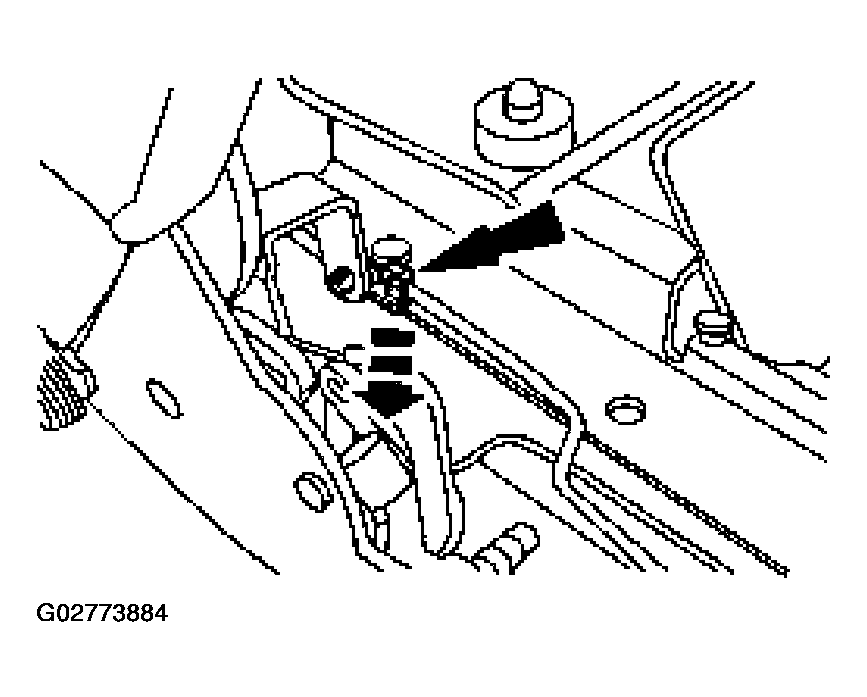 Courtesy of FORD MOTOR CO.
- Remove the right seat track linkage.
 Courtesy of FORD MOTOR CO.
- Unclip the left seat track linkage clip and remove the linkage.
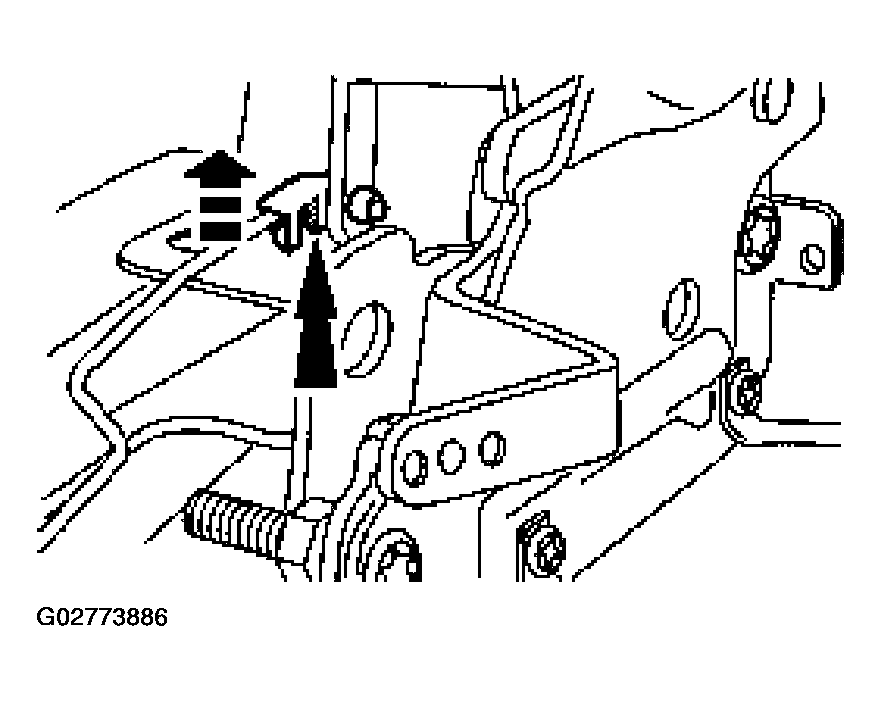 Courtesy of FORD MOTOR CO.
- Release the cable from four cable clips (two shown).
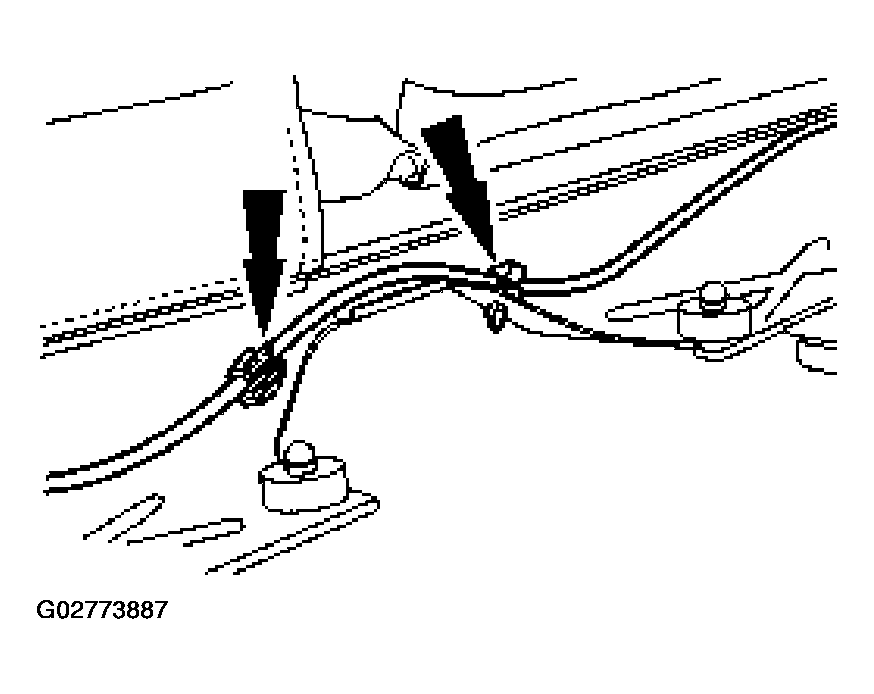 Courtesy of FORD MOTOR CO.
- Remove the four bolts.
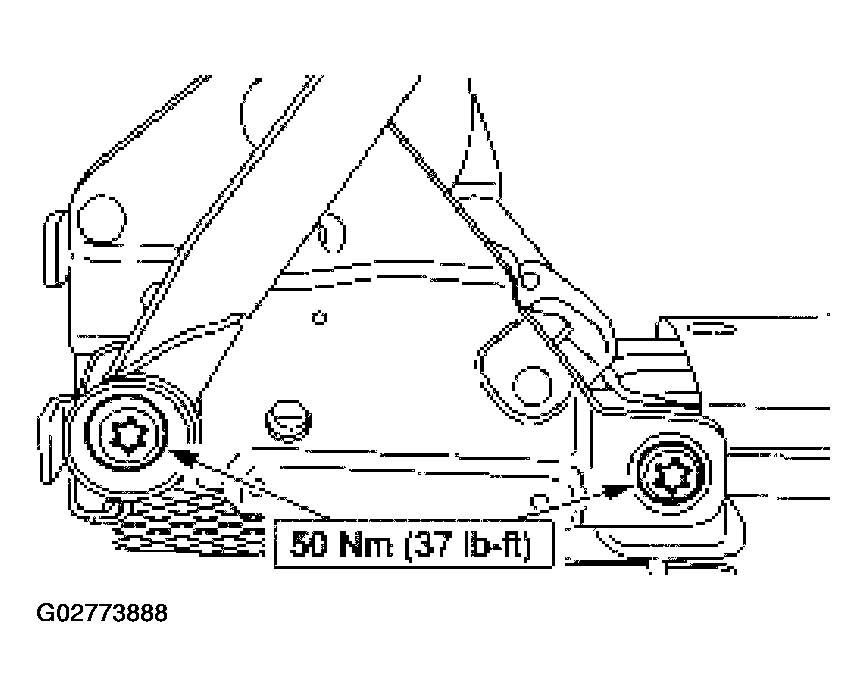 Courtesy of FORD MOTOR CO.
- To install, reverse the removal procedure.