Panel Patch Installation
 Courtesy of CHRYSLER GROUP, LLC
- Make a paper or cardboard pattern the size and shape of the cutout hole in the panel (3).
- Trim 3 mm (0.125 in.) from edges of pattern so patch will have a gap between connecting surfaces.
- Using the pattern as a guide, cut the patch to size.
- Cut scrap pieces of patch material into 50 mm (2 in.) squares to use as patch supports to sustain the patch in the cutout.
- Drill 4 mm (0.160 in.) holes 13 mm (0.5 in.) in from edge of cutout hole.
- Drill 4 mm (0.160 in.) holes 13 mm (0.5 in.) away from edge of patch across from holes drilled around cutout.
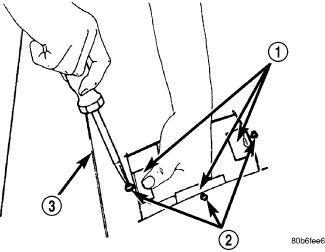
- Drill 3 mm (0.125 in.) holes in the support squares (1) 13 mm (0.5 in.) from the edge in the center of one side.
- Scuff the backside of the body panel around the cutout hole with a scuff pad or sandpaper.
- Mix enough adhesive to cover one side of all support squares.
- Apply adhesive to cover one side of all support squares.
- Using number 8 sheet metal screws (2), secure support squares to back side of body panel with adhesive sandwiched between the panel and squares.
 Courtesy of CHRYSLER GROUP, LLC
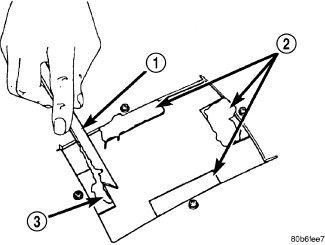
- Apply a coat of adhesive (3) to the exposed ends of the support squares (2).
 Courtesy of CHRYSLER GROUP, LLC
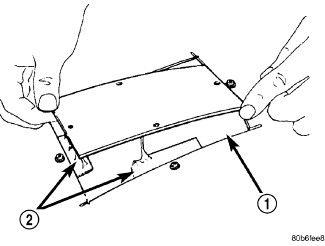
- Position patch in cutout (1) against support squares (2) and adjust patch until the gap is equal along all sides.
- Drill 3 mm (0.125 in.) holes in the support squares through the pre-drilled holes in the patch.
 Courtesy of CHRYSLER GROUP, LLC
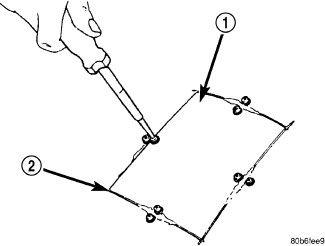
- Install screws to hold the patch (1) to support squares, leaving a gap (2) around all sides of the patch. Tighten screws until patch surface is flush with panel surface.
- Allow adhesive to cure, and remove all screws.
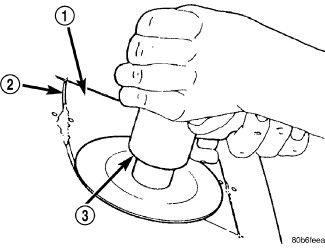 Courtesy of CHRYSLER GROUP, LLC
- Using a 125 mm (5 in.) 24 grit disc grinder (3), grind a 50 mm (2 in.) to 75 mm (3 in.) wide and 2 mm (0.080 in.) deep path across the gaps (2) around the patch (1). With compressed air, blow dust from around patch.
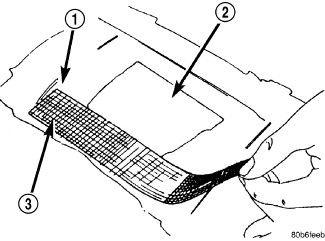 Courtesy of CHRYSLER GROUP, LLC
- Apply adhesive backed nylon mesh (dry wall tape) (3) over gaps around patch (1).
- Mix enough adhesive to cover the entire patch (2) area.
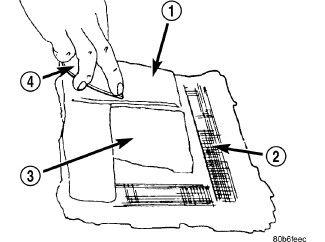 Courtesy of CHRYSLER GROUP, LLC
- Apply adhesive (1) over the mesh (2) around patch (3), and smooth epoxy with a wide spreader (4) to reduce finish grinding. Use two to three layers of mesh and adhesive to create a stronger repair.