Bracket, Engine Mount, Right: Installation: Installation
 Courtesy of CHRYSLER GROUP, LLC
- Install the RH engine mount bracket (1) with six bolts (2) tightened to 25 N.m (18 ft. lbs.).
 Courtesy of CHRYSLER GROUP, LLC
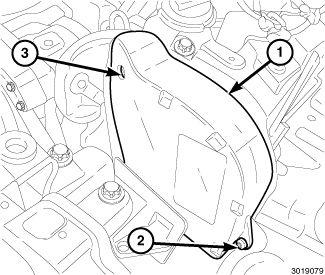
- Install the upper timing belt cover (1) with bolts (2 and 3) tightened to 9 N.m (80 in. lbs.)
 Courtesy of CHRYSLER GROUP, LLC
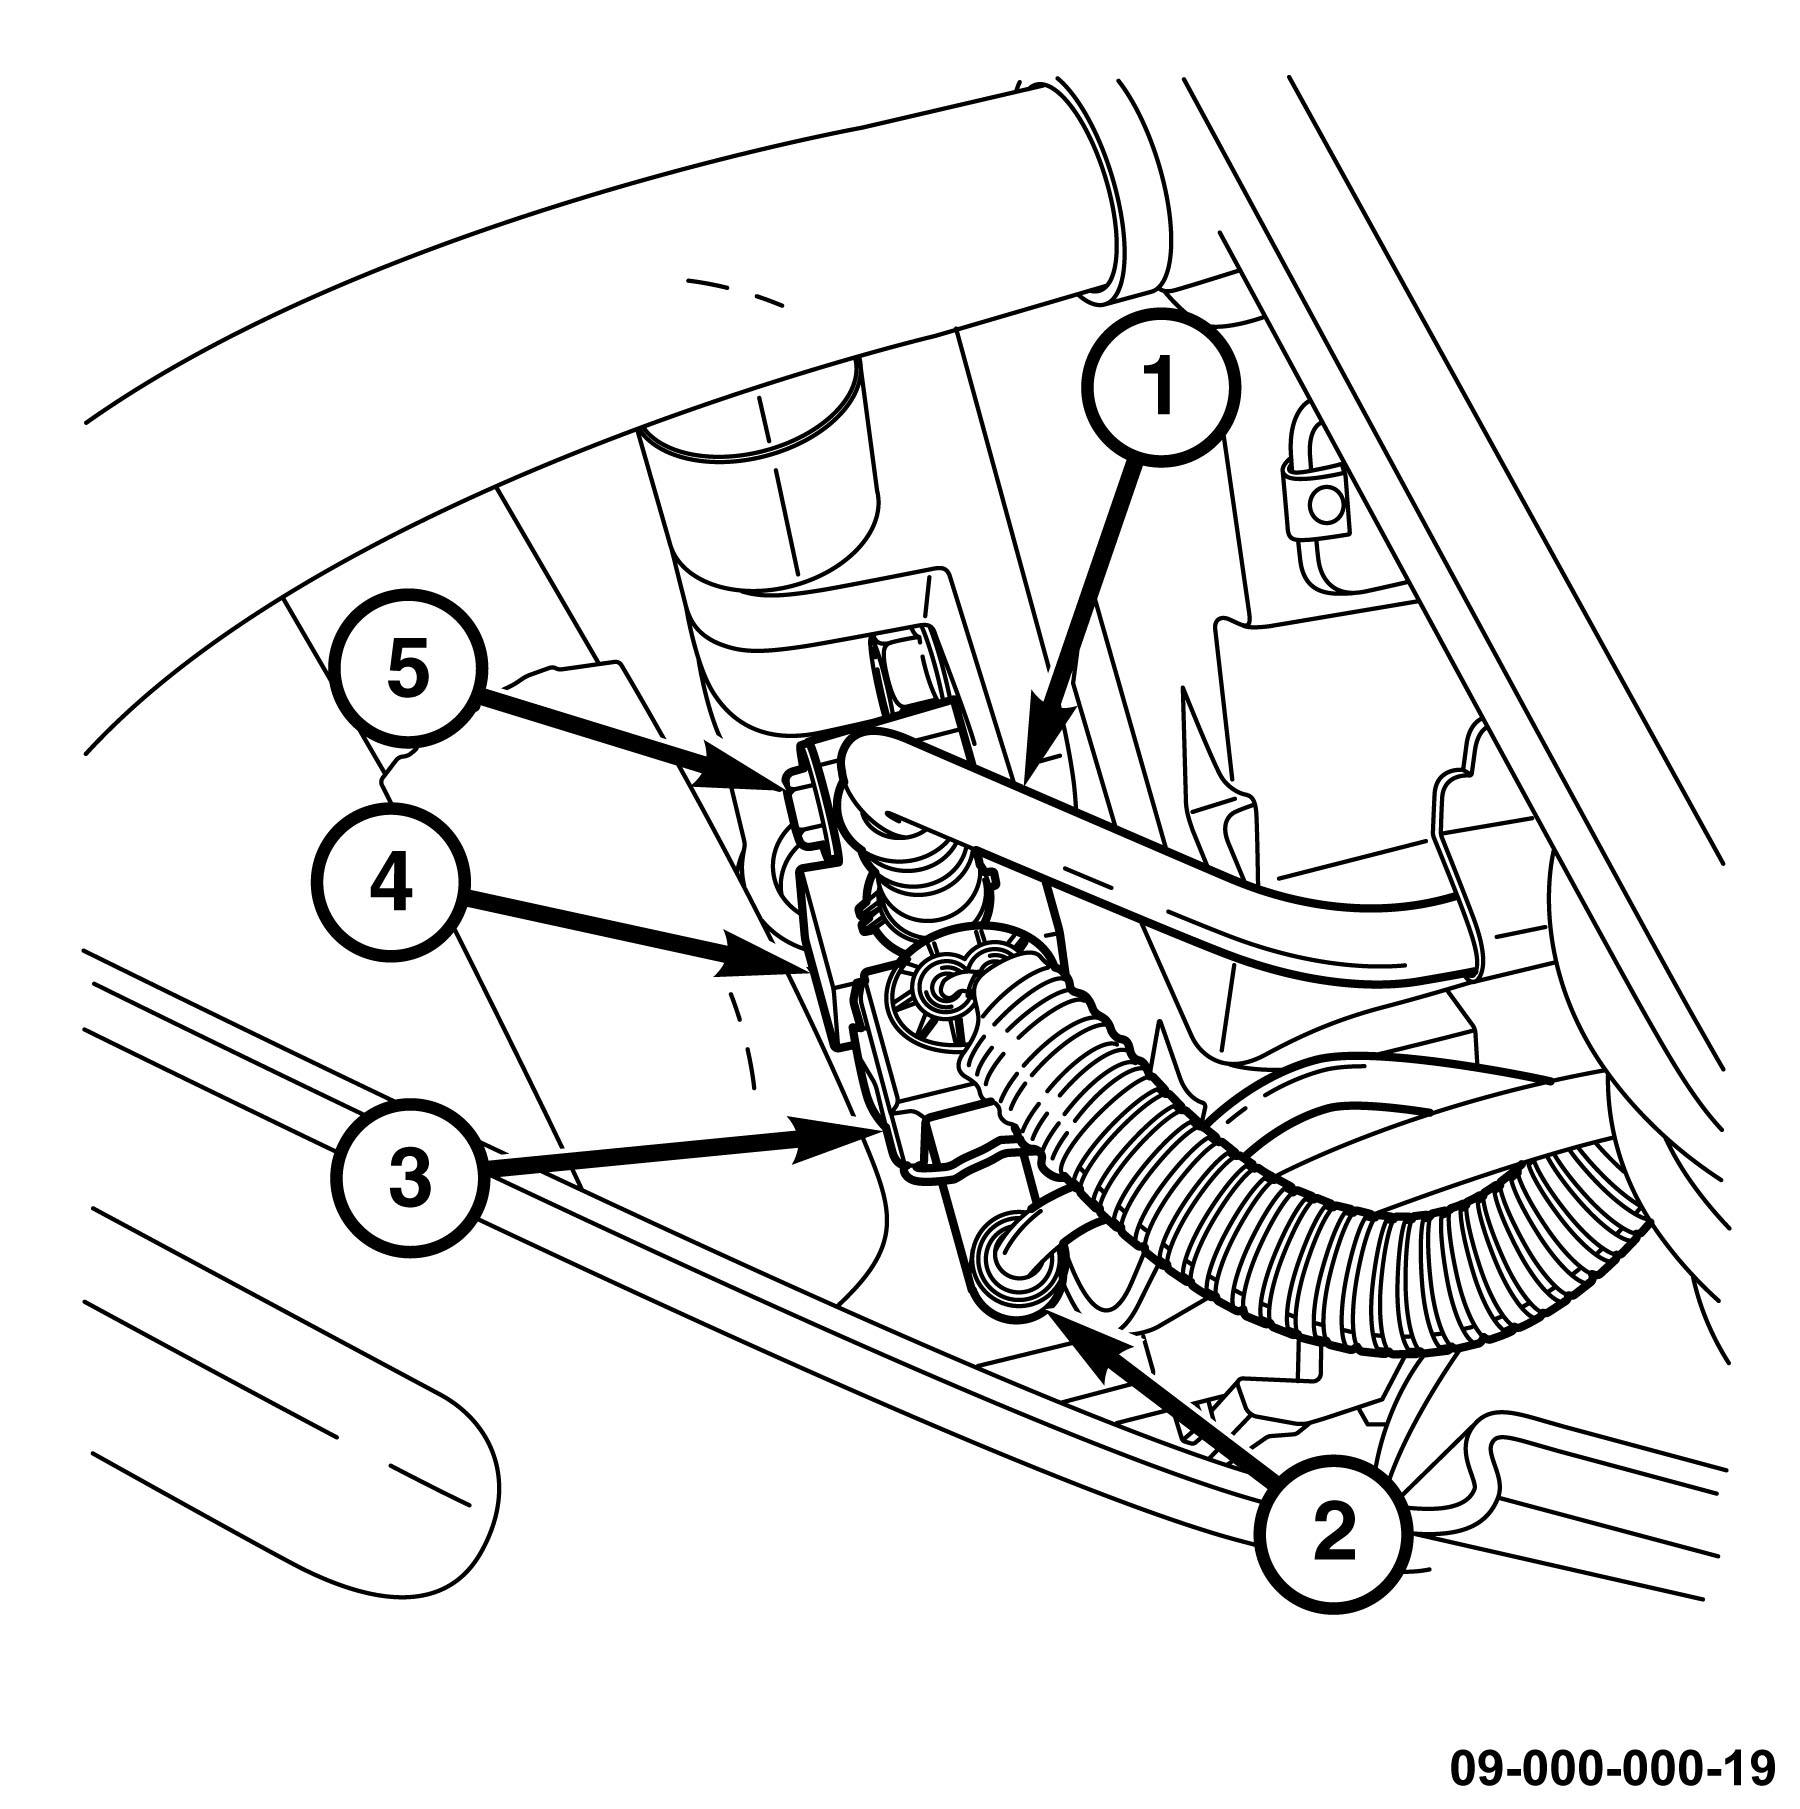
- Engage the following retainers to the upper timing belt cover (1):
- Wastegate solenoid pressure inlet hose (2).
- After run coolant pump return hose (3).
- Evaporative emissions purge hose (4).
Courtesy of CHRYSLER GROUP, LLC
- Position the turbocharger wastegate solenoid (4). Install bolt (5) and tighten to 9 N.m (80 in. lbs.)..
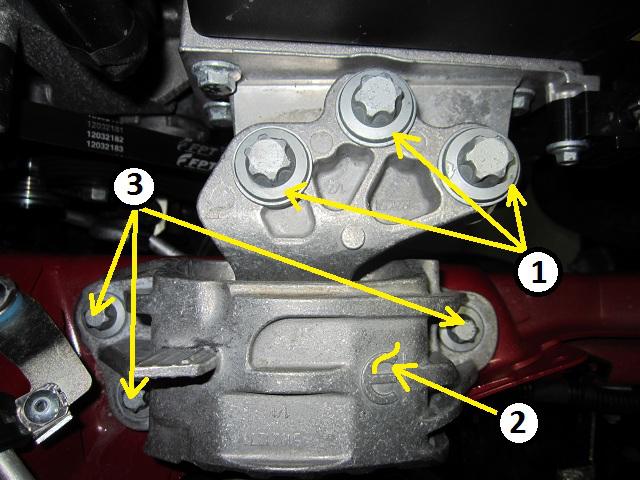
- Set the right engine mount isolator (2) into position.
- Install the right mount to frame bolts (3) finger tight.
- Install the right mount to engine bracket bolts (1) finger tight.
- Tighten the right mount to frame rail bolts (3) to 60 N.m (44 ft. lbs.).
 Courtesy of CHRYSLER GROUP, LLC
- Tighten right mount to engine bracket bolts (1) to 60 N.m (44 ft. lbs.).
- Remove the floor jack supporting the engine.
 Courtesy of CHRYSLER GROUP, LLC
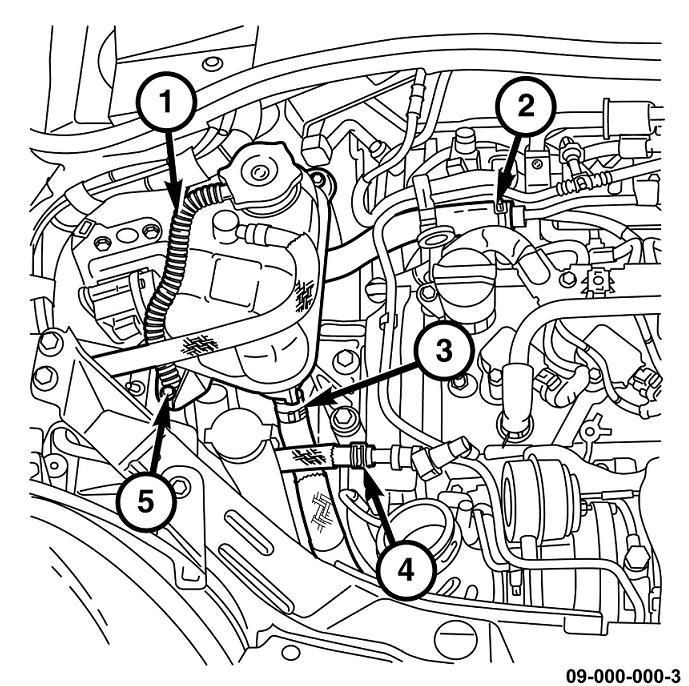
- Install the pressurized coolant bottle. refer to BOTTLE, PRESSURIZED COOLANT/INSTALLATION
 Courtesy of CHRYSLER GROUP, LLC
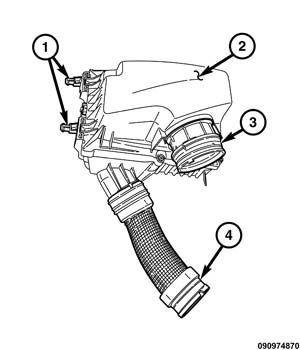
- Install the air cleaner body. Refer to BODY, AIR CLEANER, INSTALLATION .
- Connect the battery negative cable and tighten nut to 5 N.m (45 in. lbs.).
- Install the belly pan. Refer to BELLY PAN, INSTALLATION
.