Main & Connecting Rod Bearing Service
- Remove engine as previously outlined. Remove cylinder head, oil pan, clutch and flywheel as previously outlined. Remove oil pump. See Oil Pump.
Remove all sprockets and timing belt. See Timing Belt Replacement.
- Remove cover plates and seals from both ends of engine. Remove all piston and connecting rod assemblies. Remove main bearing caps with lower bearing halves.
- Remove crankshaft and upper bearing halves. Remove thrust bearings from flywheel end main bearing saddle. Thoroughly clean and inspect crankshaft and crankcase.
- Check crankshaft journals for out-of-round. If more than 0.0002" (0.005 mm) out-of-round, crankshaft must be ground to next undersize. Bearings for undersize crankshafts are available in 0.010" (0.25 mm) 0.020" (0.50 mm) 0.030" (0.76 mm) and 0.040" (1 mm) undersizes.
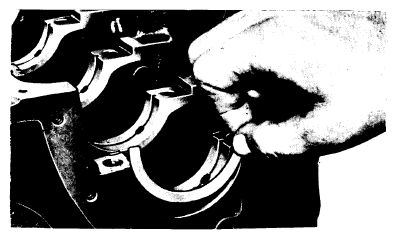
- Use the Plastigage method to check main bearing clearances. Install upper bearing halves in crankcase and install crankshaft. Place a piece of Plastigage on journal and install main bearing cap with bearing. Tighten bolts to specifications and then remove main bearing cap.
- With cap removed, check flattened Plastigage against scale on back of package to determine if clearance is as specified. Check connecting rod bearing clearance using same procedure. If clearance is incorrect, crankshaft must be ground to next undersize and bearings of corresponding undersize installed.
- With correct clearance obtained, install upper bearing halves in crankcase. Lubricate bearings and install crankshaft. Install main bearing caps with bearings and tighten bolts to specifications. Rotate crankshaft to check for freedom of movement.
- Check crankshaft endplay. See Thrust Bearing Alignment.
Install remaining components in reverse of removal order or as previously outlined. Install engine as previously outlined.
 Courtesy of NOT AVAILABLE