Part 2
ASSEMBLY
FRONT OUTPUT SHAFT AND DRIVE CHAIN
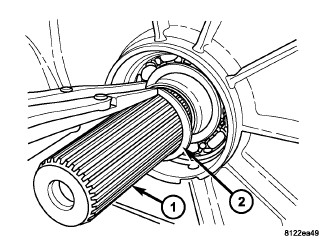
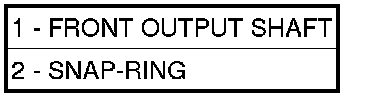
1. Install the front output shaft into the front output shaft bearing.
2. Install the front output shaft snap-ring (2) onto the output shaft (1).
3. Install the new front output shaft seal with Installer MB991168A.
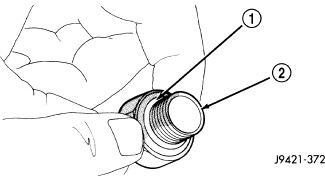
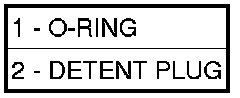
4. Install new o-ring (1) on detent plug (2).
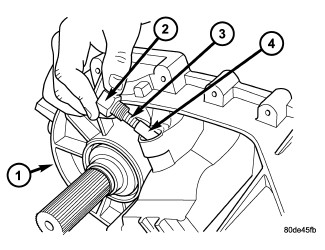
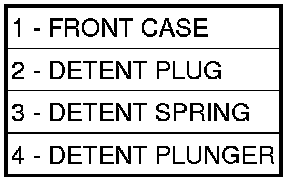
NOTE: Shift the transfer case to the same range/mode position it was in when the shift motor was removed prior to installing the shift detent components.
5. Install detent plunger (4), spring (3), and plug (2). Tighten the plug to 16-25 Nm (12-18 ft. lbs.).
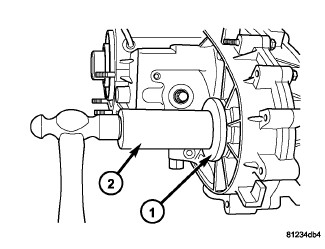
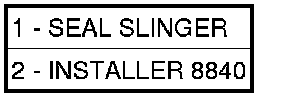
6. Install the new front output shaft seal slinger (1) with Installer 8840 (2). Install the slinger onto the shaft until the tool contacts the front of the output shaft.
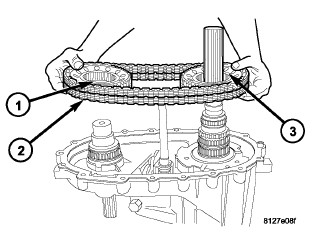
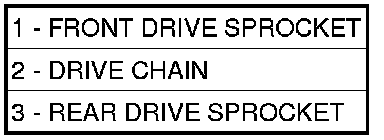
7. Install the front sprocket (1), rear sprocket (3), and chain (2) as an assembly.
8. Lower the front sprocket (1), rear sprocket (3), and chain (2) over the front and rear output shafts simultaneously until fully seated on both splines.
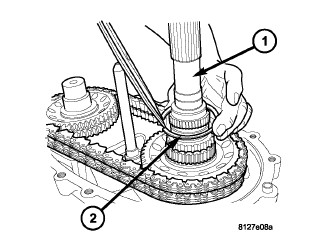
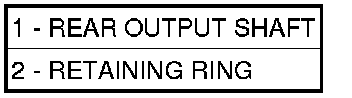
9. Install the rear output shaft retaining ring (2) onto the output shaft (1).
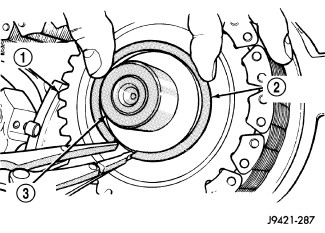
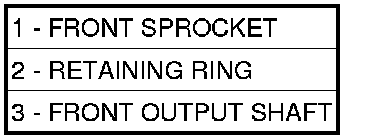
10. Install the front sprocket retaining ring (2).
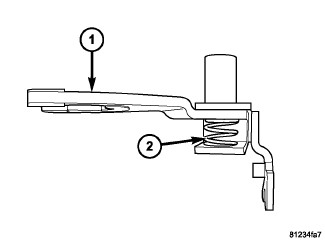
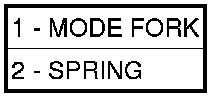
11. Inspect the mode fork assembly (1). Replace pads if necessary. Also check springs (2) and slider bracket. Replace worn or damaged components.
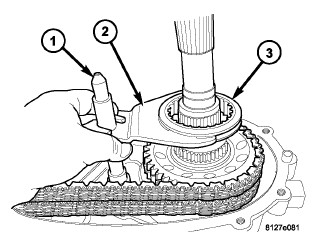
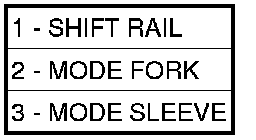
12. Install the mode fork (2) and sleeve (3) over the shift rail (1) and mainshaft.
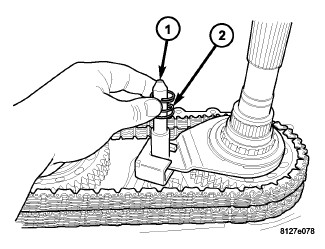
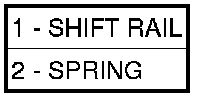
13. Install the shift rail spring (2) onto the shift rail (1).
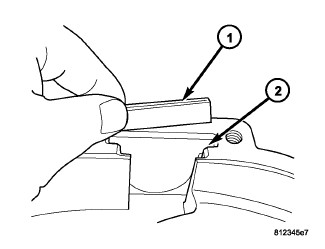
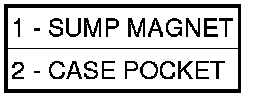
14. Insert the transfer case sump magnet (1) into the front case pocket (2).
OIL PUMP AND REAR CASE
Lubricate the oil pump components with transmission fluid before installation. Prime the oil pickup tube by pouring a little oil into the tube before installation.
CAUTION: Do not remove the bolts holding the oil pump cover to the rear case half. The oil pump cover is aligned to the rear output shaft inner bearing race and will become mis-aligned if the bolts are loosened. If the transfer case failure has generated any debris which may have become trapped in the oil pump. the rear case and oil pump assembly MUST be replaced.
1. Install a new o-ring in pickup tube inlet of oil pump, if necessary.
2. Insert the oil pickup tube into the oil pump.
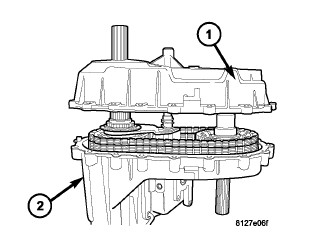
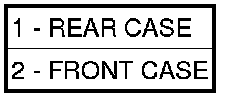
3. Apply bead of Mopar(R) Gasket Maker, or equivalent, to mating surface of front case (2). Keep sealer bead width to maximum of 3/16 inch. Do not use excessive amount of sealer as excess will be displaced into case interior.
NOTE: Lift upward and gently shake the rear output shaft while settling the rear case onto the front case dowels. This will allow the mainshaft splines to more easily engage the oil pump.
4. Align the oil pump with mainshaft and align shift rail with bore in rear case (1). Then install rear case (1) and oil pump assembly.
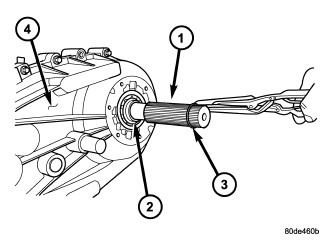
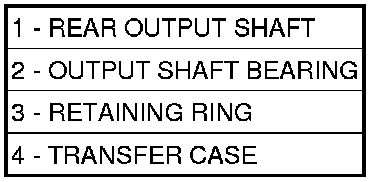
5. Install the rear output bearing snap-ring (3) to the rear output shaft (1).
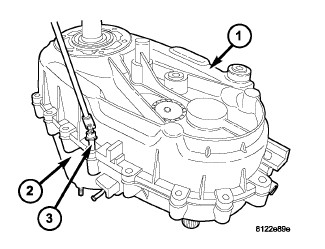
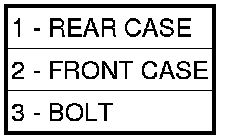
CAUTION: Verify that shift rail, and case alignment dowels are seated before installing any bolts. Case could be cracked if shaft rail or dowels are misaligned.
6. Install 4-5 rear case-to front case bolts (3) to hold rear case in position. Tighten bolts snug but not to specified torque at this time.
7. Apply Mopar(R) Lock 'n Seal Adhesive to remainder of rear case-to-front case bolt threads and install bolts. Tighten bolts to 25-28 Nm (18-21 ft. lbs.).
SEAL BOOT AND SHIFT MOTOR ASSEMBLY
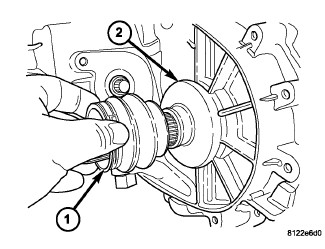

1. Install a new seal boot clamp onto the seal boot (1).
2. Install the seal boot (1) and clamp onto the slinger (2) hub and tighten the clamp with Crimp Tool C-4975A.
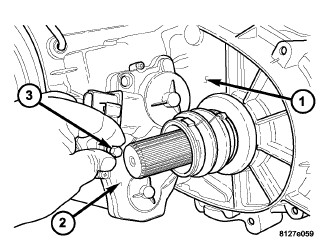
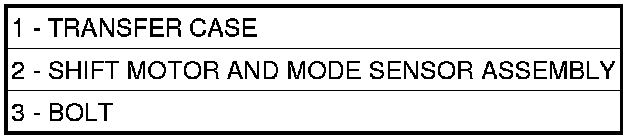
3. Position the shift motor and mode sensor assembly (2) onto the transfer case (1).
4. Install the bolts (3) to hold the shift motor and mode sensor assembly (2) to the transfer case(1). Tighten the bolts to 16-25 Nm (12-18 ft. lbs.).
REAR EXTENSION
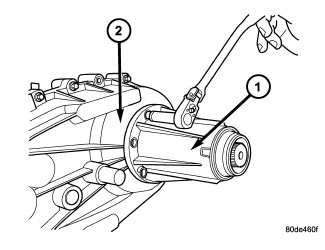
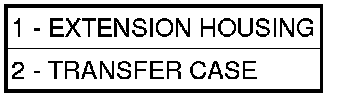
1. Install new seal in rear extension housing seal with Installer D-163 and Handle C-4171. Verify that the weep hole in the rubber is oriented downward.
2. Apply bead of Mopar(R) Gasket Maker, or equivalent, to mating surface of rear extension housing. Keep sealer bead width to maximum of 3/16 inch. Do not use excessive amount of sealer as excess could be displaced into output bearing.
3. Align and install rear extension housing (1) onto the rear case (2).
4. Apply Mopar(R) Silicone Sealer to threads of rear extension housing bolts. Then install and tighten bolts to 16-24 Nm (12-18 ft. lbs.) torque.