With ESP
WITH ESP
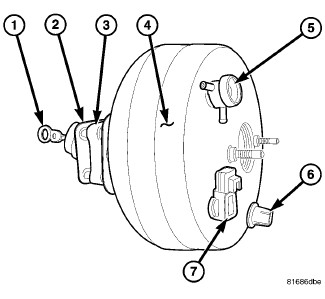
1. Install the spacer block (3) and gaskets (2) if removed.
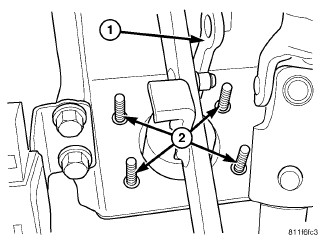
2. Guide the booster studs (2) into the cowl panel holes and seat the booster on the panel.
3. Install and tighten new booster attaching nuts to 28 Nm (250 in. lbs.).
4. Install the booster push rod (1) on brake pedal and install clip.
CAUTION: Do not reuse the original stop lamp switch. Anytime a switch has been removed or its position compromised, a new switch must be installed and adjusted. Do not attempt to readjust the switch.
5. Install and adjust a NEW stop lamp switch. Stop Lamp Switch - Installation.
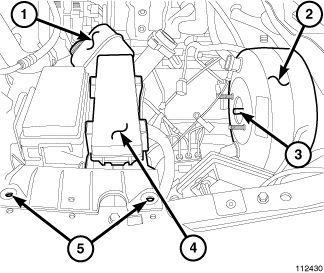
NOTE: Make sure the output rod (3) of the brake booster is in position and retained by a output rod retaining ring, by looking into the boosters master cylinder mounting hole. This position will enable the output rod to enter inside of the master cylinder plunger sleeve during installation. Proper position is obtained when the output rod is centered perpendicular to the master cylinder mounting hole.
NOTE: Prior to installing the master cylinder assembly (1) check that there is a vacuum seal present at the shoulder of the master cylinder flange and its neck. A square seal must be present to ensure vacuum integrity with the booster.
NOTE: Take precautions to locate the master cylinder plunger over the booster output rod, before installing the master cylinder. If correctly fitted the master cylinder should slide easily onto the booster output rod before the mounting studs are engaged in the flange holes of the master cylinder.
6. Gently install the master cylinder (1) on the booster mounting studs and tighten the nuts (2) to 10 Nm (90 in. lbs.).
7. Install the IPM (4) back in place and install the fasteners for the IPM (4).
8. Install the left front wheel well.
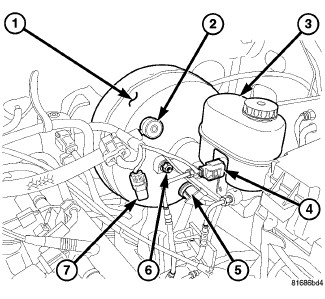
9. Install the vacuum hose to the check valve (2).
10. Reconnect the electrical connectors (4,5AND7).
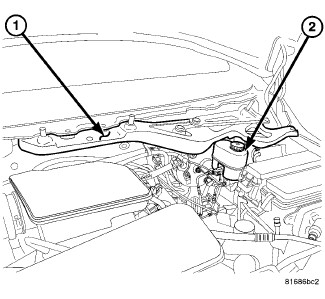
11. Install the wiper arm and cowl assembly (1) Wiper Arm - Installation.