Cover, Instrument Panel: Removal: Removal
 Courtesy of CHRYSLER GROUP, LLC
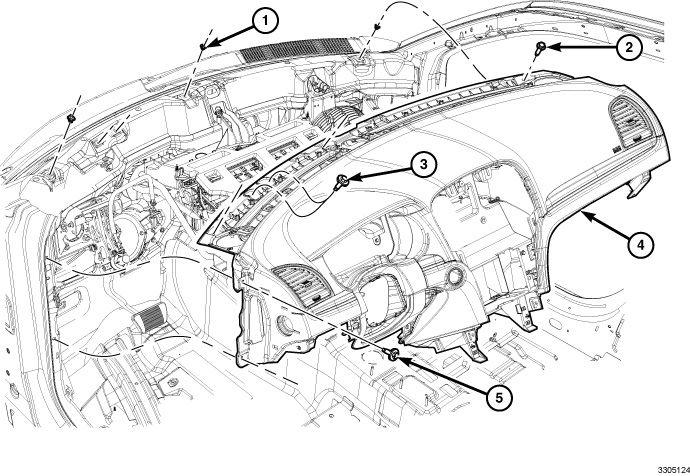
- With the help of an assistant, remove the instrument panel and place on bench. Refer to PANEL, INSTRUMENT, REMOVAL .
 Courtesy of CHRYSLER GROUP, LLC
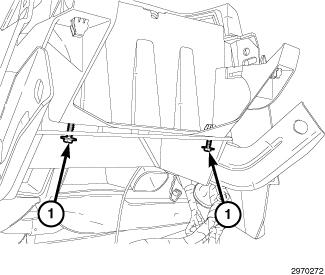
- With the help of an assistant, turn the I/P upright.
- Remove the two screws (1) that secure the telematics gateway assembly reinforcement to the I/P cover.
 Courtesy of CHRYSLER GROUP, LLC
- Remove the passenger side airbag. Refer to AIR BAG, PASSENGER, REMOVAL
.
- Remove the defroster duct. Refer to DUCT, DEFROSTER, REMOVAL
.
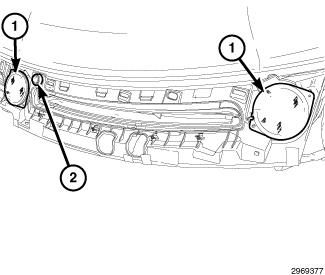
- Remove the speakers (1) from the I/P. Refer to SPEAKER, REMOVAL
.
- Remove the sun sensor (2) from the I/P. Refer to SENSOR, SUN, REMOVAL
.
 Courtesy of CHRYSLER GROUP, LLC
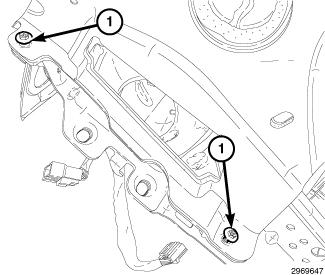
- Remove the two I/P cover to structure side screws (1). Repeat for the opposite side.
 Courtesy of CHRYSLER GROUP, LLC
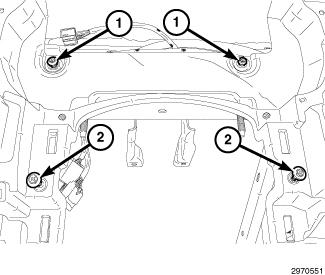
- Remove the screws (1) that attach the I/P cover to structure in the instrument cluster area.
- Remove the screws (2) that attach the I/P cover to structure in the steering column area.
 Courtesy of CHRYSLER GROUP, LLC
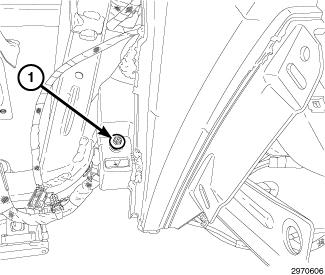
- Remove the screw (1) that attaches the I/P cover to the structure in the lower center stack area, on the driver side.
 Courtesy of CHRYSLER GROUP, LLC
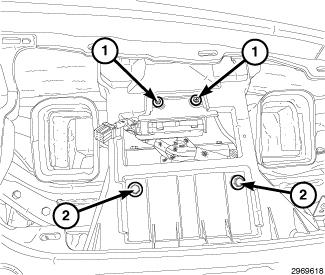
- Remove the two screws (1) from the module.
- Remove the two I/P to structure bolts (2).
 Courtesy of CHRYSLER GROUP, LLC
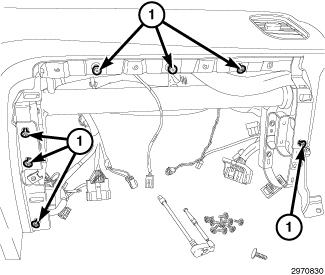
- Remove the seven screws (1) attaching the I/P cover to the structure in the glove box area.
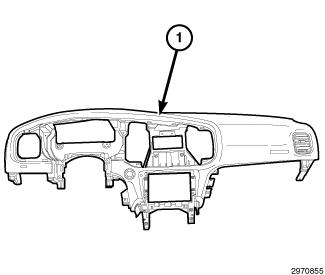 Courtesy of CHRYSLER GROUP, LLC
- Disconnect and remove the WIN module.
- Remove the I/P cover (1) from the structure.