Water Leak - Zone A
 Courtesy of CHRYSLER LLC
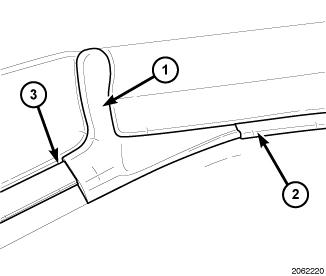
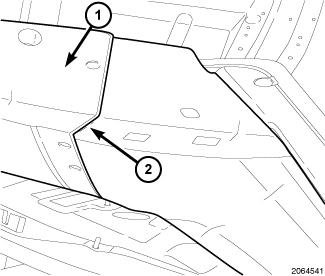
- Header weatherstrip (1) not installed correctly, not in retainer or positioned correctly, tape not adhered.
- Remove the backing to the tape and firmly seat the header weatherstrip into position.
- Firmly seat the weatherstrip into the correct position.
- Adjust the weatherstrip. Refer to WEATHERSTRIP, CONVERTIBLE TOP, ADJUSTMENTS .
- Replace the weatherstrip. Refer to WEATHERSTRIP, CONVERTIBLE TOP, REMOVAL .
- Retest for water leaks. Refer to CONVERTIBLE TOP, CST AND RHT COMMON COMPONENTS, STANDARD PROCEDURE .
- Front rail weatherstrip (2) not installed correctly.
- Adjust the weatherstrip. Refer to WEATHERSTRIP, CONVERTIBLE TOP, ADJUSTMENTS .
- Replace the weatherstrip. Refer to WEATHERSTRIP, CONVERTIBLE TOP, REMOVAL .
- Retest for water leaks. Refer to CONVERTIBLE TOP, CST AND RHT COMMON COMPONENTS, STANDARD PROCEDURE .
 Courtesy of CHRYSLER LLC
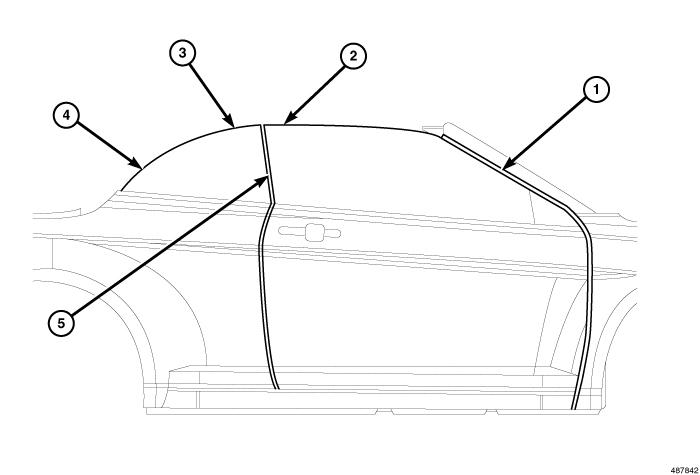
- Door and quarter glass not adjusted properly.
- Adjust door glass. Refer to ADJUSTMENTS .
- Retest for water leaks. Refer to CONVERTIBLE TOP, CST AND RHT COMMON COMPONENTS, STANDARD PROCEDURE .
 Courtesy of CHRYSLER LLC
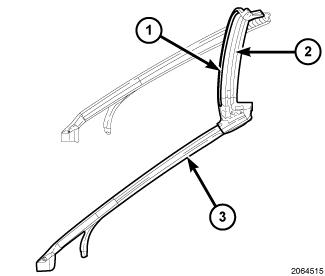
- Foam not sticking along entire header.
- Replace the header foam.
- Firmly seat foam to header.
- Retest for water leaks. Refer to CONVERTIBLE TOP, CST AND RHT COMMON COMPONENTS, STANDARD PROCEDURE .
 Courtesy of CHRYSLER LLC
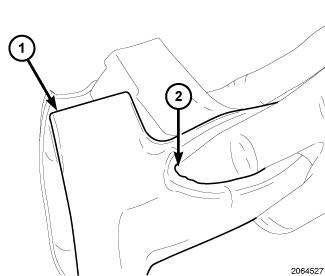
- Hole (2) in molded corner of header weatherstrip (1).
- Replace the weatherstrip. Refer to WEATHERSTRIP, CONVERTIBLE TOP, REMOVAL .
- Retest for water leaks. Refer to CONVERTIBLE TOP, CST AND RHT COMMON COMPONENTS, STANDARD PROCEDURE .
 Courtesy of CHRYSLER LLC
- Bad body shop sealer in ditch molding.
- Remove the ditch molding.
- Skive smooth entire length of bead forming a smooth transition (2).
- Install the ditch molding.
- Retest for water leaks. Refer to CONVERTIBLE TOP, CST AND RHT COMMON COMPONENTS, STANDARD PROCEDURE .