Clutch Master Cylinder - Installation
INSTALLATION
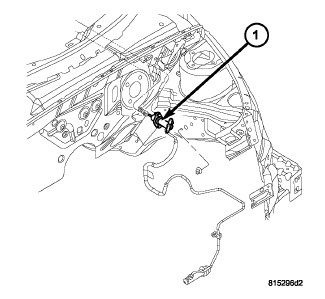

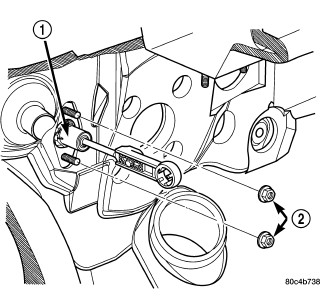
1. Install clutch master cylinder (1) into position but do not fasten to dash panel at this time.. Carefully route hydraulic pipe into position as removed.
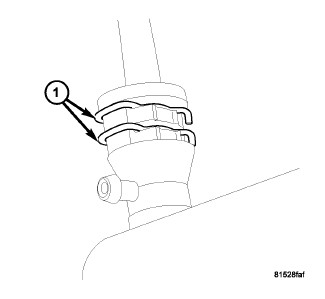

2. Connect hydraulic supply tube to clutch slave cylinder:
a. 1.6L/2.4L N/A Models: Raise vehicle on hoist, depress both retaining clips (1) to secure and Insert tube into slave cylinder port and verify connection by pulling outward. Lower vehicle.
b. 2.4L Turbo AND 2.2L Diesel Models: depress both retaining clips to secure, Insert tube into slave cylinder port and verify connection by pulling outward.
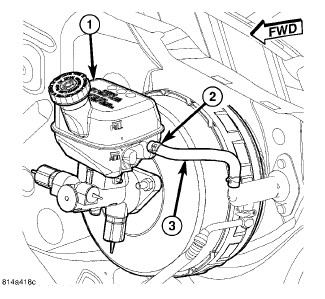
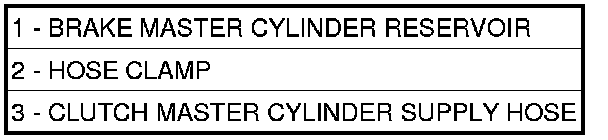
3. Connect clutch master cylinder supply hose (3) to brake master cylinder reservoir (1) and secure with clamp (2).
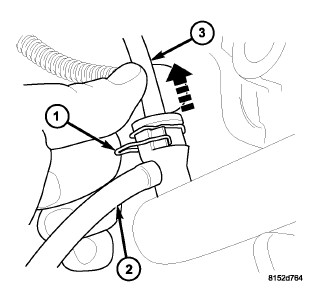
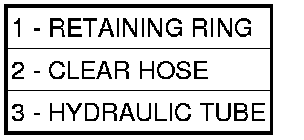
4. On 1.6L/2.4L only, fill clutch hydraulic release system with fluid by:
a. Fill brake master cylinder to the top with suitable DOT3 fluid. Leave cap off. Raise vehicle on hoist.
b. Remove bleed port protective cap, and install suitable size and length of clear hose (2) to monitor and divert fluid into suitable container.
c. Release only the lower hydraulic tube snap ring (1), pull outward on tube (3) until it stops against the second ring, opening up the bleed circuit and starting the air purge and fluid fill process.
d. Lower vehicle, but only enough to gain access to and fill the brake master cylinder.
e. Top off brake master cylinder fluid level while air is purged and fluid drains from bleed port. Continue this until no air bubbles are seen and a solid column of fluid exists.
f. Close hydraulic bleed circuit. Insert hydraulic pipe (3) fully into slave cylinder and depress retaining ring (1). Remove drain hose (2). Replace bleed port protective cap.
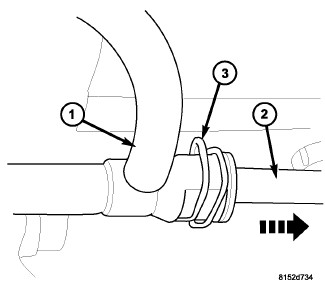
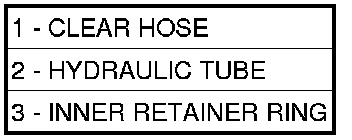
5. On 2.4L Turbo AND 2.2L Turbo Diesel only, fill brake master cylinder to the top with suitable DOT3 fluid (Leave cap off) by:
a. Remove bleed port protective cap, and install suitable size and length of clear hose (1) to divert fluid into suitable container.
b. Release only the inboard hydraulic tube snap ring (3), pull outward on tube (2) until it stops against the second ring, opening up the bleed circuit and starting the fluid fill process.
c. Top off brake master cylinder fluid level while air is purged and fluid drains from bleed port. Continue this until no air bubbles are seen and a solid column of fluid exists.
d. Close hydraulic bleed circuit. Insert hydraulic pipe (2) fully into slave cylinder and depress retaining ring (3). Remove drain hose (1). Replace bleed port protective cap.
6. Verify that brake master cylinder reservoir is full and cap is off.
CAUTION: Due to clutch master cylinder design and placement, the master cylinder body traps a significant amount of air which does not purge by means of normal methods. It is necessary to position master cylinder body vertical, with pushrod pointing down, for about ten seconds to purge air trapped from end of cylinder. Failure to perform this step upon assembly will result in inadequate system bleeding and poor release system functionality.
7. Position clutch master cylinder body vertically, with pushrod pointing down, for about ten seconds to purge air trapped from end of cylinder. Install brake master cylinder cap.
8. Install clutch master cylinder body to dash panel. From inside vehicle, install and torque two clutch master cylinder-to-dash panel retaining nuts (2) to 15 Nm (130 in. lbs.) torque.
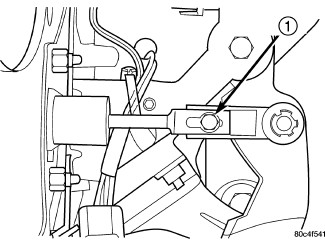

9. Loosen master cylinder pushrod adjustment screw (1).
10. Connect clutch master cylinder rod to clutch pedal pin. An audible "click" should be heard. If damaged, replace nylon retainer.
11. Adjust clutch pedal position. Gently lift upward on clutch pedal. Tighten adjustment screw to 6 Nm (55 in. lbs.) torque.
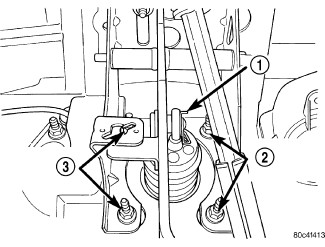
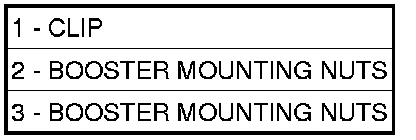
12. Install brake booster into position. Connect push rod to brake pedal pin (1).
13. Install and torque brake booster-to-cowl panel nuts (2) to 34 Nm (300 in.lbs.). Install push rod retaining clip (1).
14. Replace stop lamp switch.
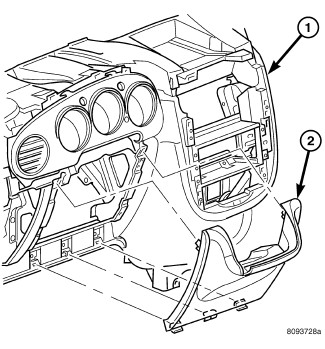
15. Install lower instrument panel bezel (2).

16. Install Totally Integrated Power Module (TIPM) bracket into position.
17. Connect battery negative cable.
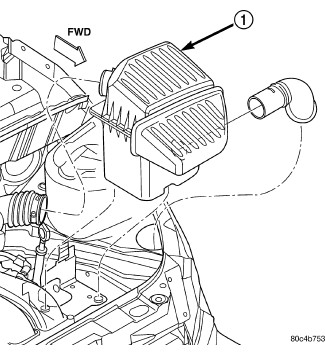
18. Install air cleaner assembly (1).
19. Verify that brake master cylinder reservoir is full. Top off with DOT 3 brake fluid if necessary.
20. Actuate clutch pedal a minimum of fifty times to allow any air ingested into the system to vent to the master cylinder reservoir. If residual air becomes trapped in the system, it is necessary to bleed the clutch hydraulic system. Service and Repair
21. Verify proper clutch release system operation.