Power Brake Booster - Installation
LHD
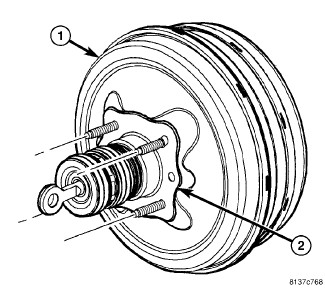
NOTE: Before power brake booster (1) installation, be certain a NEW dash seal (2) is installed on the booster mounting studs.
1. Install the power brake booster by sliding the push rod and studs through the dash panel and into mounting position.
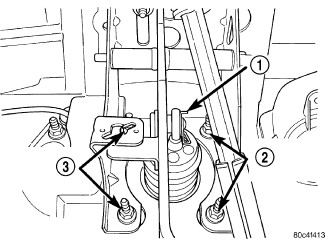
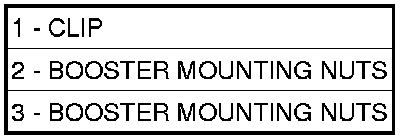
2. Under the instrument panel, install the four power brake booster mounting nuts (2, 3). Tighten the nuts to 34 Nm (25 ft. lbs.).
3. Using Mopar(R) Lubriplate, or an equivalent, coat the surface of the brake pedal pin where it contacts the brake booster input rod.
4. Install the power brake booster push rod on the pin mounted on the side of the brake pedal. Install a NEW retaining clip (1) on the end of the pin. Do not reuse the old clip.
CAUTION: Do not reuse the original stop lamp switch. Anytime a switch has been removed or its position compromised, a new switch must be installed and adjusted. Do not attempt to readjust the switch.
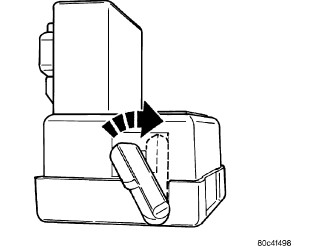
5. Mount and adjust the NEW stop lamp switch using the following procedure:
a. Insert the plunger end of the switch in the mounting bracket by aligning the index tab on the switch with the slot in the mounting bracket.
b. When the switch is fully seated in the bracket, rotate the switch clockwise approximately 30° to lock the switch into place.
c. With the brake pedal in the fully released position, move the lever on the back of the stop lamp switch from the non-adjusted angle position to the full vertical position. This will permanently adjust the switch to the vehicle.
6. Install the knee blocker.
7. Install the silencer pad below the knee blocker.
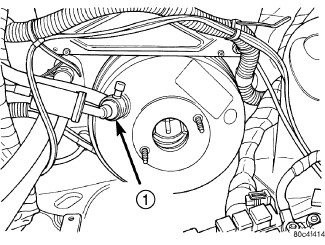

CAUTION: When installing the vacuum hoses onto the check valve (1), make sure the hoses are routed properly to avoid possible contact with the exhaust manifold and other unfriendly surfaces.
8. Connect all previously removed vacuum hoses to the vacuum check valve (1).
9. If the vehicle is equipped with ABS, install the ICU and components removed to access it. Integrated Control Unit (ICU) - Installation
10. Install the master cylinder. Brake Master Cylinder - Installation

11. Connect the battery negative cable (1) to its post on the battery (4).

12. Install the air cleaner cover.
13. Bleed the base brake system and ABS as necessary. Service and Repair
14. Road test the vehicle to ensure proper operation of the brakes.