Instrument Panel
- Recover the A/C refrigerant. Partially drain engine coolant.
- Remove one bolt retaining the A/C lines to the right strut tower.
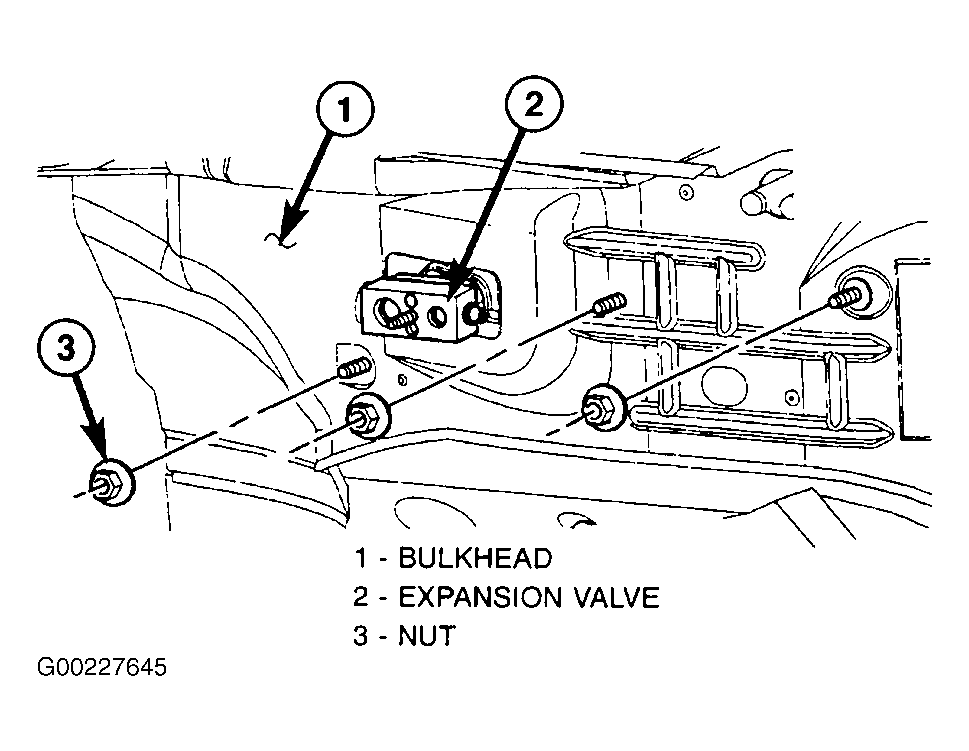
- Remove the 2 top HVAC housing retaining nuts in engine compartment. See Fig 1
.
- Hoist vehicle and remove the lower HVAC housing retaining nut.
- Lower vehicle from hoist.
- Remove the driver and passenger seats.
- Disconnect and isolate the battery negative remote cable.
- Remove floor center console. See FLOOR CONSOLE
.
- Disconnect wire harness connector and remove the amplifier.
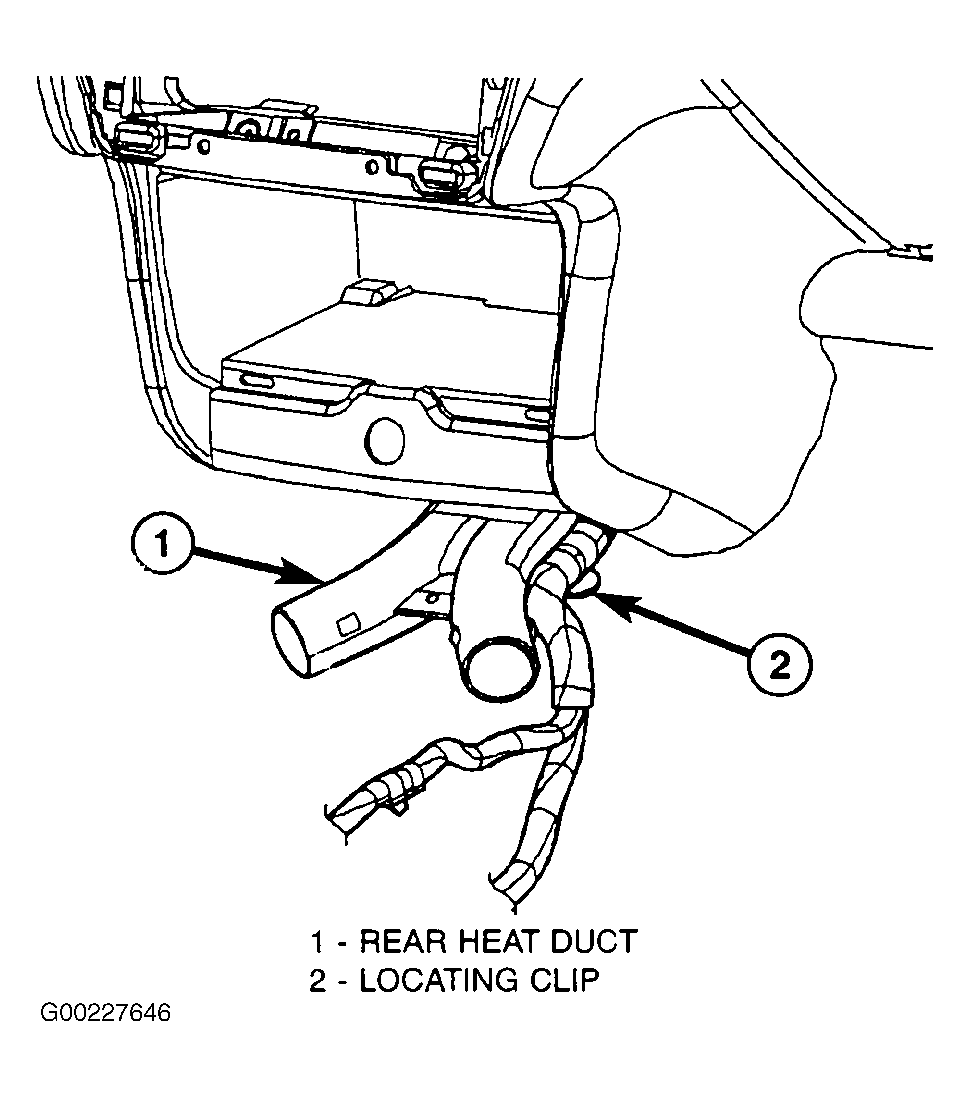
- Using a trim stick, gently pry out on the left and right rear floor heat ducts and remove. See Fig 2
.
- Disconnect the console wiring connectors and unclip the push-in fasteners.
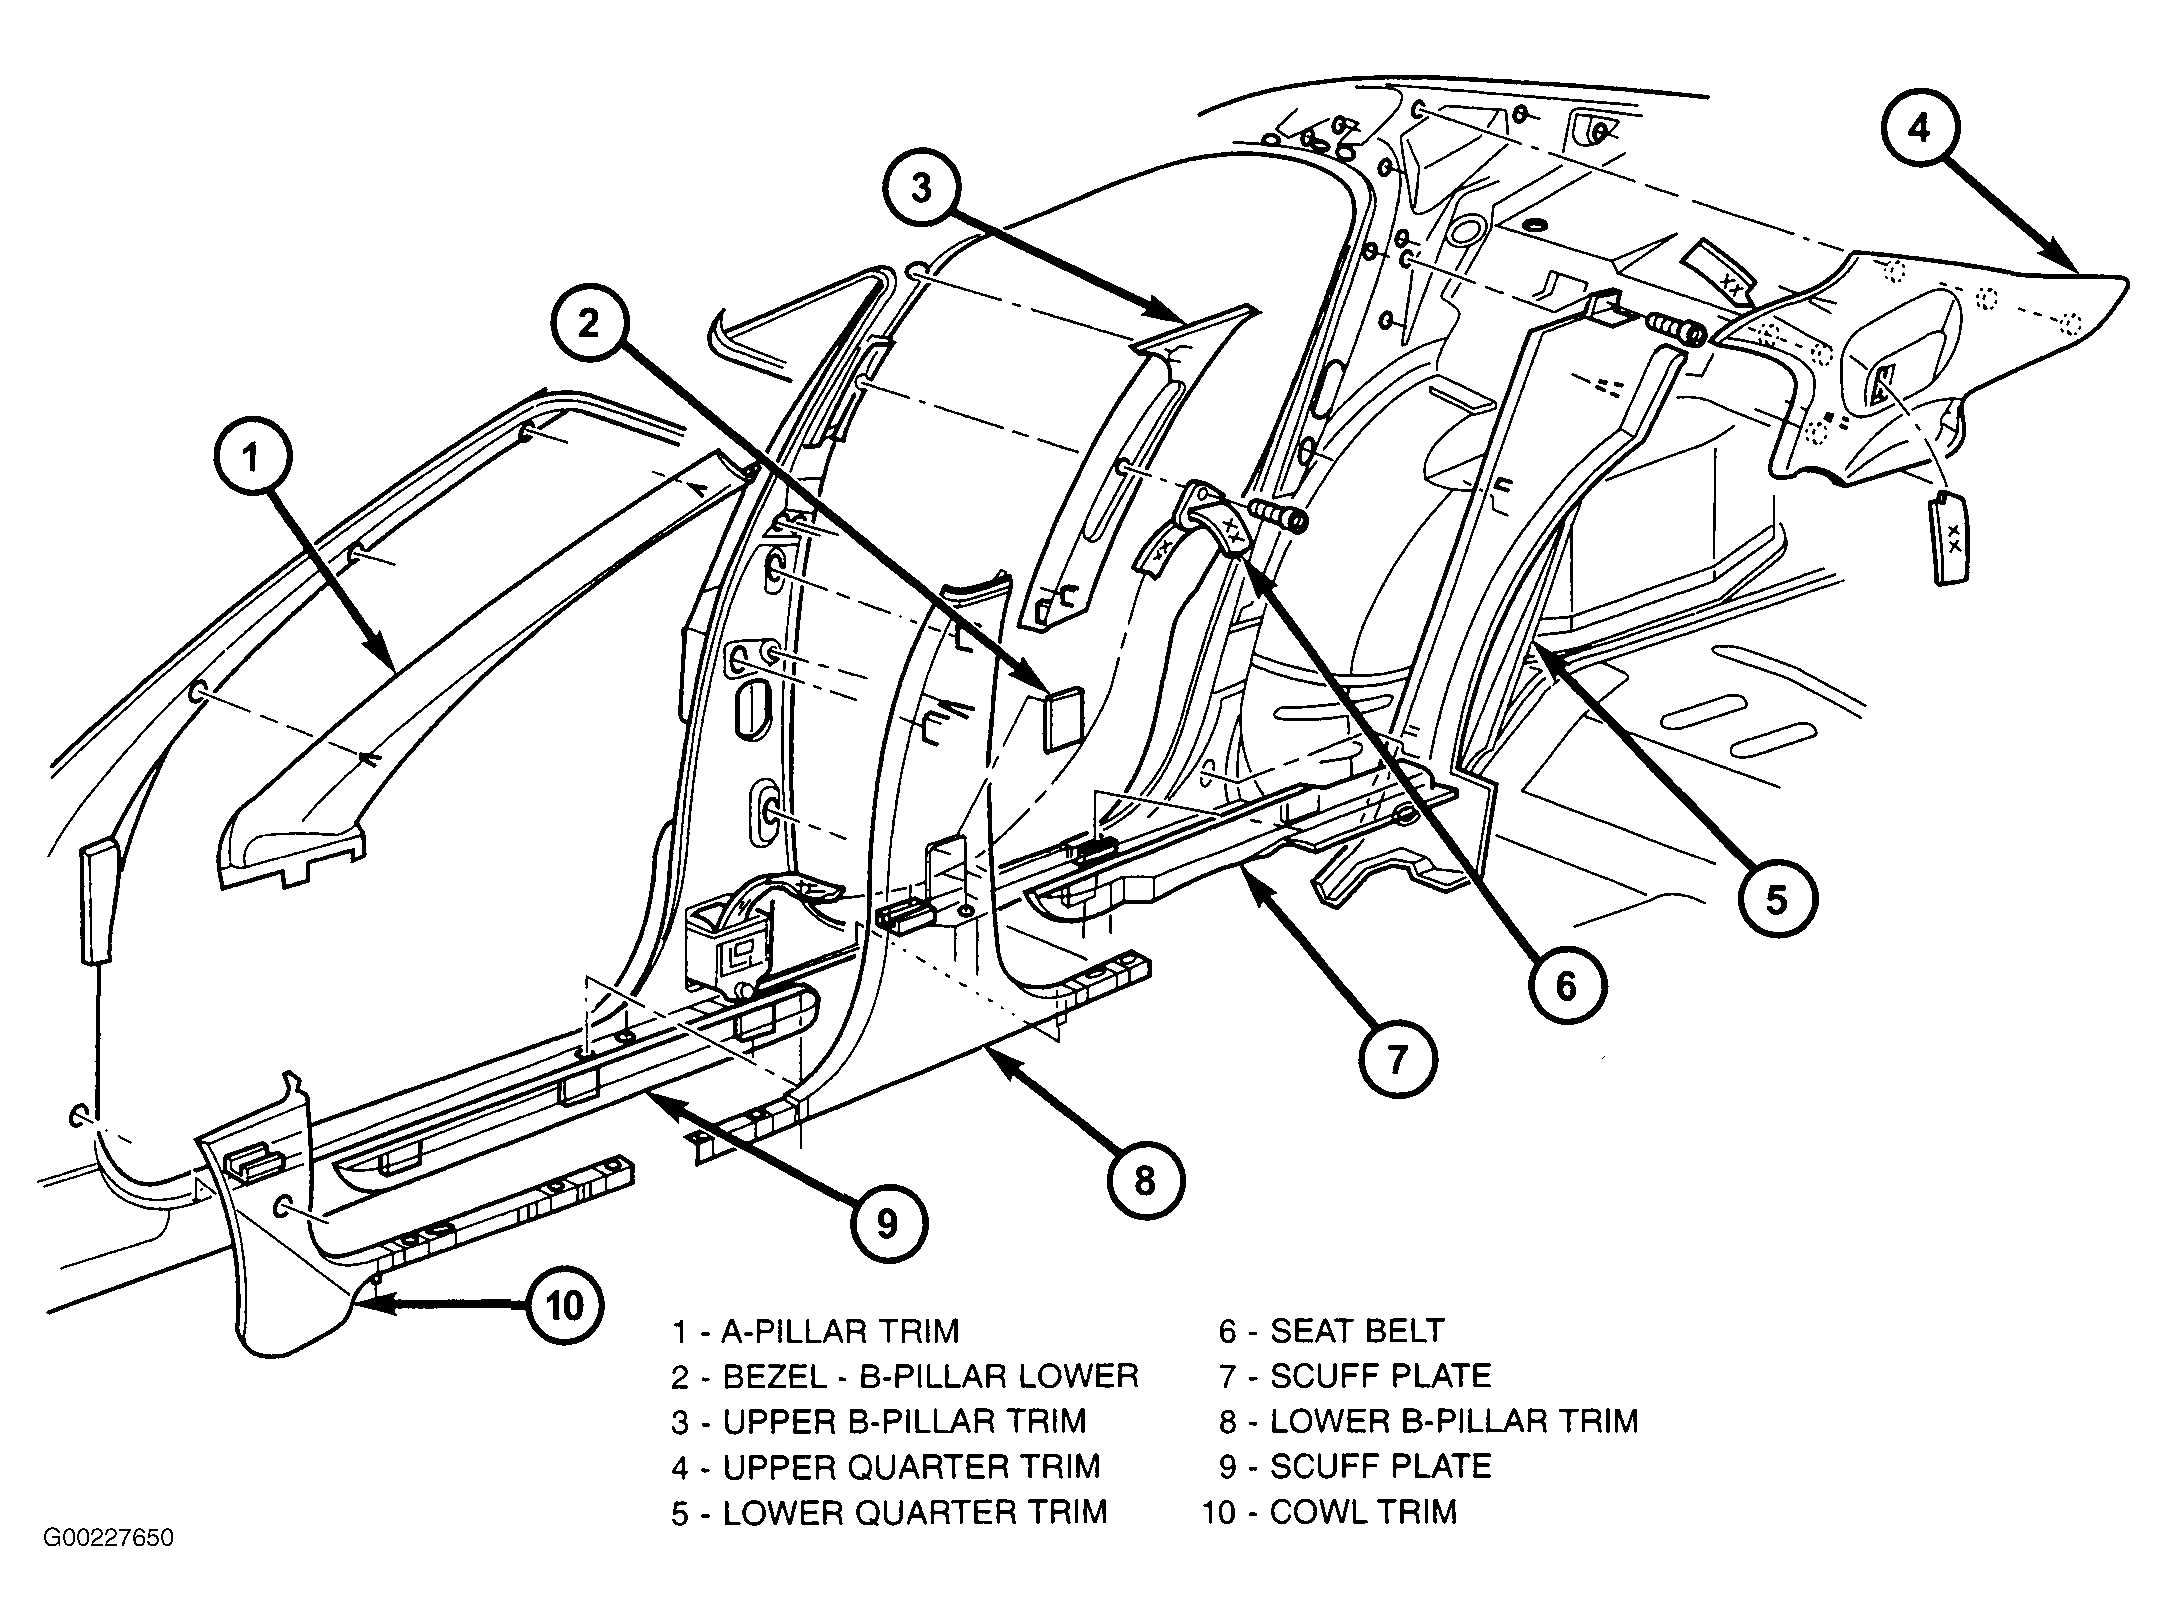
- Using a trim stick, gently pry up on and remove the right sill plate.
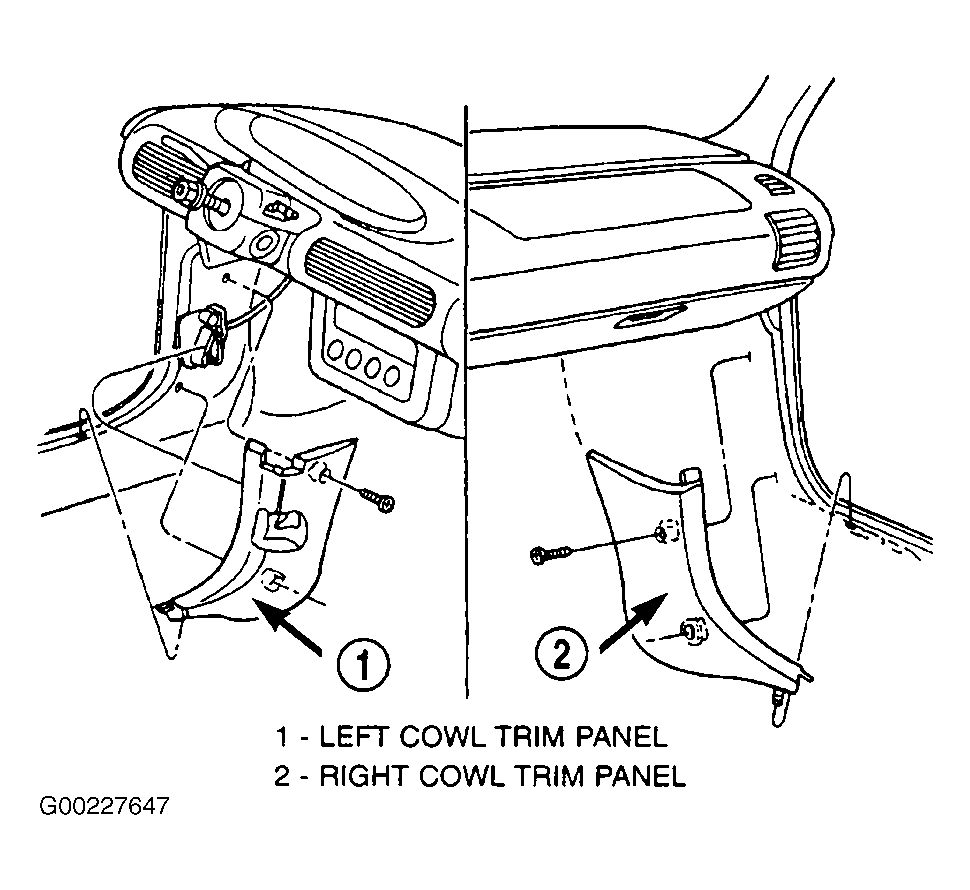
- Remove the 2 screws to the right cowl trim panel and remove from vehicle. See Fig 3
.
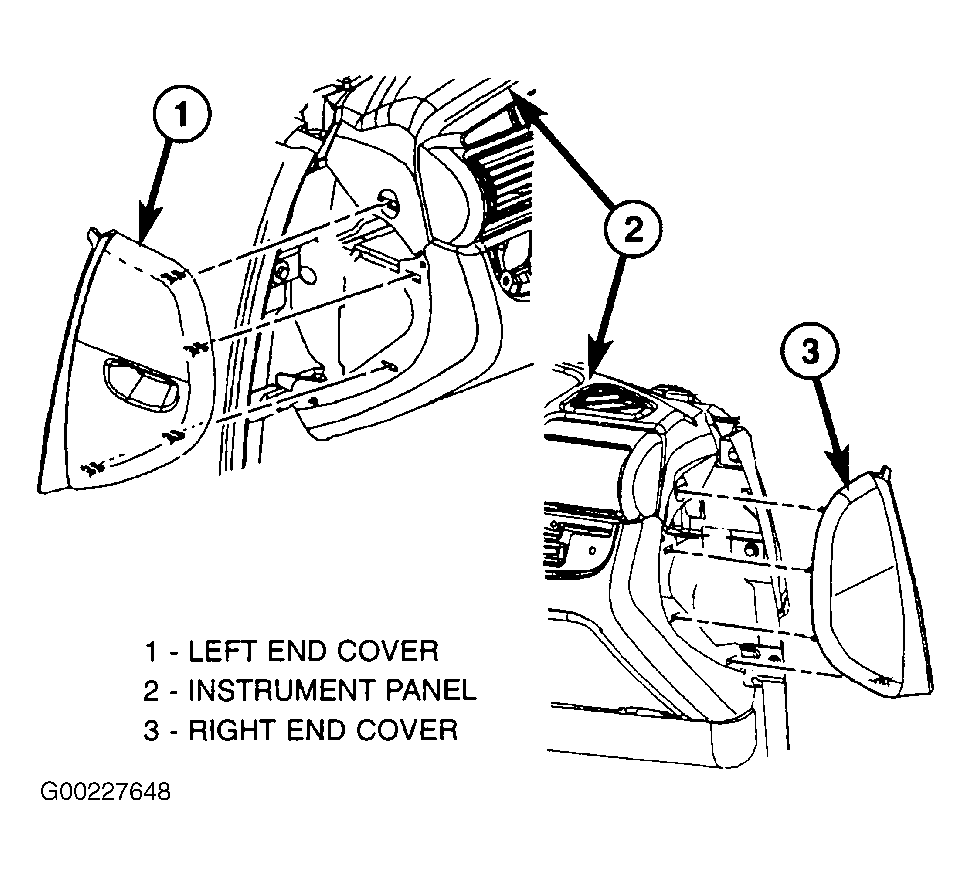
- Using a trim stick, gently pry out on the right end cover and remove from vehicle. See Fig 4
.
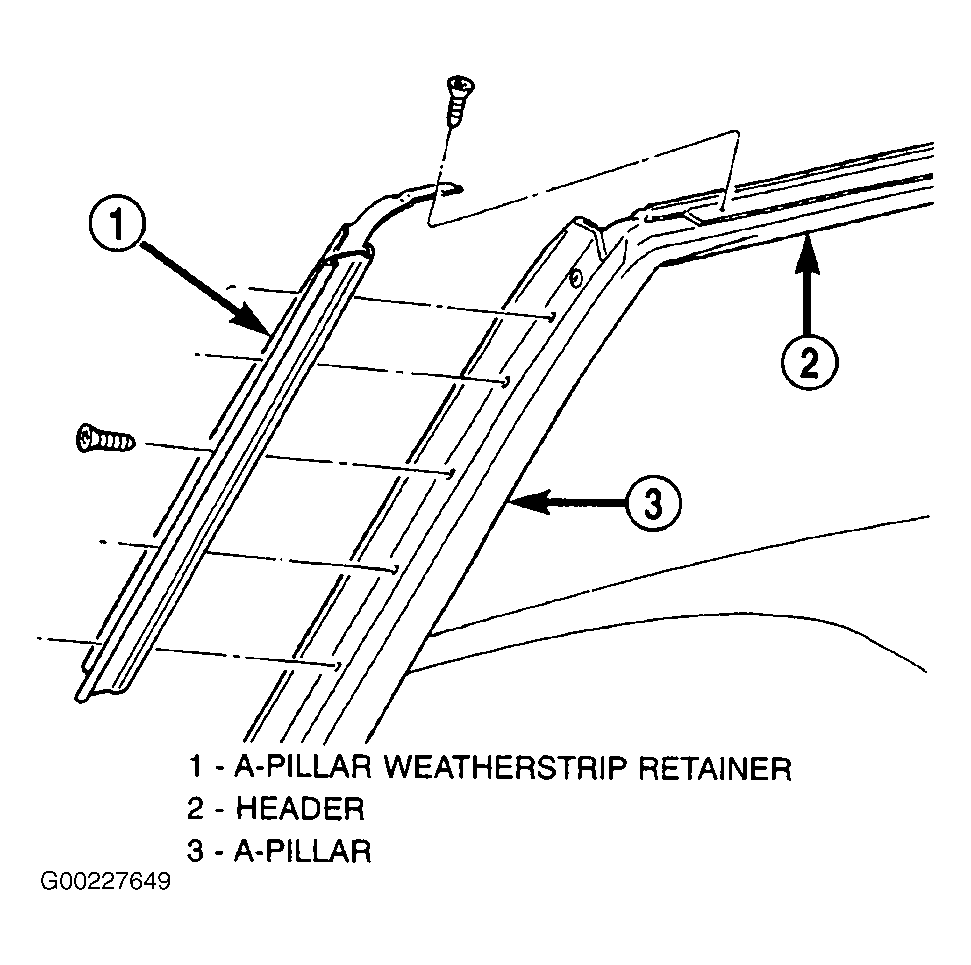
- Remove A-pillar weather stripping. See Fig 5
. Using a trim stick, gently pry out on the A-pillar trim and remove from vehicle. See Fig 6
.
- Open the glove box. Pinch in on the sides and drop to the floor. Pull down to disengage hinges.
- Disconnect the right door harness connectors located within the A-pillar.
- Remove the 4 right A-pillar instrument panel retainers.
- Remove the right silencer. Remove the one right side, center instrument panel support bolt.
- Using a trim stick, gently pry up on and remove the left sill plate.
- Remove the 2 screws to the left cowl trim panel and remove from vehicle.
- Using a trim stick, gently pry out on the left end cover and remove from vehicle.
- Using a trim stick, gently pry out on the left A-pillar trim and remove from vehicle. Do the same for the other side.
- Disconnect the left door harness connectors located within the A-pillar.
- Remove the 4 left A-pillar instrument panel retainers.
- Remove 5 screws and one wire connector to the left lower instrument panel trim bezel.
- Remove left silencer. Remove the one left side, center instrument panel support bolt.
- Remove one bolt to the left side support strut to bulkhead.
- Disconnect the junction block harness connectors. Remove 2 screws to the steering column shrouds and remove.
- Disconnect all the column wiring and unclip the harness from the steering column.
- Disconnect the transmission shift interlock and harness connector.
- Remove the 4 steering column retaining bolts and drop column to floor.
- Using a trim stick, pry up on the rear of the top cover and pull rearward as you lift off of instrument panel.
- Remove instrument panel top pad. Remove 7 bolts and 5 screws attaching instrument panel to fence line and cowl side.
- With the help of an assistant, lift up instrument panel and move rearward to remove. Tilt the panel rearward to prevent any remaining coolant from leaking out.
- To install, reverse the removal procedure. If replacing the instrument panel, transfer all non-damaged parts and wiring harness to the new instrument panel assembly.
 Courtesy of CHRYSLER CORP.
 Courtesy of CHRYSLER CORP.
 Courtesy of CHRYSLER CORP.
 Courtesy of CHRYSLER CORP.
 Courtesy of CHRYSLER CORP.
 Courtesy of CHRYSLER CORP.