Removal & Installation: Engine: Installation
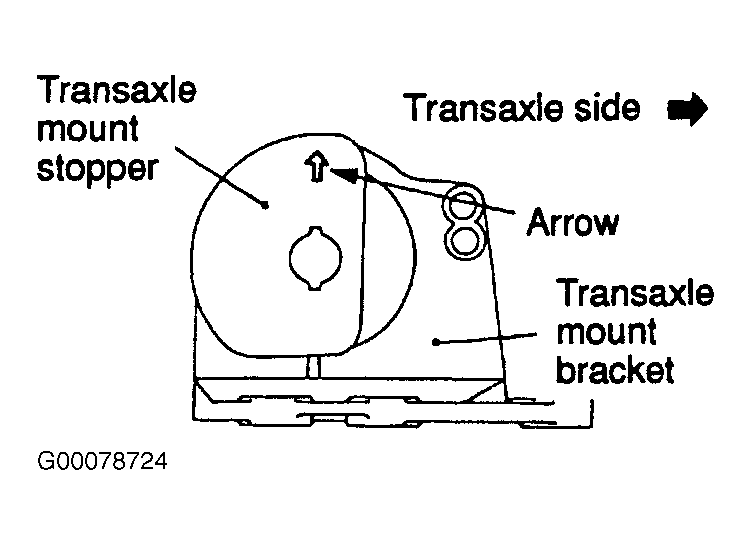
- To install, reverse removal procedure. Install upper engine mount bracket so that arrow on engine mount stopper is pointing to engine. See Figure. Install NEW upper engine mount bracket nuts.
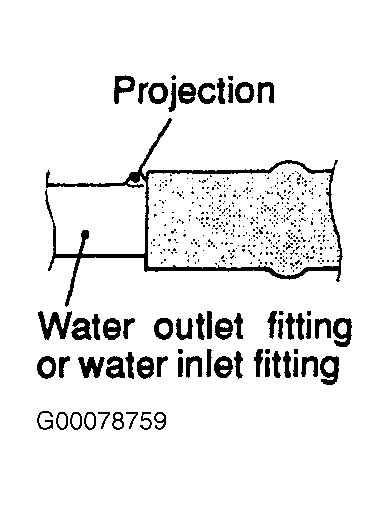
- When installing upper and lower radiator hose, fit hose over pipe only as far as projection. See Fig 1. To fill and bleed cooling system, see COOLING SYSTEM BLEEDING .
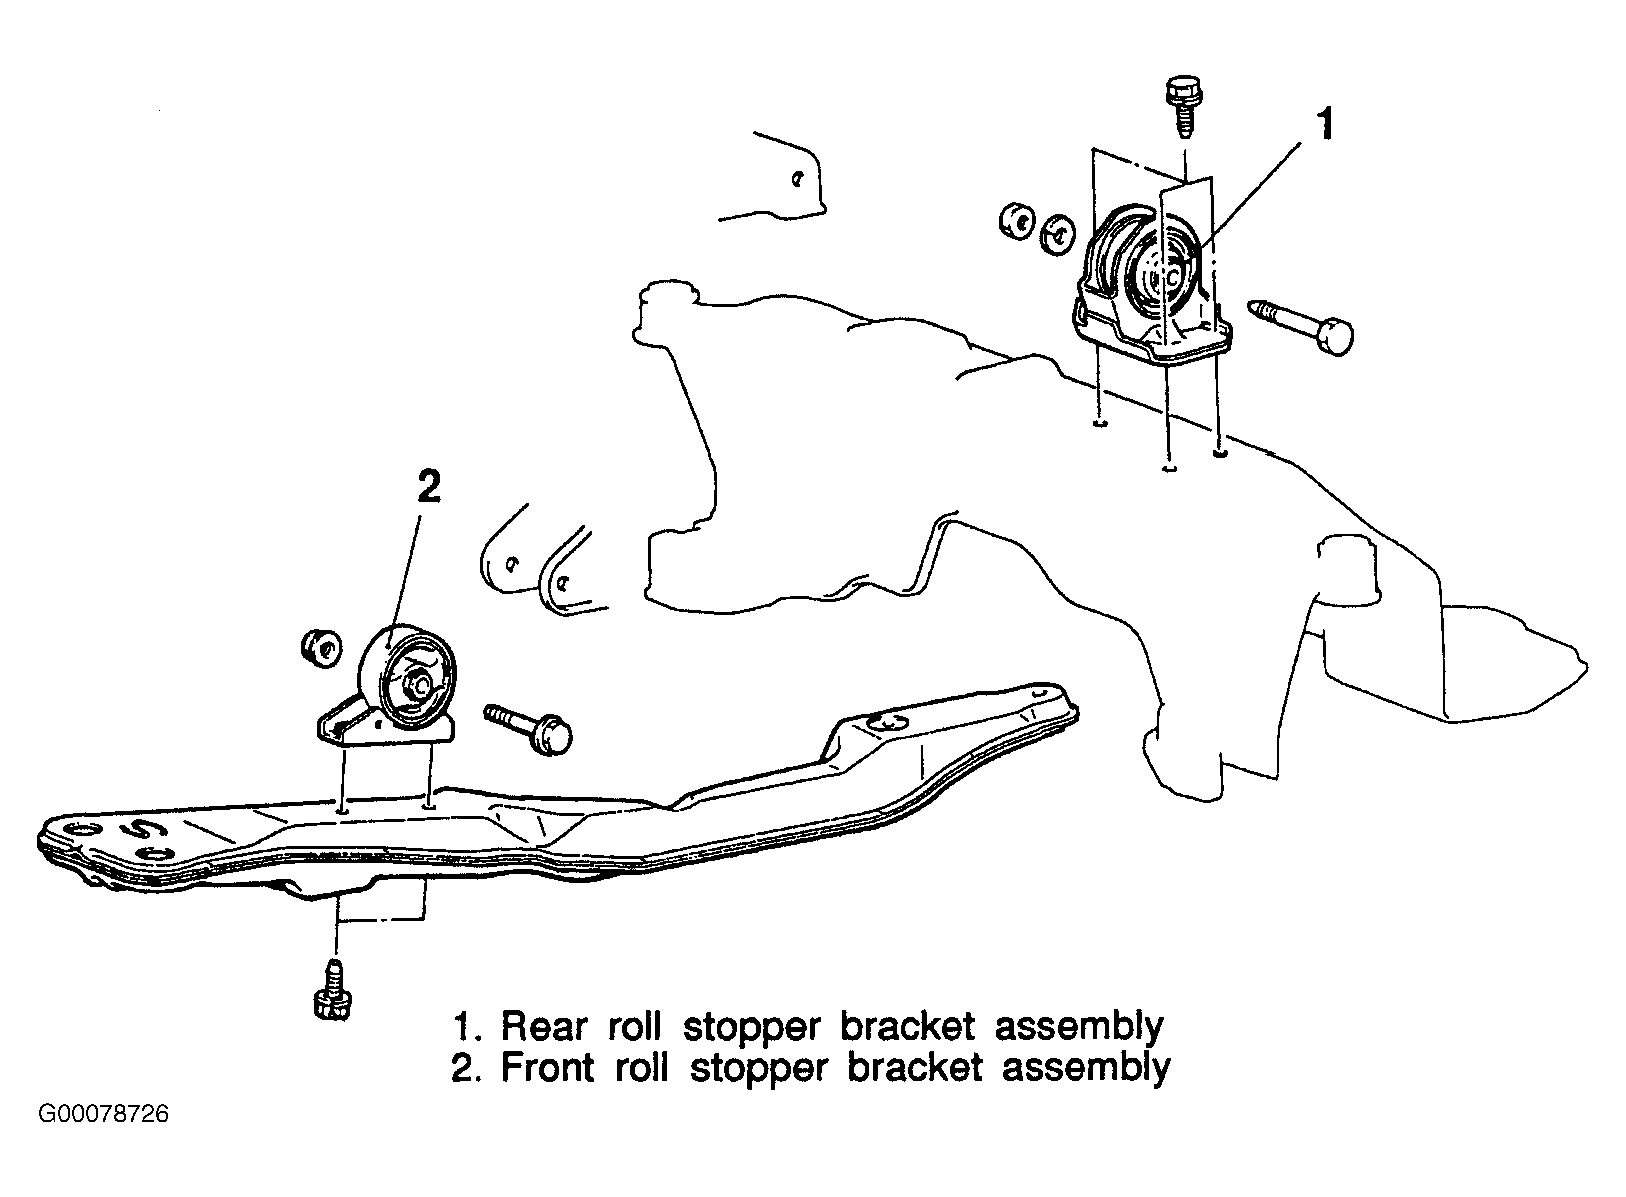
- Check each engine mount for cracks and damage. See Fig 4. Also check each engine mount bracket for deformation and damage. Repair or replace as necessary. If replacing transaxle mount, install new transaxle mount with arrow pointing up. See Fig 2. Install NEW transaxle mount bracket nuts.
- Adjust accessory drive belt tension. See appropriate SPECIFICATIONS & ELECTRIC COOLING FANS article in ENGINE COOLING. Check accelerator cable adjustment. See ACCELERATOR CABLE under ADJUSTMENTS.
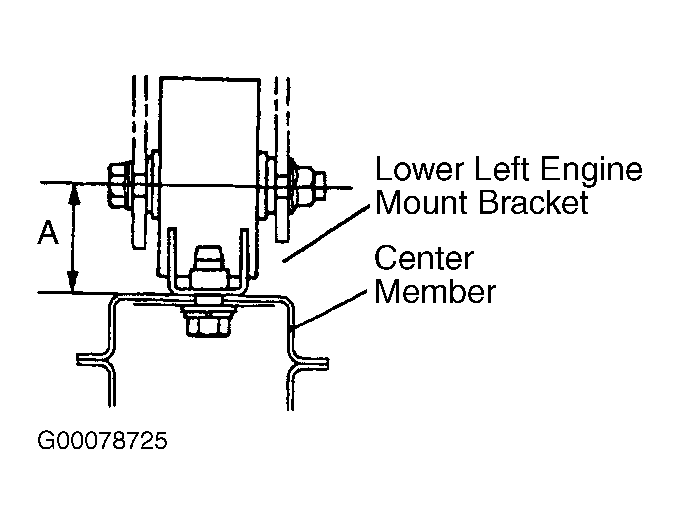
- After installing engine, temporality tightened lower engine mounts. After vehicle has been lowered completely, tightened lower engine mounts to specification. After installing engine, measure lower left engine mount height with weight of engine on body. See Fig 3. Lower left engine mount height should be 1.57-1.81" (40-46 mm). Replace as necessary. To complete installation, reverse removal procedure. Tighten all fasteners to specification. See TORQUE SPECIFICATIONS .
 Courtesy of CHRYSLER CORP.
 Courtesy of CHRYSLER CORP.
 Courtesy of CHRYSLER CORP.
 Courtesy of CHRYSLER CORP.