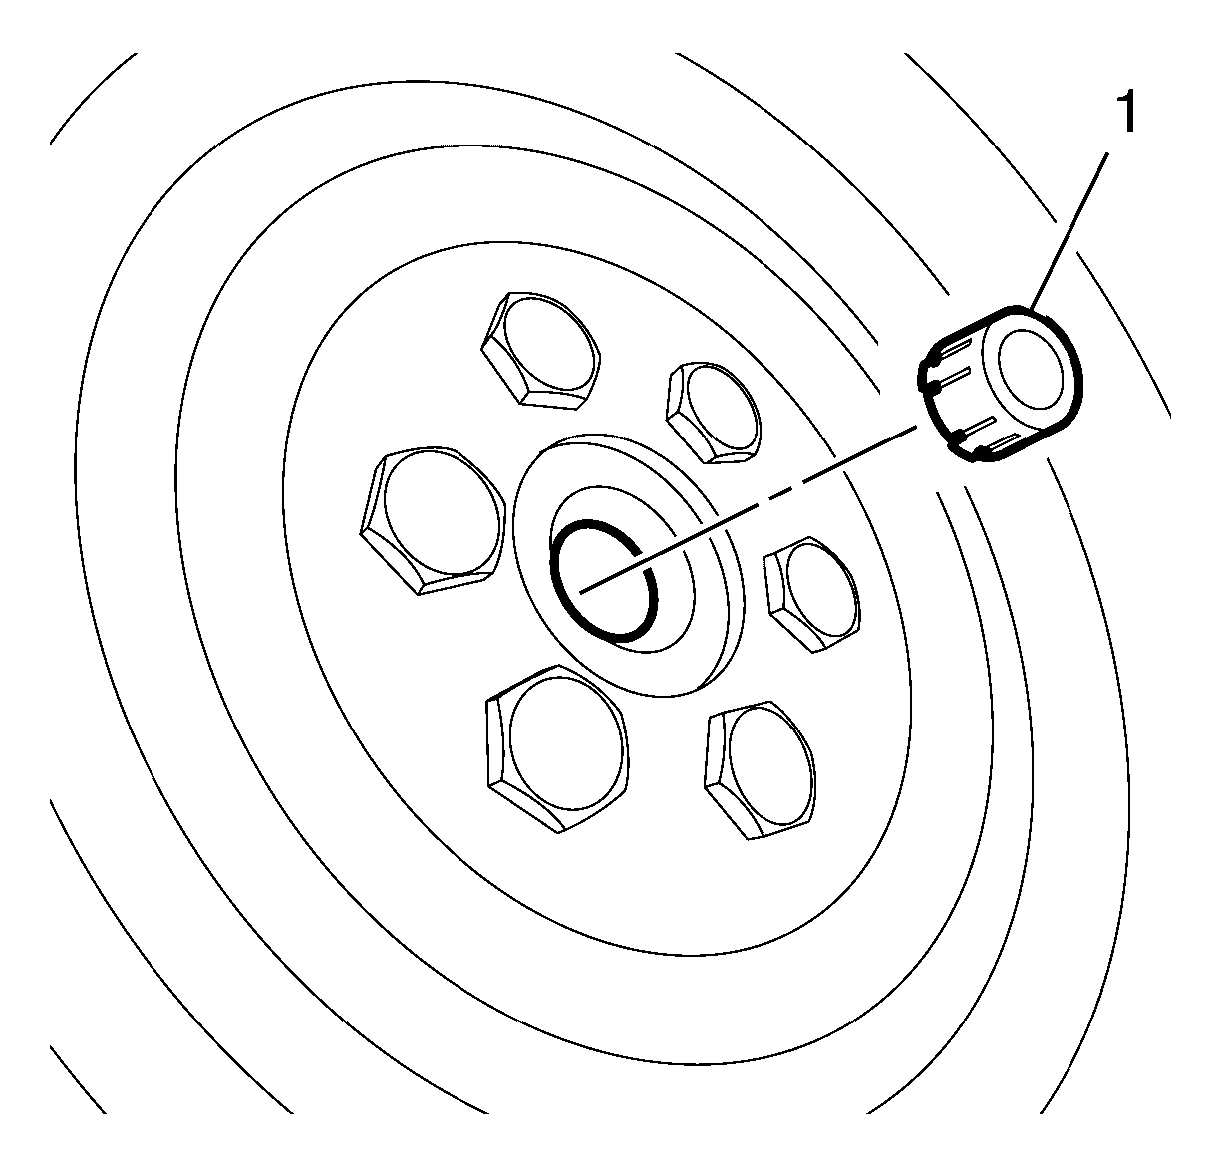
- Install the bushing (1) to the crankshaft, the bushing must be fully seated into the crankshaft. The bushing stays in the crankshaft. Without the bushing the center guide can not center the driven plate. For the correct bushing refer to the electronic parts catalog.
 Courtesy of GENERAL MOTORS COMPANY
- Re-cut the 6 clutch pressure plate bolt threads.
 Courtesy of GENERAL MOTORS COMPANY
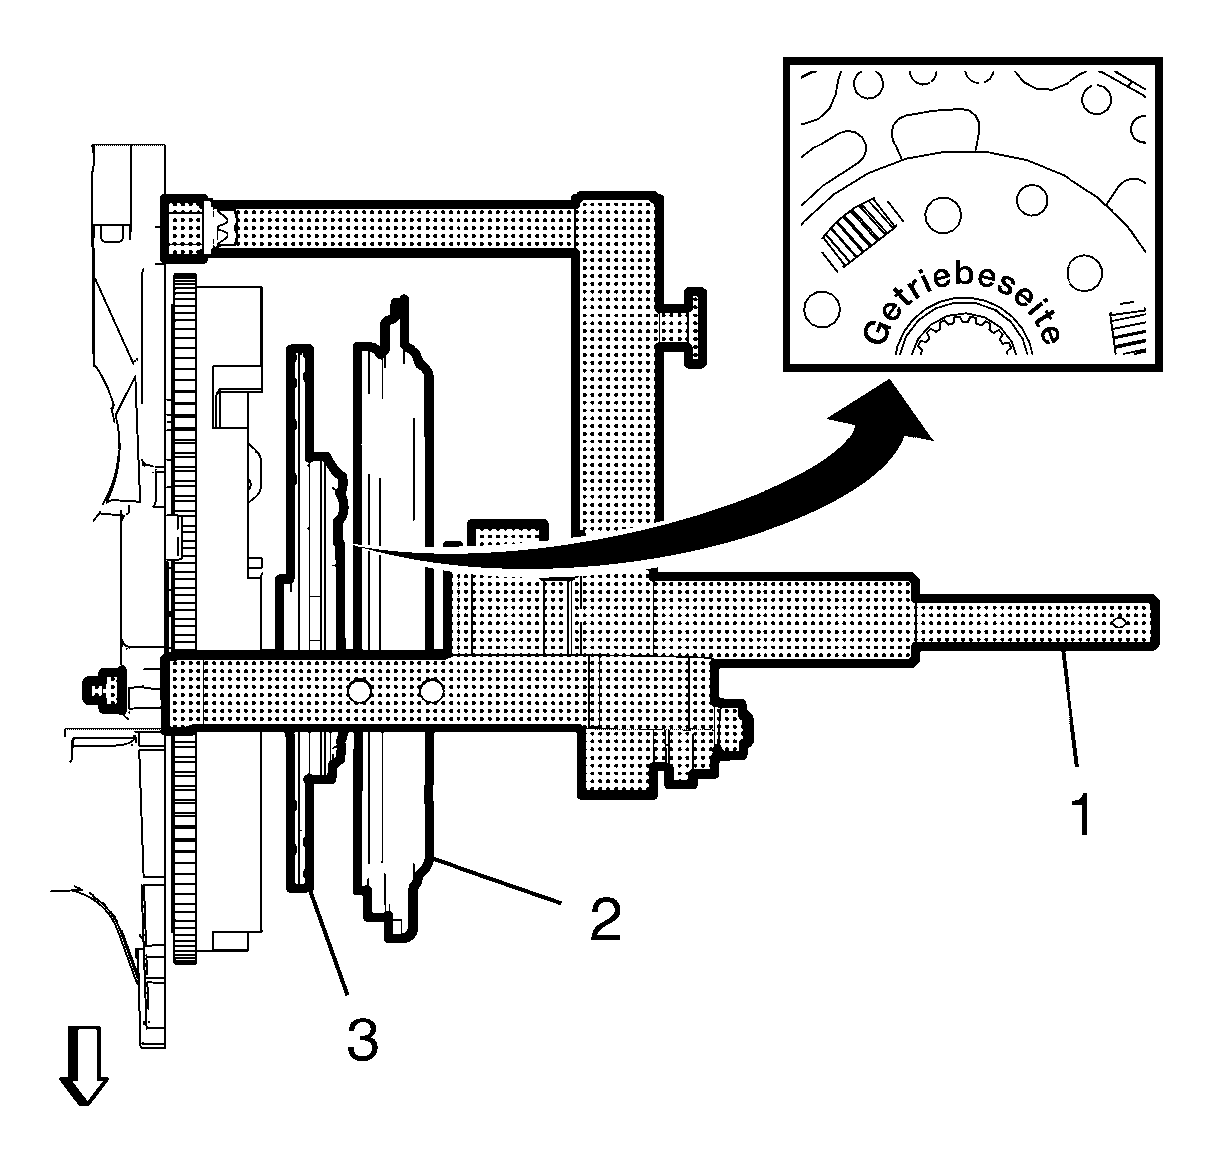
- Install the clutch driven plate (3) and the clutch pressure plate (2).
NOTE:
The clutch driven plate must be installed so that the German lettering "Getriebe-seite" (means Gearbox-side) on the plate is orientated toward the transmission.
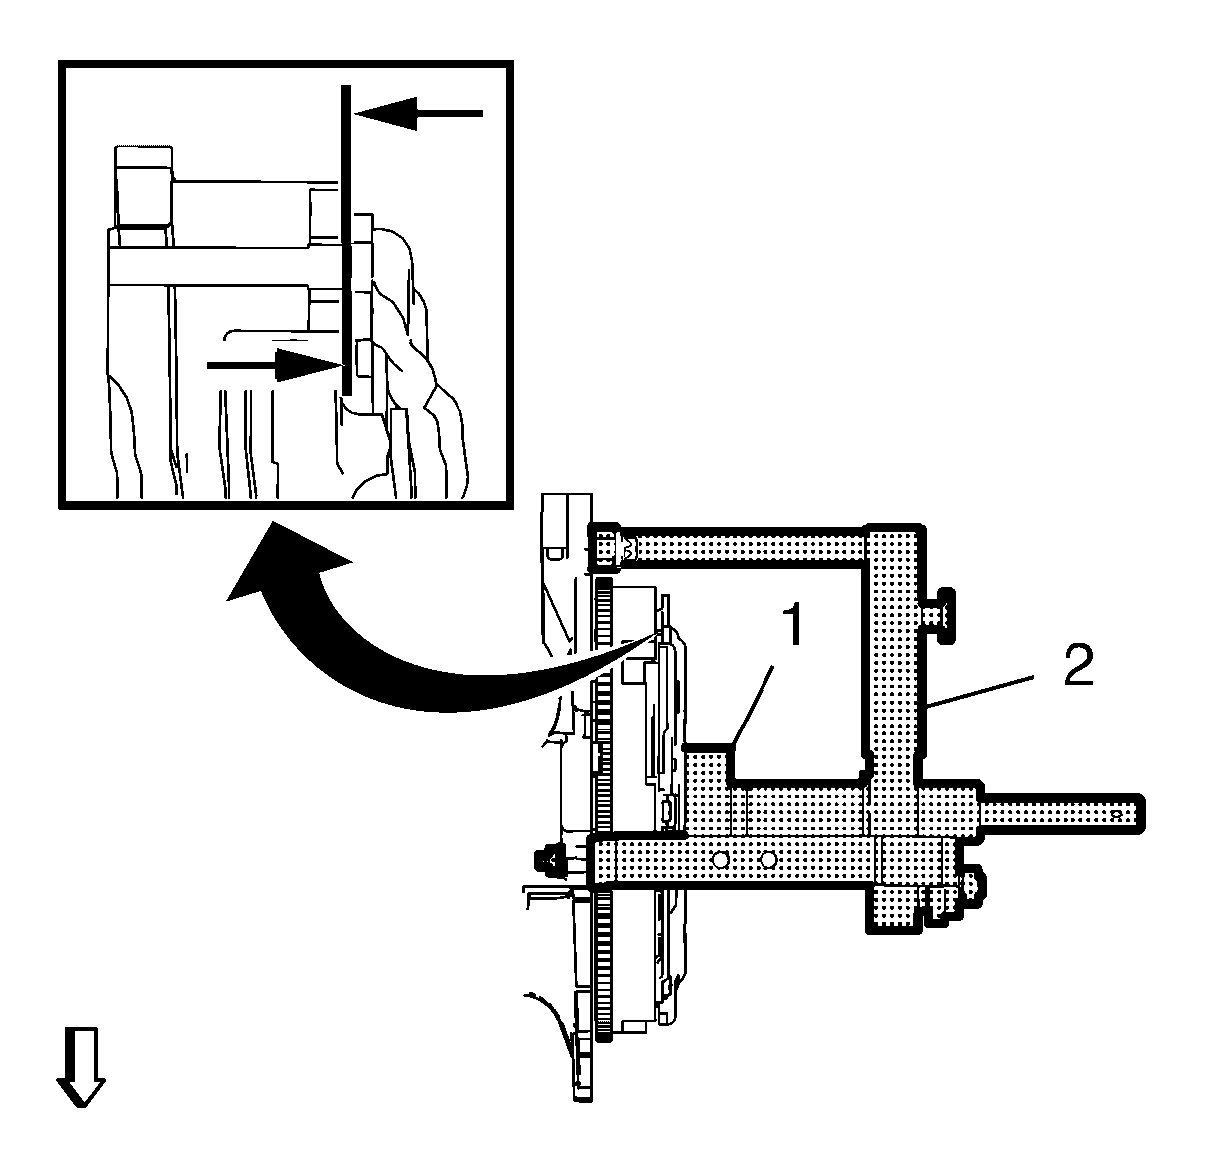
- Center the clutch driven plate, using the DT-6263-30
centering drift (1) along with the clutch center guide.
- Preload the clutch springs, using the DT-6263
remover/installer (2).
 Courtesy of GENERAL MOTORS COMPANY
NOTE:
DO NOT turn further than necessary.
- Turn the threaded rod (1) clockwise until the pressure plate contacts the flywheel (arrows).
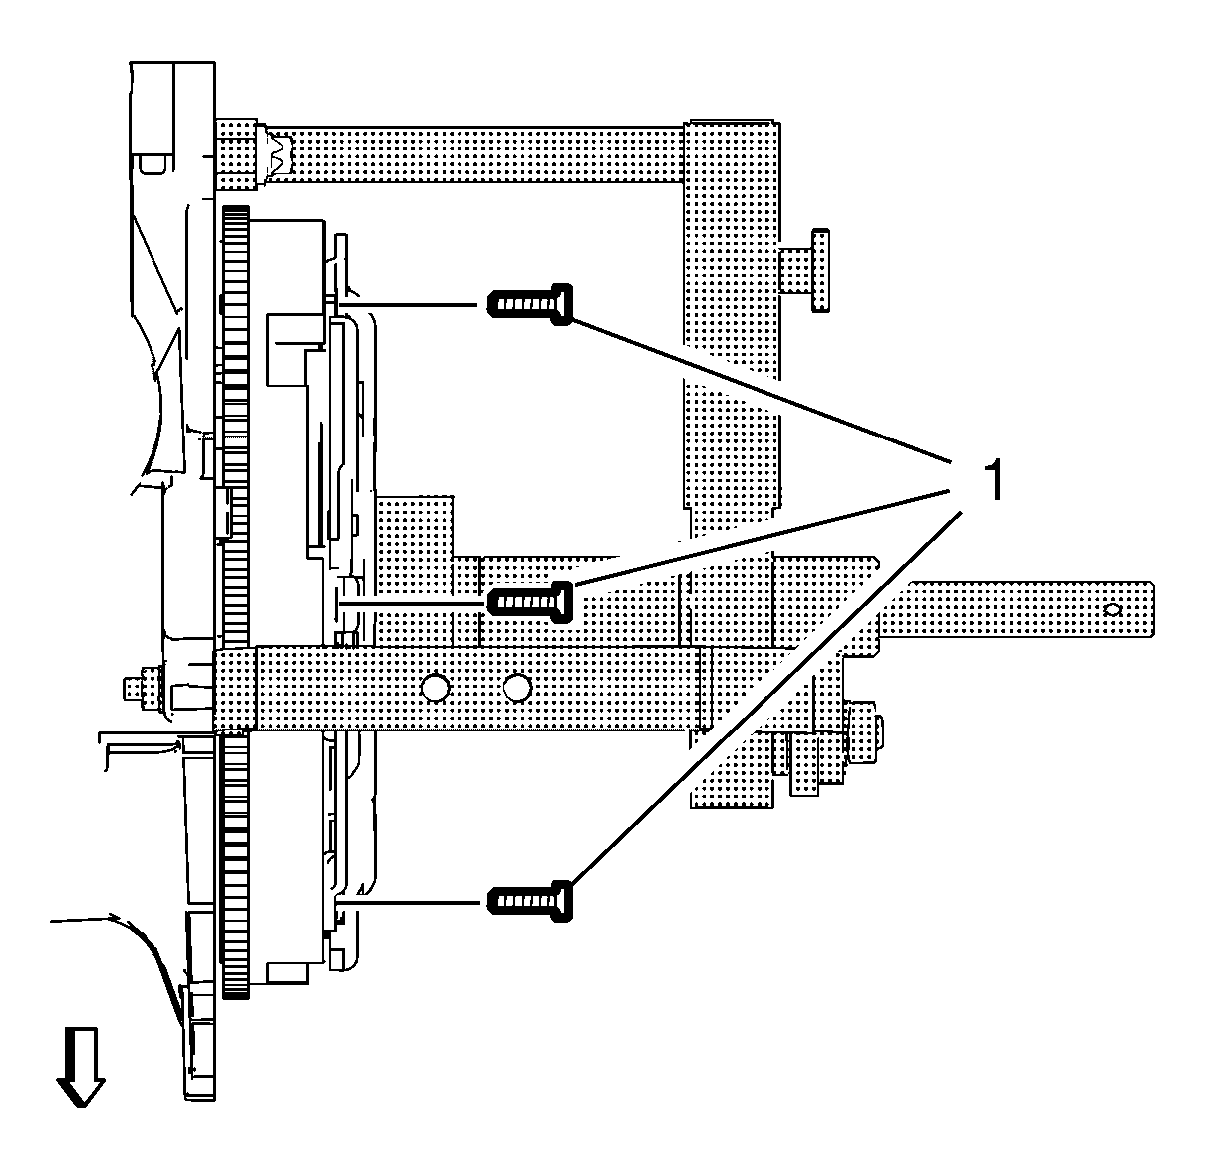
- Install the 6 NEW clutch pressure plate bolts (1). For the correct bolts, refer to the electronic parts catalog.
 Courtesy of GENERAL MOTORS COMPANY
NOTE:
In the case that the clutch pressure plate bolts where assembled with thread lock agent: Service may offer bolts that are not microencapsulated. If this is the case apply thread lock agent to the bolt. If the fastener is microencapsulated, install NEW clutch pressure plate bolts. DO NOT reuse the old bolts.
- Tighten the clutch pressure plate bolts to 28 N.m (21 lb ft).
- Remove the DT-6263
remover/installer (2) from the engine block.
 Courtesy of GENERAL MOTORS COMPANY
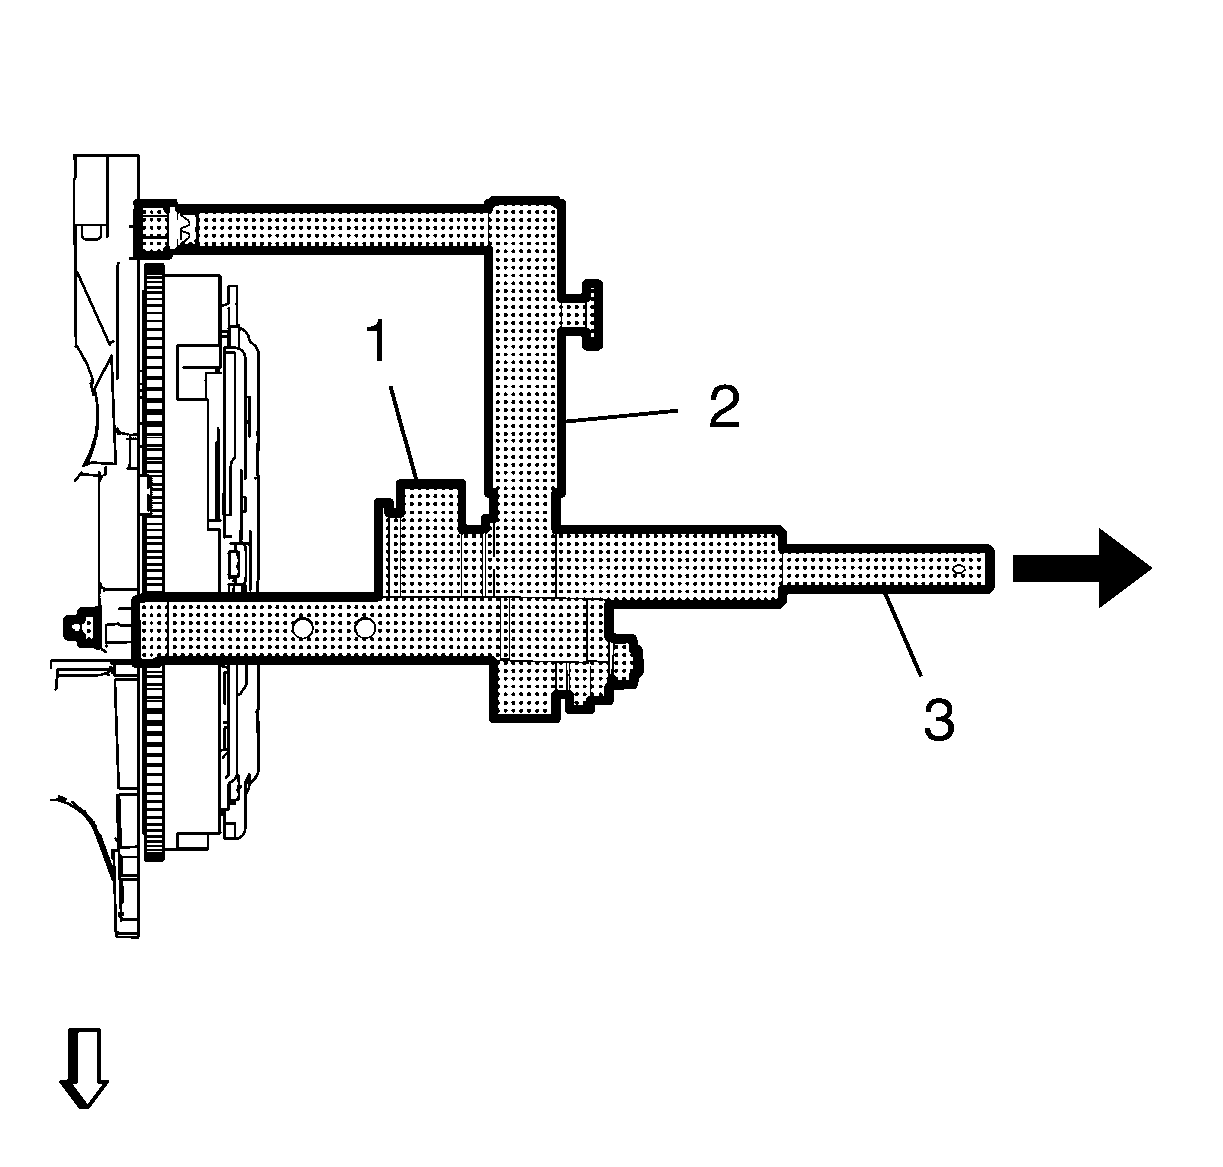
- Turn the threaded rod (1) of the DT-6263
remover/installer counterclockwise to the stop.
- Remove the DT-6263-30
centering drift (3) along with the clutch center guide (arrow).
- Remove the 4 bolts installing the DT-6263
remover/installer to the engine block.
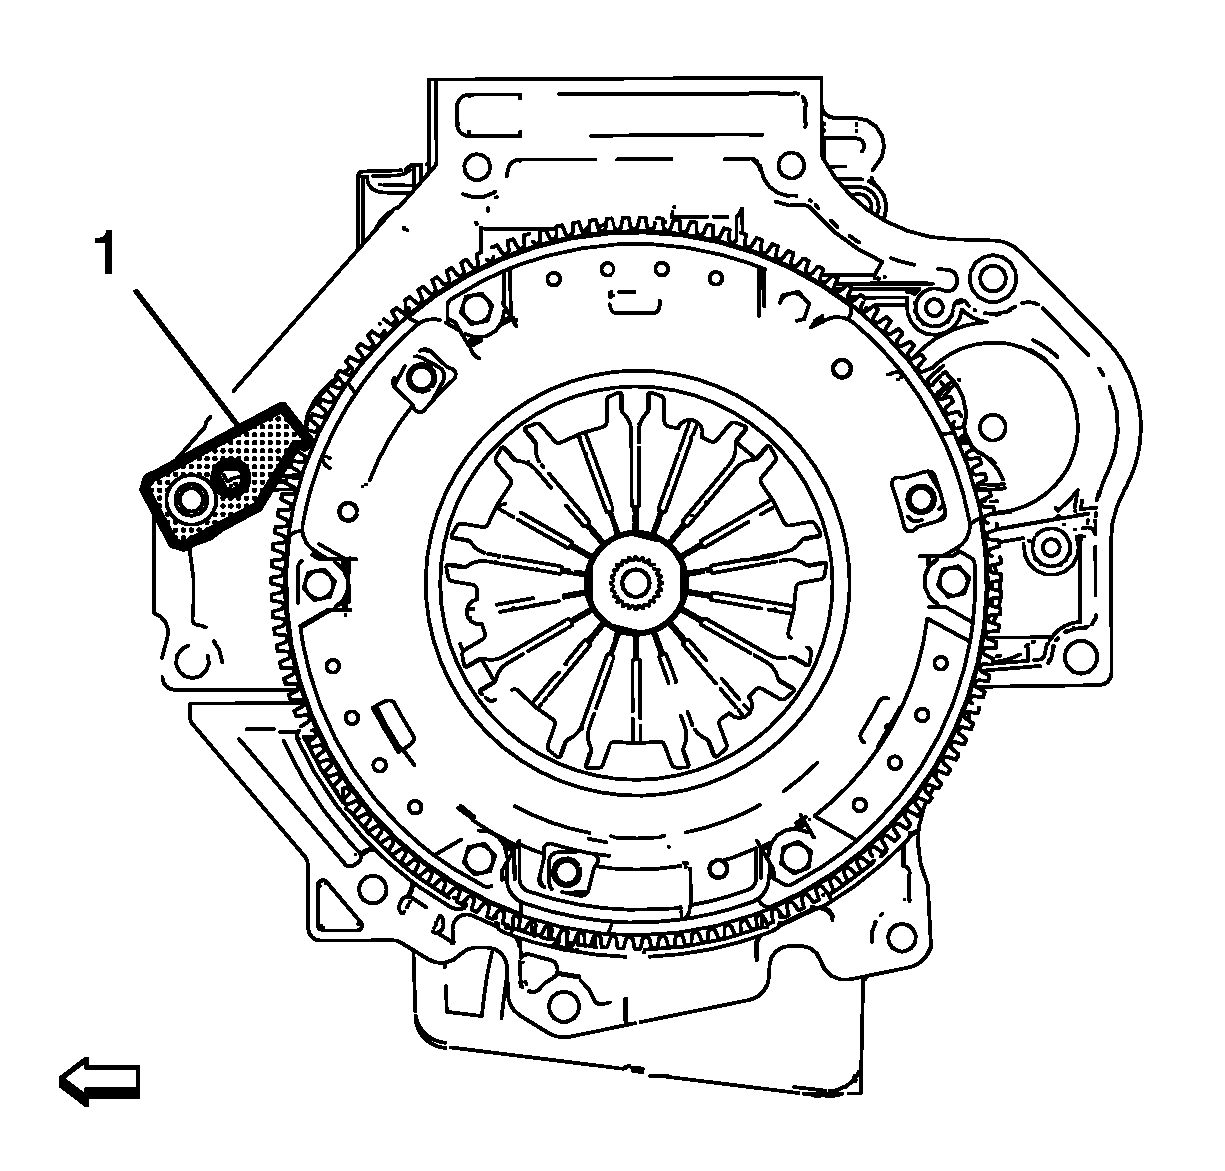
- Remove the EN-652
holder (1) from the engine block.
 Courtesy of GENERAL MOTORS COMPANY
- Install the transmission. Refer to Transmission Replacement
.