Terminal Removal Procedure
- Disconnect the connector from the component.
- Insert a small flat-blade tool in the slot below the front loaded terminal position assurance (TPA) and pry up.
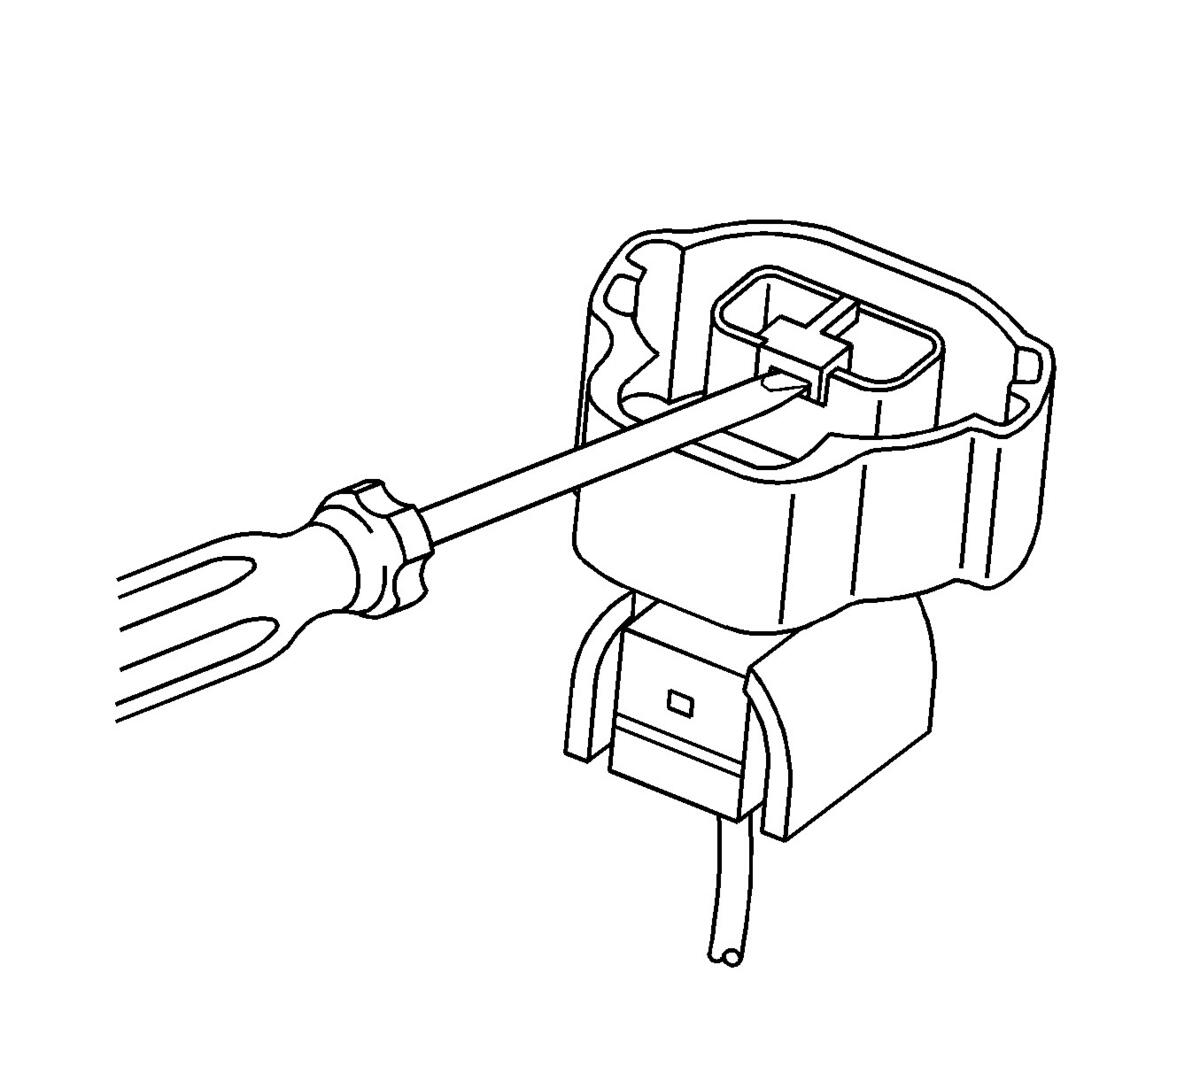 Courtesy of GENERAL MOTORS COMPANY
- Remove the TPA by pulling it out of the connector.
- Push the wire side of the terminal that is being removed toward the connector and hold it in position.
- Insert the J-38125-553 on a slight upward angle into the cavity below the terminal to be removed. Ensure that the pointed on the end of the tool is facing the bottom of the terminal and it stays in contact with the terminal until it stops on the plastic terminal retainer.
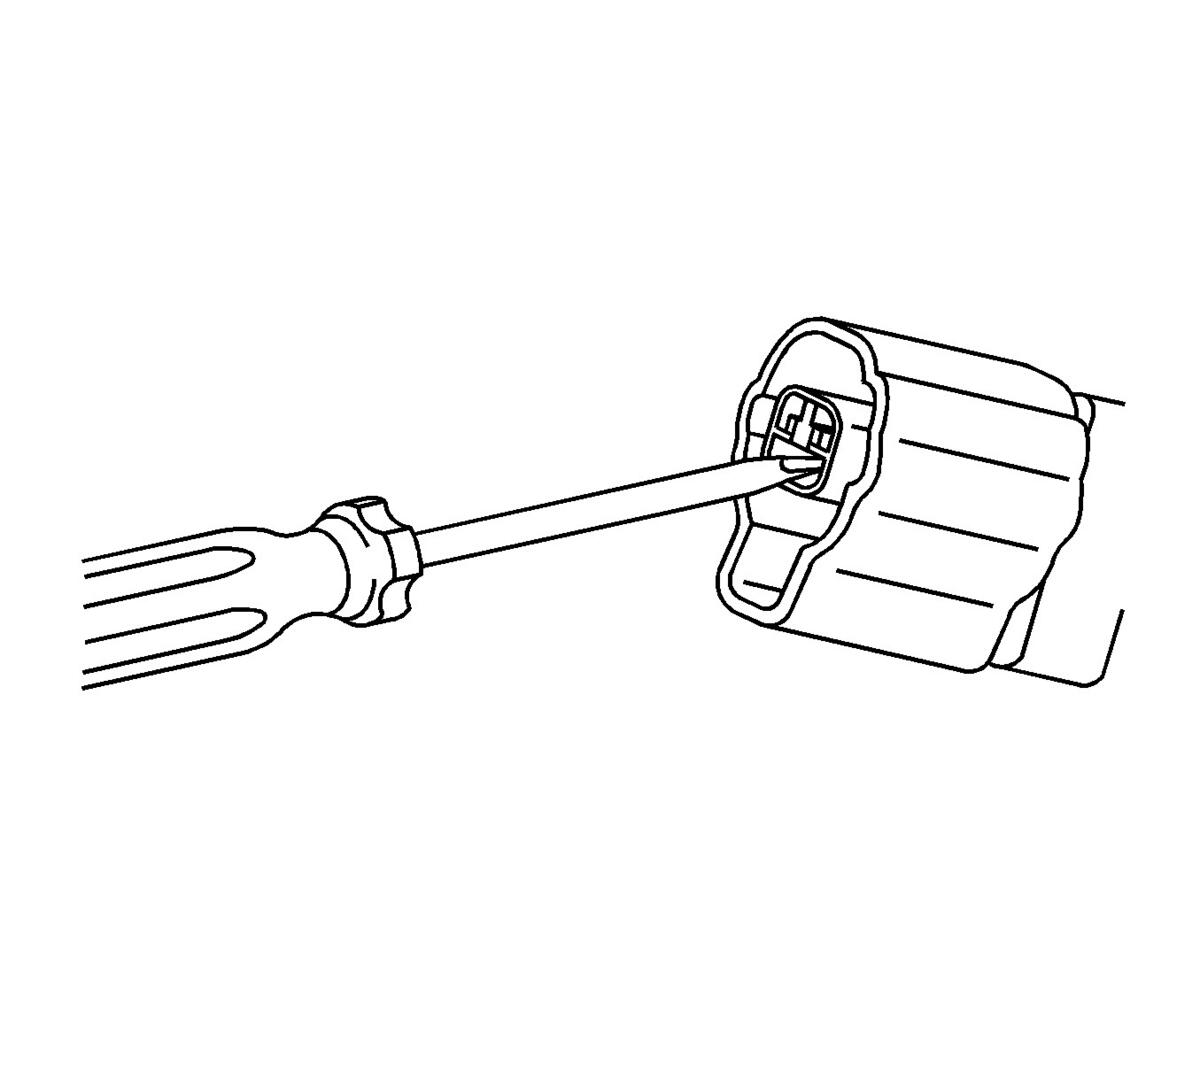 Courtesy of GENERAL MOTORS COMPANY
- Gently pry the plastic terminal retainer down and carefully pull the terminal out of the connector. Always remember never use force when pulling a terminal out of a connector. If the terminal is difficult to remove, repeat the entire procedure.
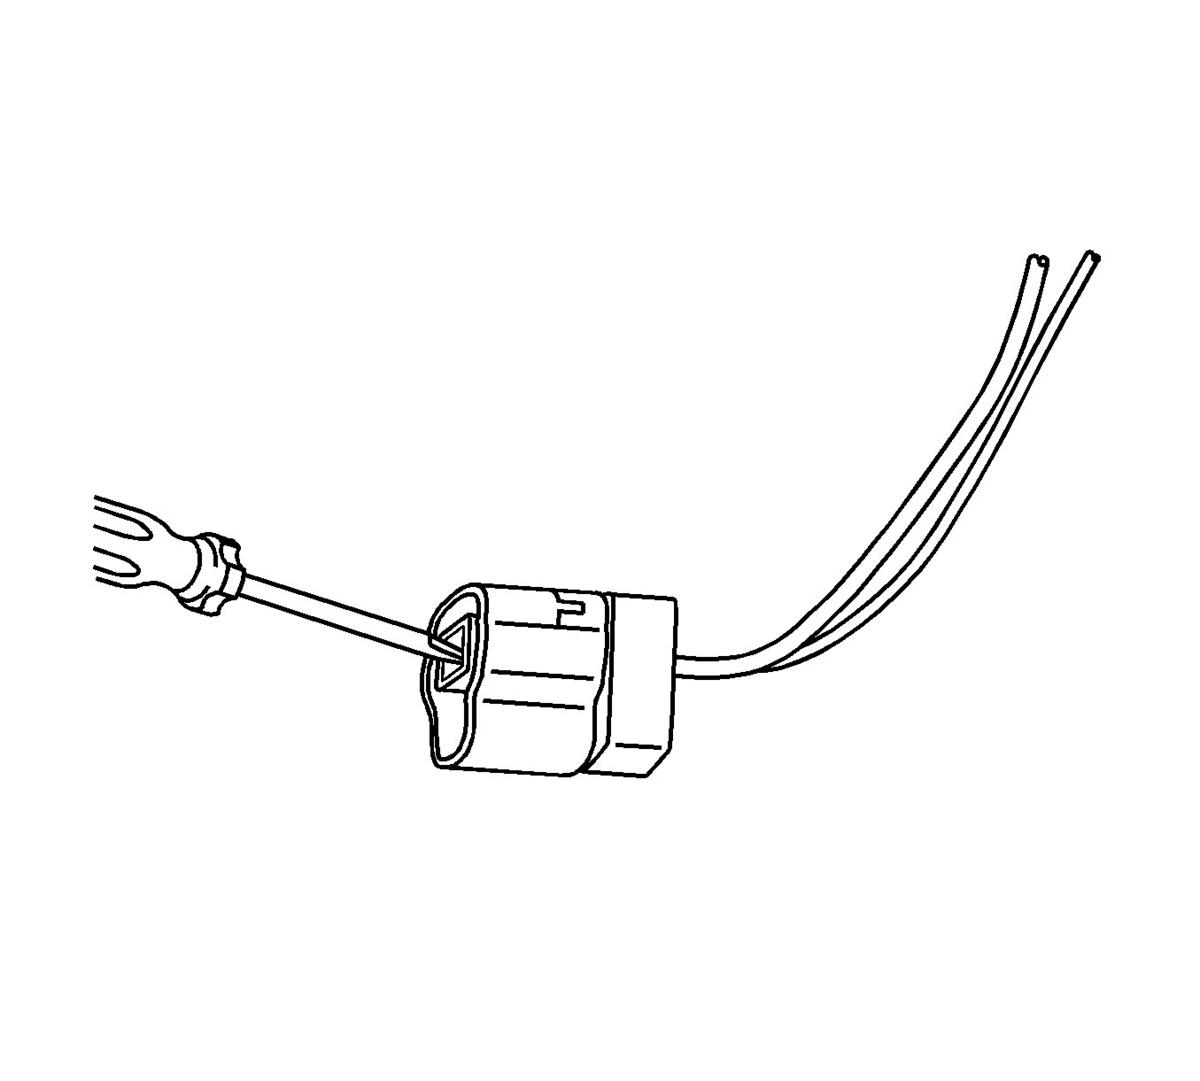 Courtesy of GENERAL MOTORS COMPANY
- Repair the terminal by following the Repairing Connector Terminals (Terminated Lead Repair) and Repairing Connector Terminals (Terminal Repair) procedure.
- Insert the repaired terminal back into the cavity. Repeat the diagnostic procedure to verify the repair and reconnect the connector bodies.