Liftgate Emblem/Nameplate Replacement (Tri Shield)
WARNING: This page is about a different car, the 2016 GMC Acadia, 2016 Chevrolet Traverse, and 2016 Buick Enclave. However, it is still accessible from the selected car via links, so may be relevant.
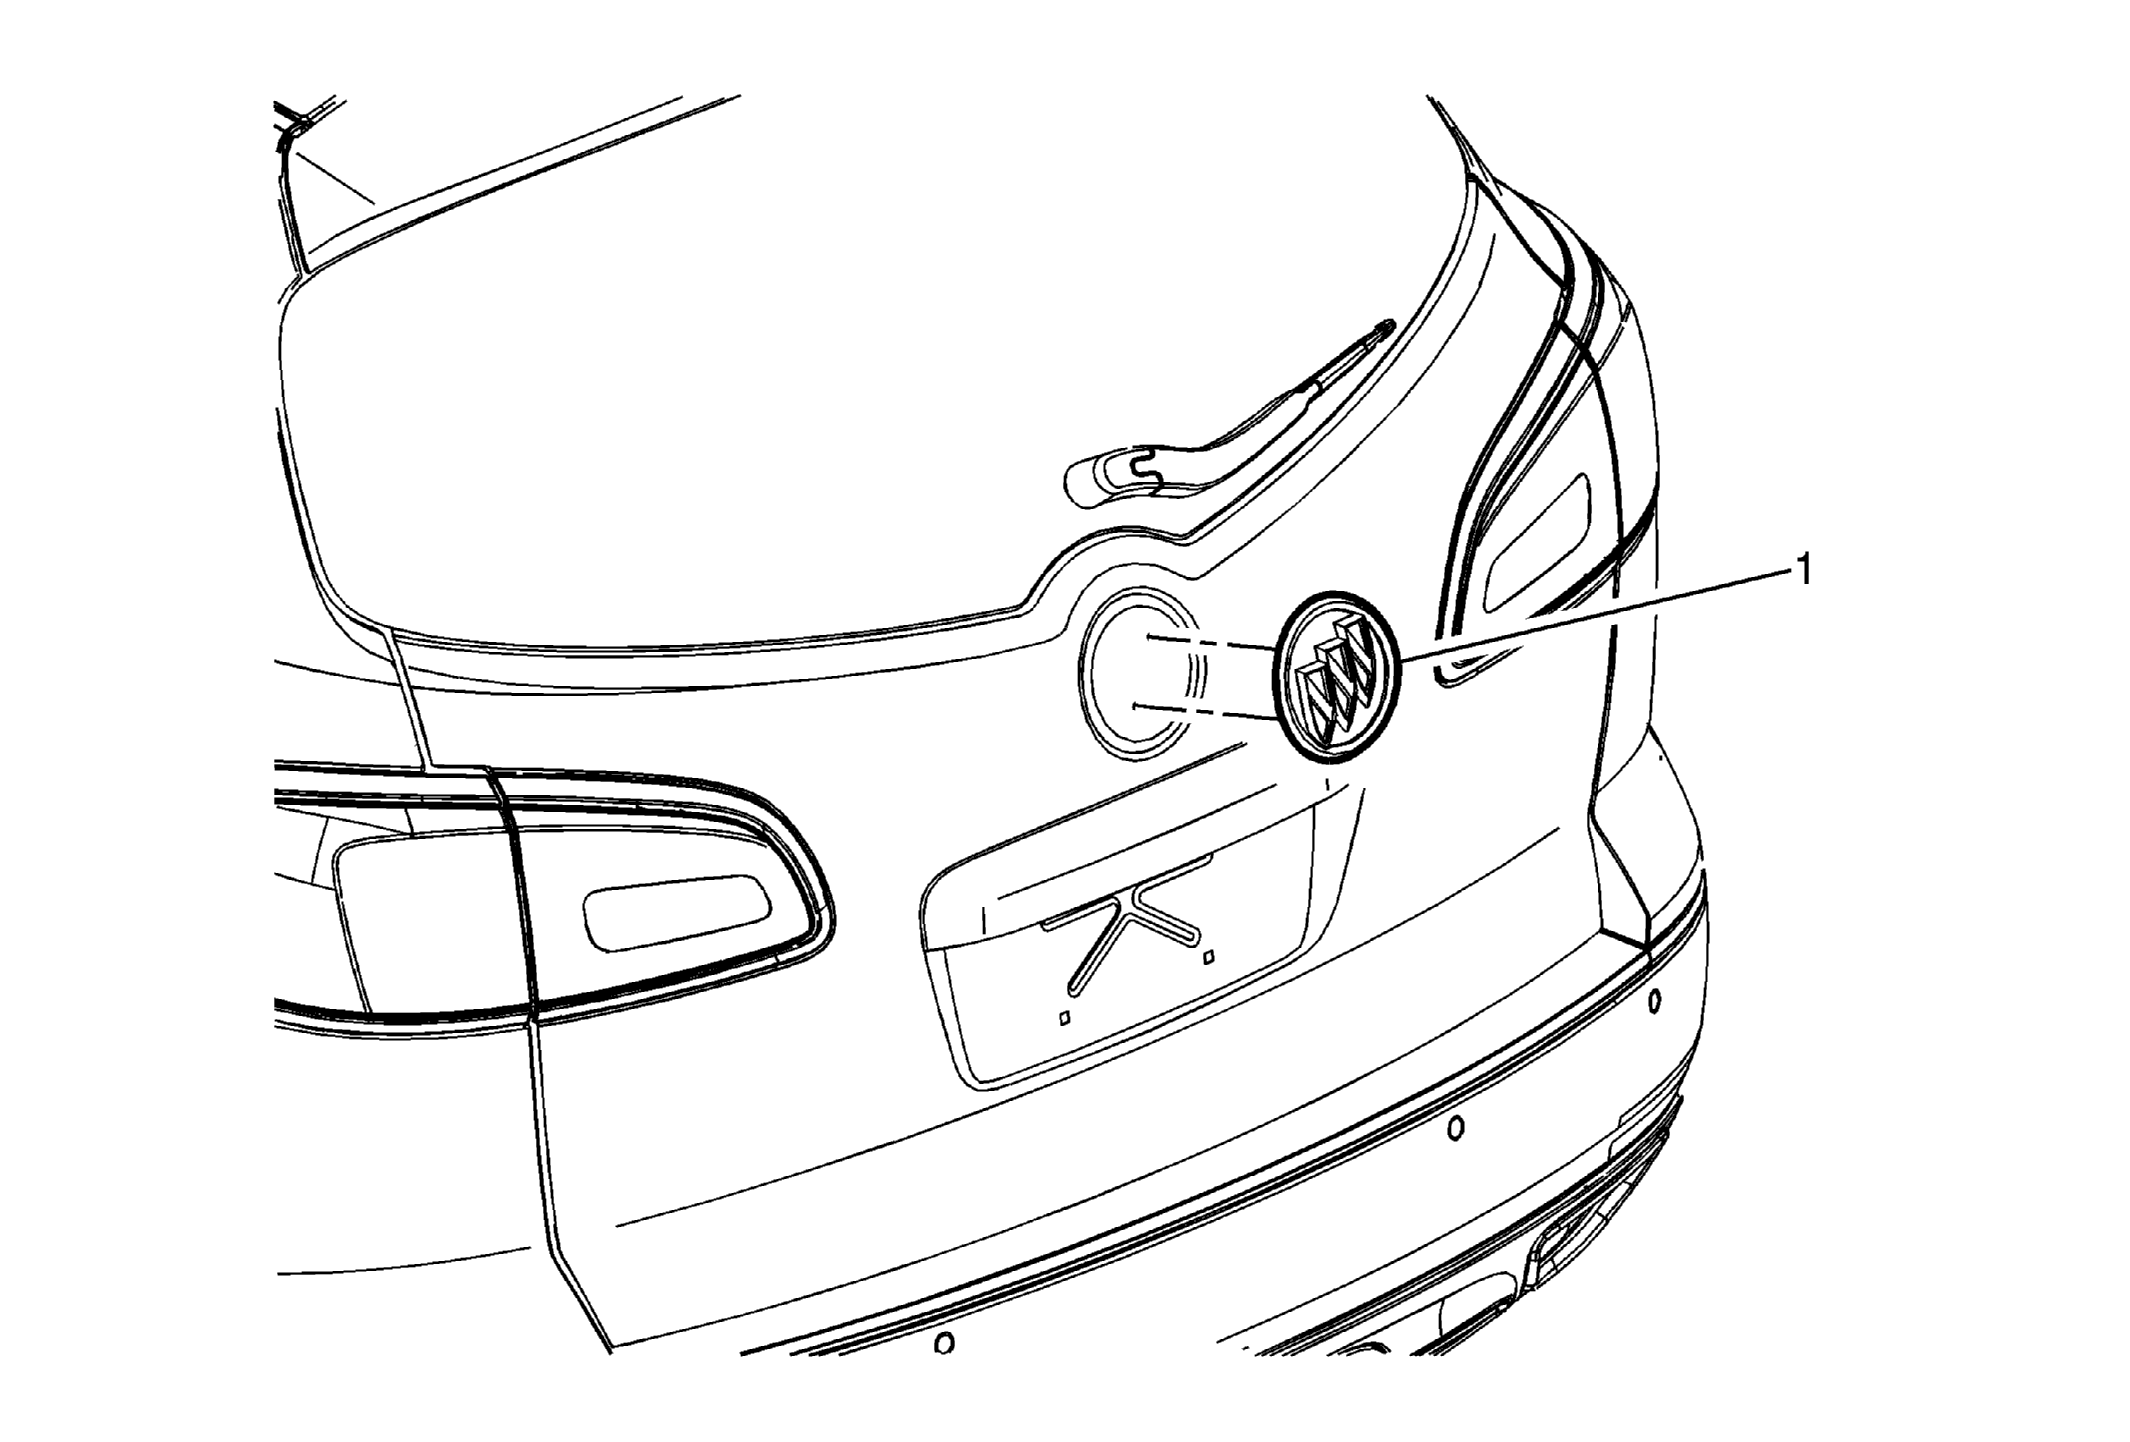 Courtesy of GENERAL MOTORS COMPANY
| Callout |
Component Name |
| 1 |
Liftgate Vehicle Namplate (Tri-Shield)
Procedure
- The part and surface should be 21°C (70°F) prior to installation. The vehicle should remain 21°C (70°F) for one hour after assembly to allow adhesive to develop sufficient bond strength.
- Apply a suitable tape around the liftgate vehicle nameplate.
- Use a heat gun or equivalent to remove the liftgate vehicle nameplate. Use a suitable flat bladed tool to assist in the removal.
- Clean any remaining residue with a 50/50 mixture by volume of isopropyl alcohol and clean drinkable water. Wipe surface dry with a clean lint-free towel.
- When removing protective liners from adhesive backing, be careful not to touch the tape with hands and do not allow the tape to come in contact with dirt or any foreign matter prior to adhesion.
- Align the liftgate vehicle nameplate to the two guide holes on the liftgate and using the palm of the hand press evenly to ensure full adhesion is made.
|