Parking Brake Lever: Service and Repair
Parking Brake Lever Replacement
Removal Procedure
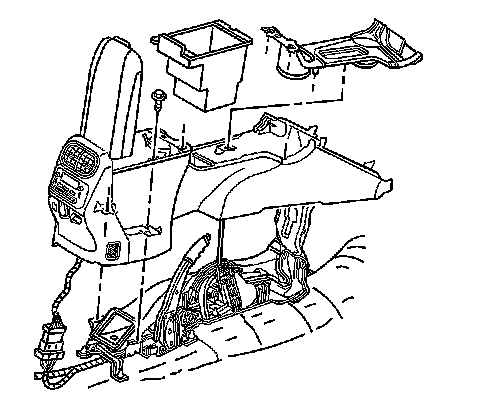
1. Remove the floor console. Refer to Console Replacement (Service and Repair).
2. Disable the parking brake cable adjuster. Refer to Parking Brake Cable Adjuster Disabling (Park Brake Cable Adjuster Disabling).
3. Raise and support the vehicle. Refer to Lifting and Jacking the Vehicle (Service and Repair).
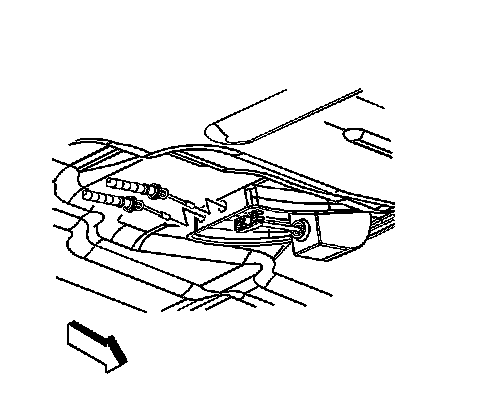
4. Disconnect the park brake cables from the equalizer.
5. Lower the vehicle.
6. Disconnect the electrical connector from the park brake warning indicator switch.
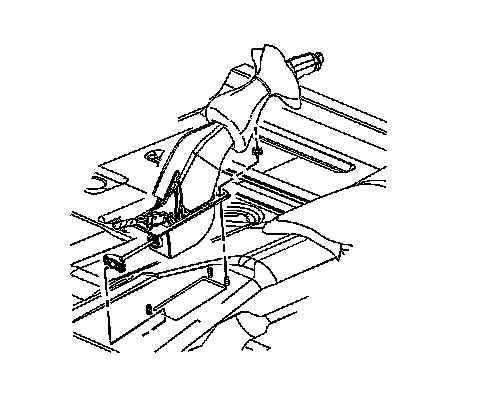
7. Remove the remaining park brake lever nut.
8. Remove the park brake lever assembly from the vehicle.
Installation Procedure
1. Install the park brake lever assembly to the vehicle.
Caution: Refer to Fastener Caution (Fastener Caution).
2. Install the right front park brake lever nut.
Tighten the nut to 25 Nm (18 lb ft).
3. Connect the park brake warning indicator switch electrical connector.
4. Raise the vehicle.
5. Connect the park brake cables to the equalizer.
6. Lower the vehicle.
7. Install the floor console. Refer to Console Replacement (Service and Repair).
8. Enable the parking brake cable adjuster. Refer to Parking Brake Cable Adjuster Enabling (Park Brake Cable Adjuster Enabling).