Removal Procedure
 Courtesy of GENERAL MOTORS CORP.
- Remove the master cylinder. Refer to Master Cylinder Replacement .
 Courtesy of GENERAL MOTORS CORP.
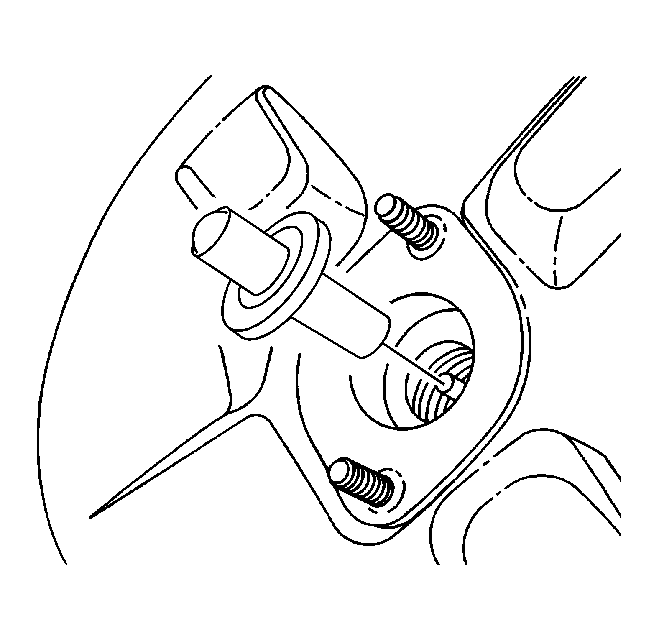
- Remove the shaft and the rubber O-ring.
 Courtesy of GENERAL MOTORS CORP.
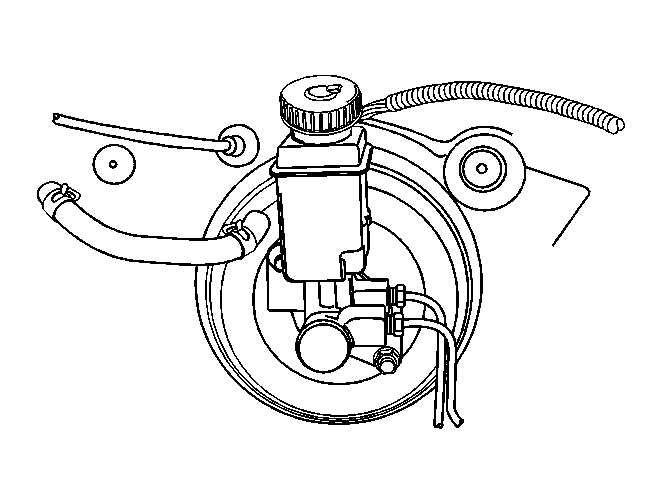
- Spread the clip on the vacuum hose connection to the brake booster and move the clip away from the booster.
- Remove the vacuum hose from the booster.
- Disconnect the stop lamp switch. Refer to Stop Lamp Switch Replacement
.
- Remove the brake pedal spring.
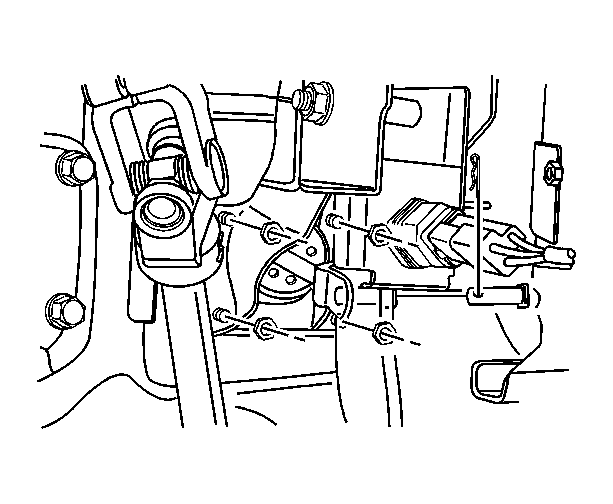
- Remove the clip and the pushrod pin from the pedal bracket assembly.
 Courtesy of GENERAL MOTORS CORP.
- Remove the booster mounting nuts from the studs protruding from the dash panel and remove the booster.
- Remove the rubber boot.
 Courtesy of GENERAL MOTORS CORP.
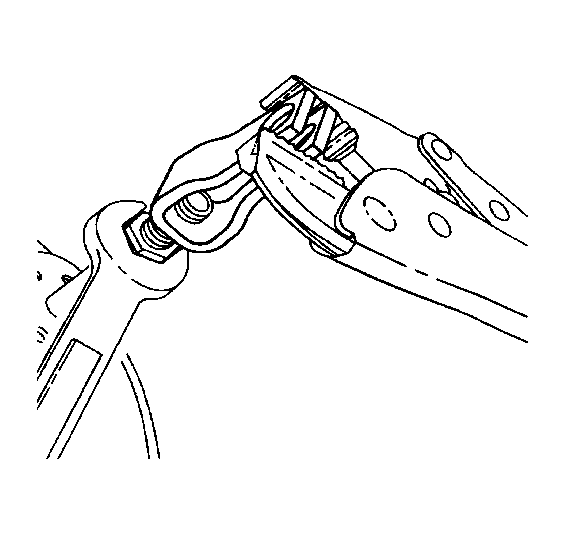
- Holding the hex nut, twist off the pushrod clevis.
- Remove the hex nut from the pushrod.