Roof Panel Joint Finish Molding Replacement
WARNING: This page is about a different car, the 2007 GMC Sierra and 2007 Chevrolet Silverado. However, it is still accessible from the selected car via links, so may be relevant.
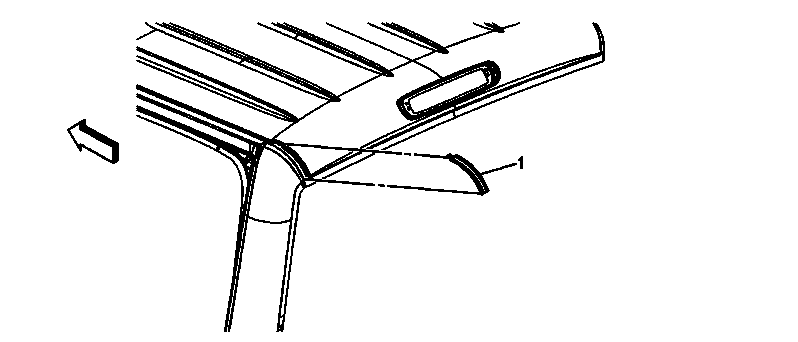 Courtesy of GENERAL MOTORS CORP.
 Roof Panel Joint Finish Molding Replacement
| Callout |
Component Name |
| 1 |
Roof Panel Joint Finish Molding (Rear)
Tip:
- The part and surface should be 21°C (70°F) prior to installation. The vehicle should remain 21°C (70°F) for one hour after assembly to allow adhesive to develop sufficient bond strength.
- Remove the roof panel finish joint from the roof ditch.
- Use of a heat gun is recommended.
- Using a 50/50 mixture of isopropyl alcohol and clean drinkable water and a clean towel, remove the left over adhesive residue from the ditch.
- Wipe the roof ditch clean with a clean dry towel.
- Peel the adhesive tape backing from the roof panel joint finish molding.
- Secure the molding starting at the front edge working rearward.
- Completely wet out the roof panel finish joint molding.
|