Disassembly Procedure
 Courtesy of GENERAL MOTORS CORP.
- Recover the refrigerant. Refer to Refrigerant Recovery and Recharging .
- Remove the compressor. Refer to Compressor Replacement .
- Drain the oil from compressor into a suitable container. Measure and record the amount of oil drained from the compressor. Discard the used oil.
- Remove the clutch plate and hub assembly. Refer to Compressor Clutch Plate and Hub Assembly Removal .
- Remove the clutch rotor and bearing. Refer to Clutch Rotor and/or Bearing Removal .
- Remove the clutch coil. Refer to Compressor Clutch Coil Removal .
- Remove the compressor through-bolts. Remove and discard the gaskets.
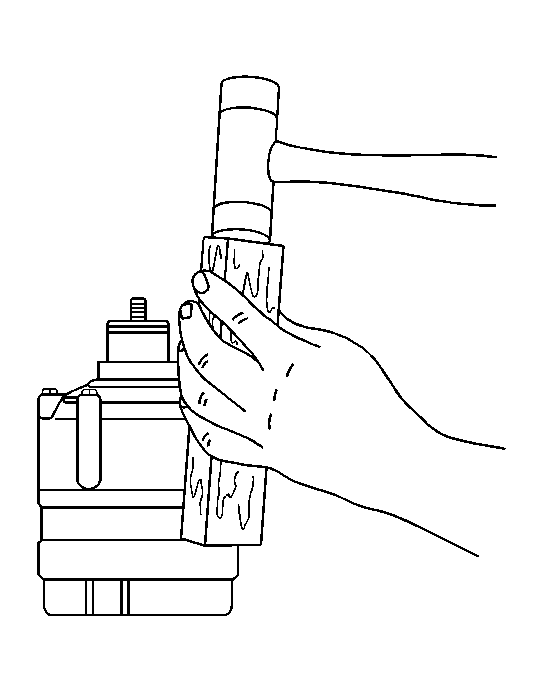
- Using a wooden block and a plastic-headed hammer, tap around the edge of the rear head to disengage the head from the compressor cylinder. Separate the rear head, the head gasket, the rear valve plate, the suction reed plate, and the cylinder to rear head O-ring. Discard the head gasket and the O-ring.