Removal & Installation
- Raise and support vehicle. Remove wheel and tire assembly. Remove the brake drum. See BRAKE DRUMS
. If brake drum is difficult to remove, back off automatic adjustment pawl. Insert two 8 mm bolts into drum and tighten until drum comes off.
- Turn brake shoe hold-down pins in order to release hold-down springs. See Figure
. Remove hold-down springs.
- Remove the following components:
- The Upper Return Spring
- The Strut
- The Adjuster
- The Adjuster Lever
- The Adjuster Spring
- The Strut Spring
- The Pawl Lever
See Figure
.
- Remove the lower return spring.
- Disconnect the park brake cable from the park brake shoe lever. See Fig 1
.
- Remove the brake shoes with the park brake shoe lever attached.
- Remove the park brake shoe lever and the retainer from brake shoe.
- To install, reverse removal procedure. Adjust rear brakes. See DRUM BRAKE ADJUSTMENT
under ADJUSTMENTS & INSPECTIONS.
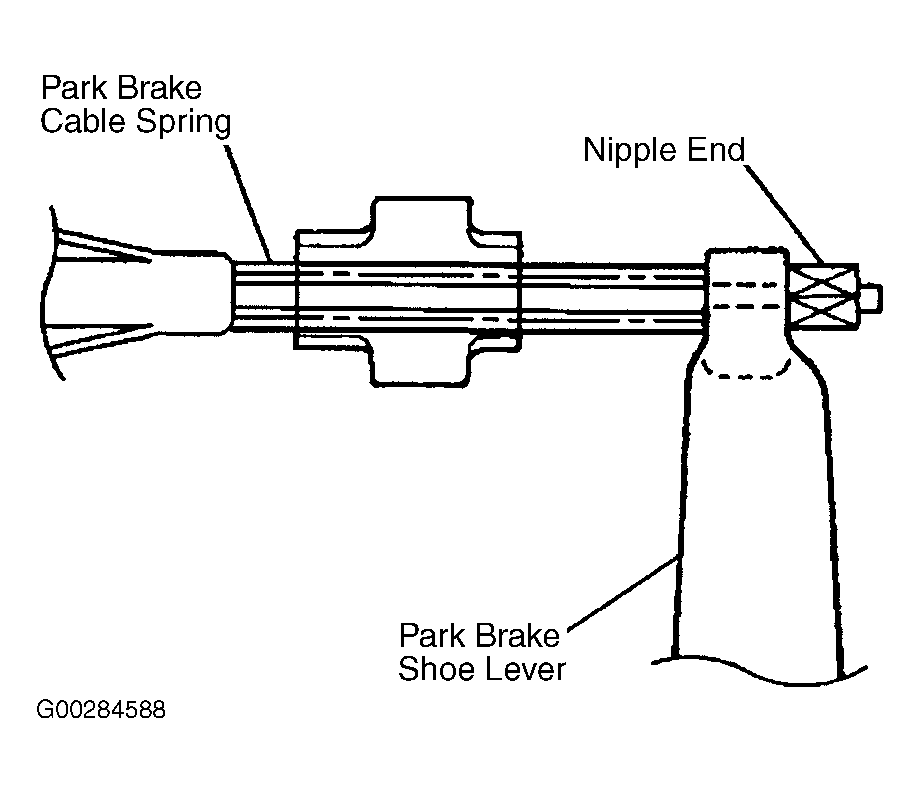 Courtesy of GENERAL MOTORS CORP.