Vacuum Brake Booster: Removal
- Remove the air cleaner assembly.
- Turn OFF the ignition.
- Disconnect the mass air flow (MAF) sensor electrical connector, intake air temperature (IAT) sensor electrical connector and breather tube from the air intake duct.
- Loosen the 2 air intake duct clamps and remove the air intake duct.
- Remove the air cleaner assembly retainer screws and air cleaner assembly from the vehicle.
- Separate the MAF sensor from the air cleaner element cover. Remove the air cleaner element retaining screws and remove the cover.
- Remove the air cleaner element. Inspect the air cleaner element and replace if necessary.
- Disconnect and position aside the underhood electrical center from the bracket.
- Disconnect the negative battery cable. Remove the nut retaining the positive battery cable lead to the underhood electrical center, then reposition the cable lead away from the electrical center. Remove the electrical center cover.
- Remove all of the fuses and the relays. Reach under the front of the electrical center and press up on the relief in order to release the retainer tab. While pressing up, slide the electrical center forward.
- Disconnect the electrical cable retainers at the rear of the electrical center. Release the box retainer next to the electrical cables. Turn the electrical center upside down and open the lower cover.
- Disconnect the instrument panel (I/P) wiring harness individual connectors from the junction block. Loosen the bolts retaining the engine, I/P, and forward lamp wiring harness connectors to the junction block.
- Disconnect the engine wiring harness connector from the junction block. Disconnect the I/P wiring harness connector from the junction block.
- Disconnect the forward lamp wiring harness connector from the junction block. Remove the electrical center box.
- Remove the underhood electrical center bracket.
- Remove the master cylinder from the hydraulic brake booster. See MASTER CYLINDER . Be careful not to lose or dislodge the insulator between the booster and the front of the dash.
- Disconnect the vacuum hose and the vacuum brake booster check valve from the booster as an assembly. See Fig 1.
- Remove the left closeout/insulator panel.
- Remove the push pins from the left half of the sound insulator on the drivers side and remove from the I/P carrier. See Figure.
- Remove the bolts from the right half of the sound insulator on the drivers side and remove from the I/P carrier.
- Remove the booster retaining nuts. Disconnect the booster pushrod from the brake pedal. See Figure. Tilt the vacuum brake booster slightly in order to work the booster pushrod off the pedal clevis pin. DO NOT apply excessive side pressure on the pushrod. Remove the booster from the vehicle.
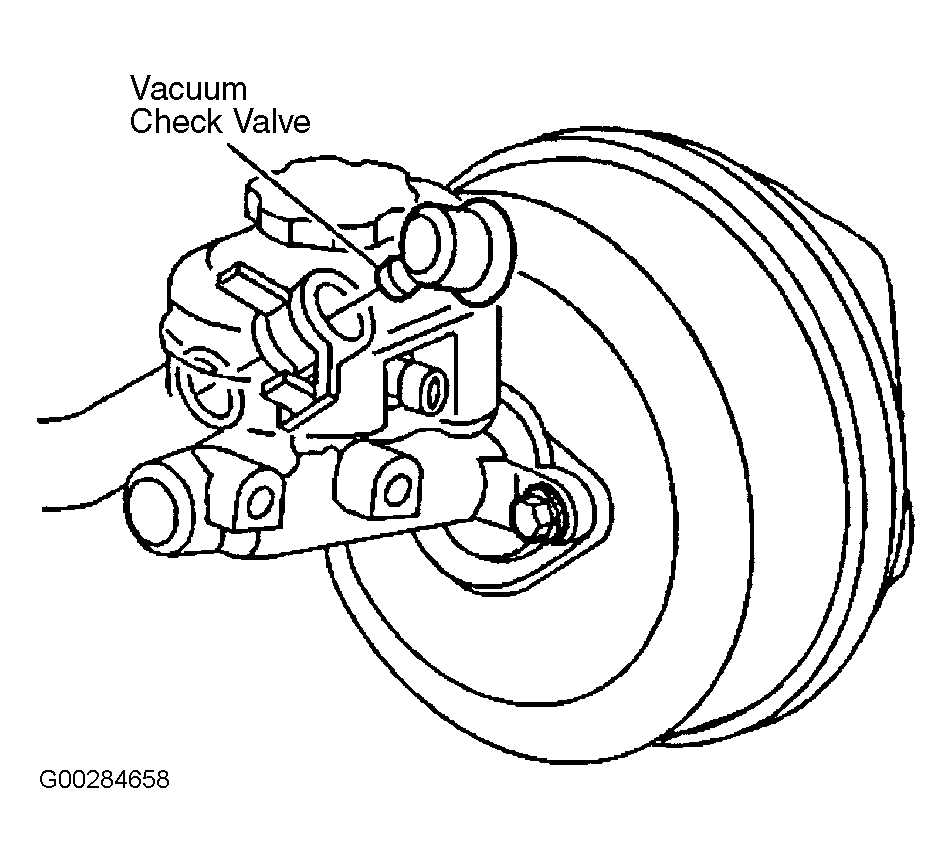 Courtesy of GENERAL MOTORS CORP.