Installation Procedure
 Courtesy of GENERAL MOTORS CORP.
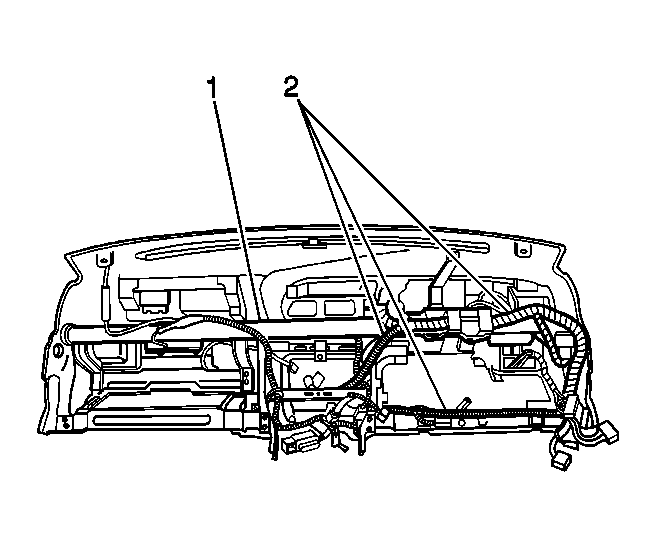
- Install the I/P wiring harness (2) to the I/P reinforcement (1). Secure the harness with the plastic retainers.
- Connect all electrical connectors.
 Courtesy of GENERAL MOTORS CORP.
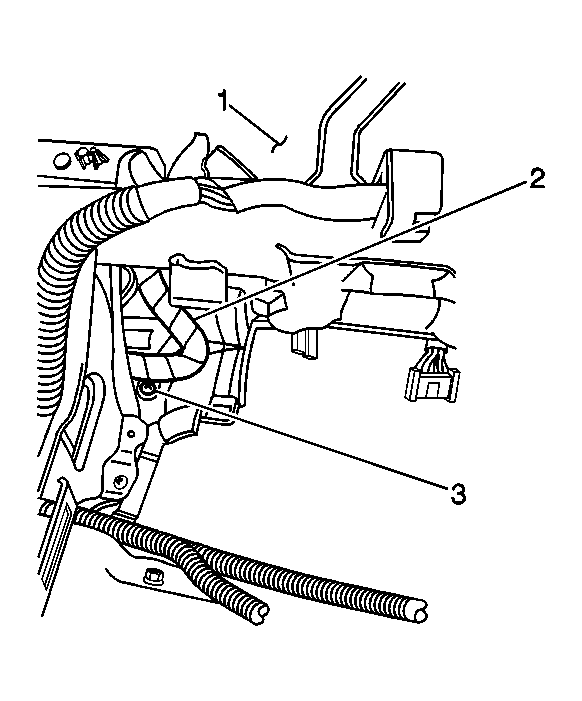
- Install the screw (3) to the left side of the rear of the instrument panel (1) which secures the I/P wiring harness (2).
 Courtesy of GENERAL MOTORS CORP.
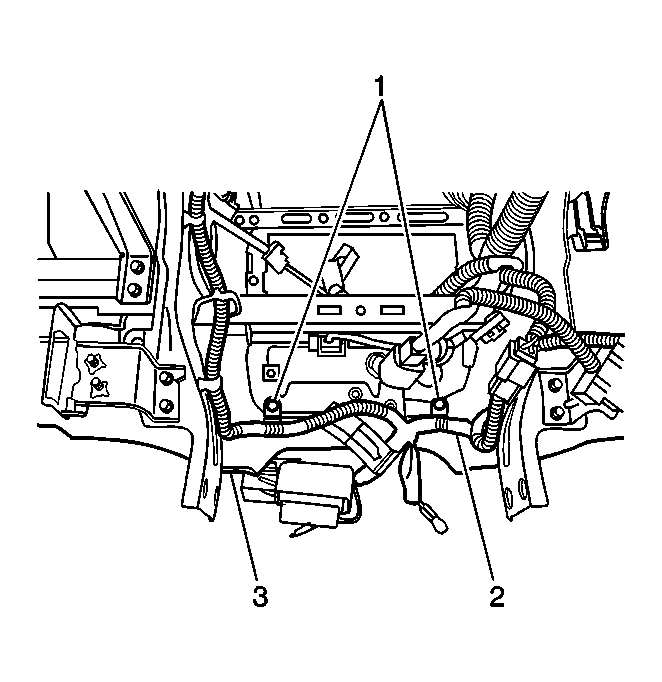
- Install the 2 screws (1) to the center of the rear of the instrument panel (3) which secure the I/P wiring harness (2).
Courtesy of GENERAL MOTORS CORP.
- Install the screw (3) to the right side of the rear of the instrument panel (1) which secures the I/P wiring harness (2).
 Courtesy of GENERAL MOTORS CORP.
- Install the heater duct to the instrument panel.
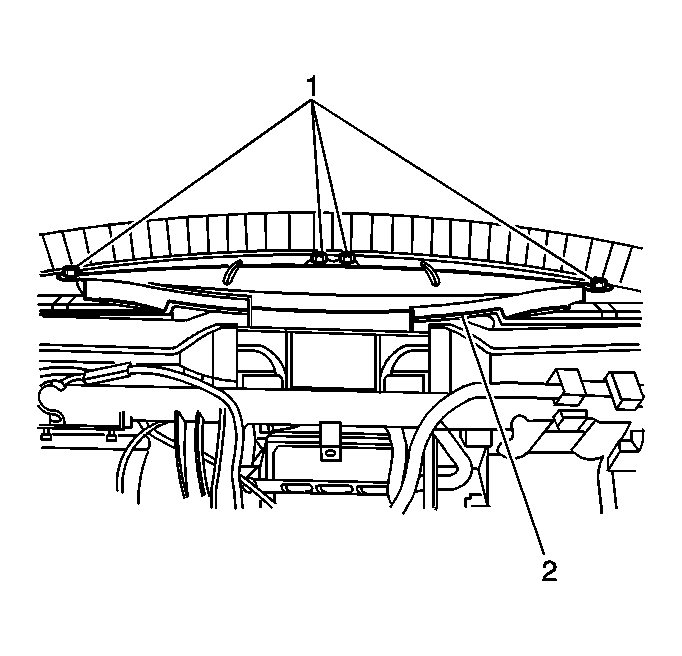
- Install the windshield defroster outlet duct (2) to the instrument panel. Secure the outlet duct with the 4 screws (1).
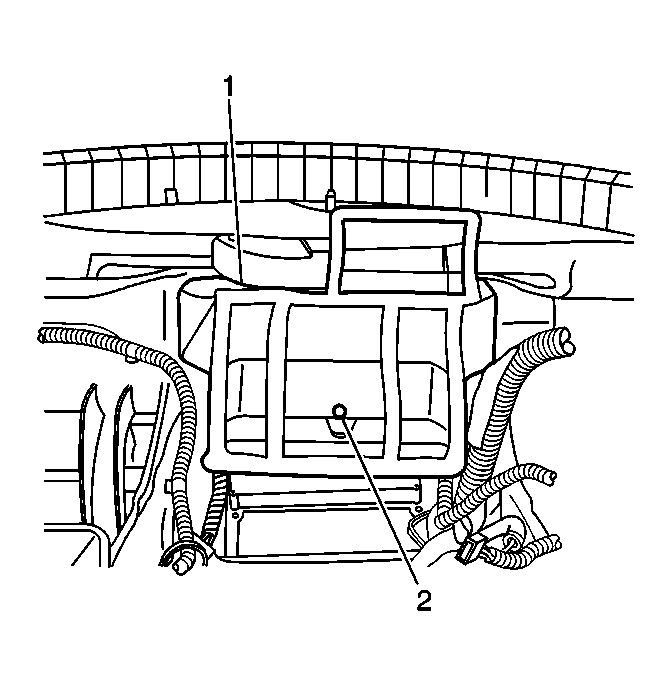 Courtesy of GENERAL MOTORS CORP.
- Install the air distribution center duct (1) to the instrument panel. Secure the center duct with the screw (2).
- Install the instrument panel carrier. Refer to Instrument Panel (I/P) Carrier Replacement .