Tools Required
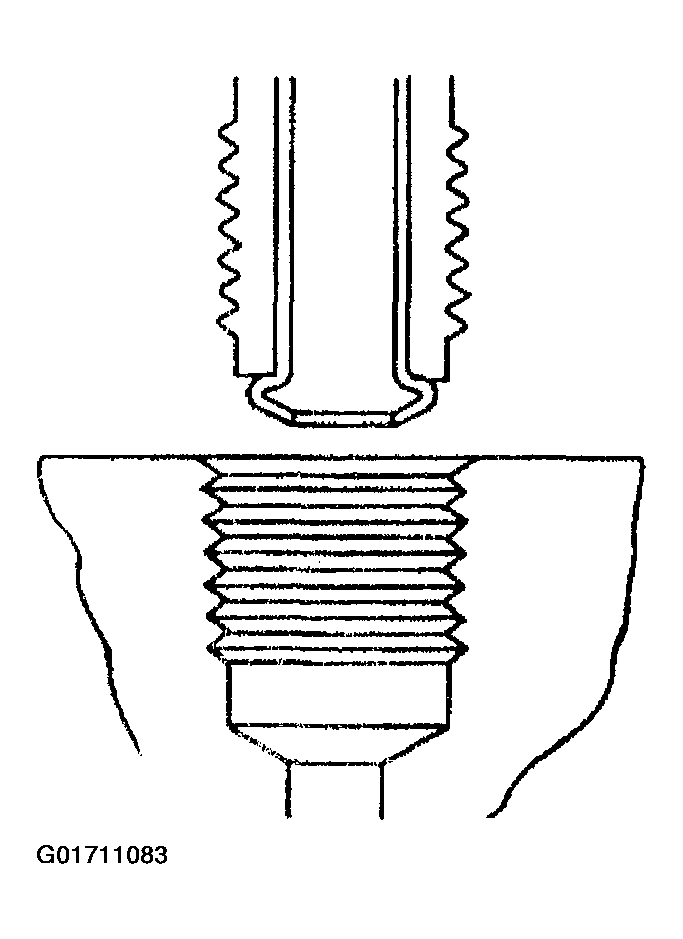
- Obtain the recommended tubing and steel fitting nuts of the correct size. Outside diameter tubing is used in order to specify the size.
 Courtesy of GENERAL MOTORS CORP.
- Cut the tubing to length. In order to determine the correct length, measure the old pipe using a string and adding 3 mm (1/8 in) for each ISO flare.
- Before starting the flare, install the fittings on the tubing.
- Chamfer the inside and outside diameter of the pipe with the de-burring tool.
- Remove all traces of lubricant from the brake pipe and the flaring tool.
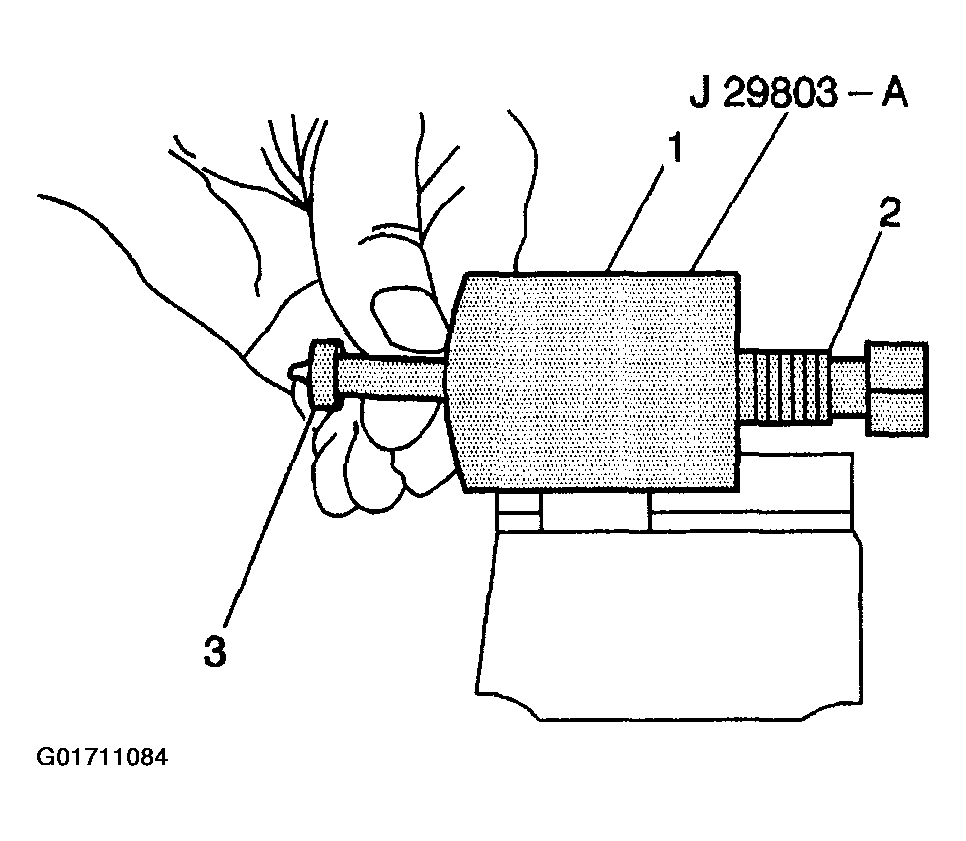
- Clamp the J 29803-A ISO Flaring Kit. Tool body in a vise.
- Select the correct size collet and forming mandrel (3) for the pipe size used.
- Insert the proper forming mandrel into the tool body.
- While holding the mandrel in place with a finger, thread the forcing screw until the screw makes contact with the forming mandrel and begins to move the forming mandrel.
- When contact is made with the forming mandrel, turn the forcing screw back one complete turn.
 Courtesy of GENERAL MOTORS CORP.
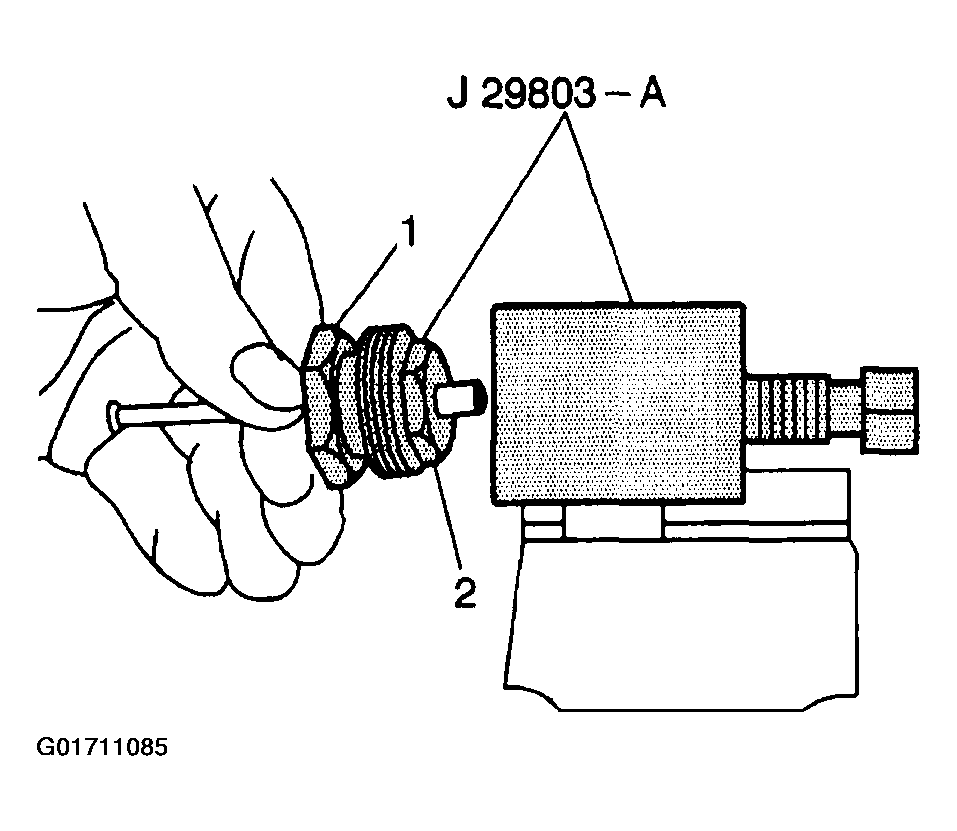
- Slide the clamping nut (1) over the brake pipe into the correct collet. Leave approximately 19 mm (3/4 in) of tubing extending out the collet.
- Insert the collet into the tool body. The brake pipe end must contact the face of the forming mandrel.
- Tighten the clamping nut into the tool body very tight or the pipe may push out.
- Wrench tighten the forcing screw until the screw bottoms. Do not over tighten the forcing screw or the flare may become over-sized.
- Back the clamping nut out of the tool body.
- Disassemble the clamping nut and collet. The flare is now ready for use.
- Bend the pipe to match the old pipe. Maintain a clearance of 19 mm (3/4 in) for all moving or vibrating components.
 Courtesy of GENERAL MOTORS CORP.