Disc Brake Mounting and Hardware Inspection
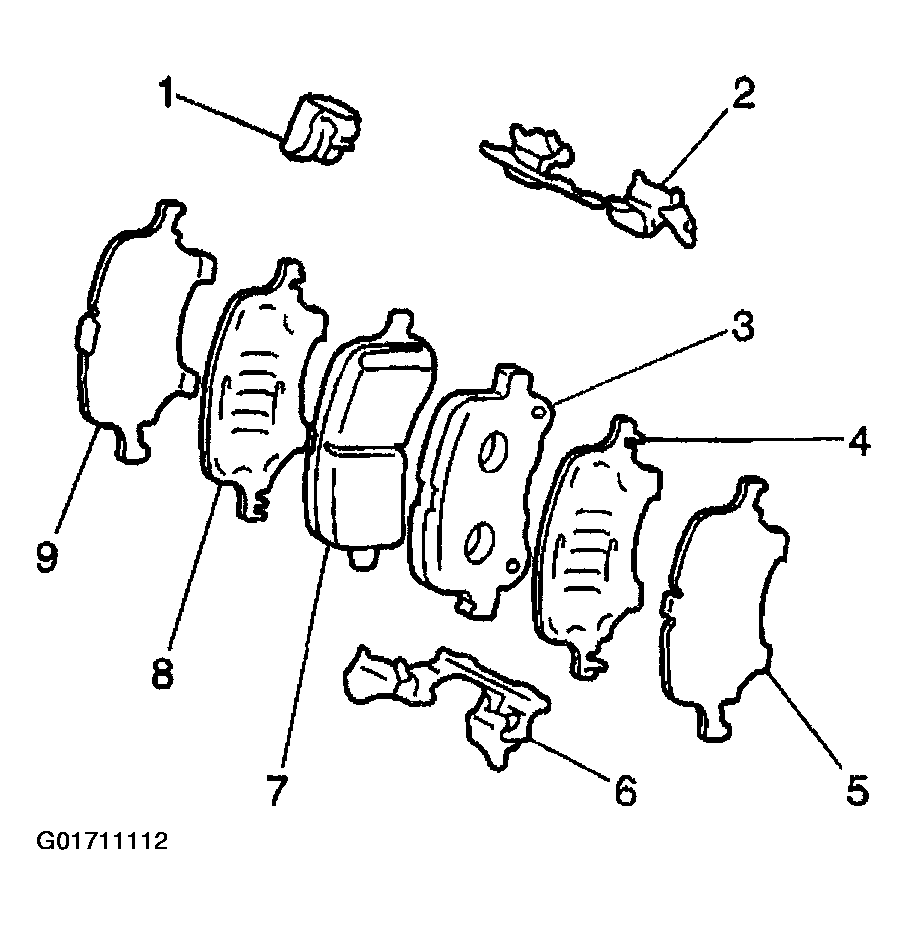 Courtesy of GENERAL MOTORS CORP.
- Remove the disc brake caliper from the caliper mounting bracket.
- Remove the disc brake pads from the caliper.
- Inspect the disc brake pad mounting hardware (1-9) for the following:
- Missing mounting hardware
- Excessive corrosion
- Bent mounting tabs
- Looseness at the caliper mounting bracket
- Looseness at the disc brake pads
- If any of the conditions listed are found, the disc brake pad mounting hardware requires replacement.
- Ensure the disc brake pads are held firmly in place on the caliper mounting bracket, yet slide easily on the mounting hardware without binding.
- Inspect the caliper slide pins by gently pulling outward (without disengaging the slides from the boots), then pushing inward, and observe for the following:
- Binding
- Seizing
- Looseness
- Bent or damaged slide pins
- Cracked or torn slide pin boots
- Missing slide pin boots
- Bent or damaged caliper mounting bracket
- If any of the conditions listed are found, the caliper mounting hardware requires replacement.
- Install the disc brake pads to the caliper.
- Install the disc brake caliper to the mounting bracket.