Installation Procedure
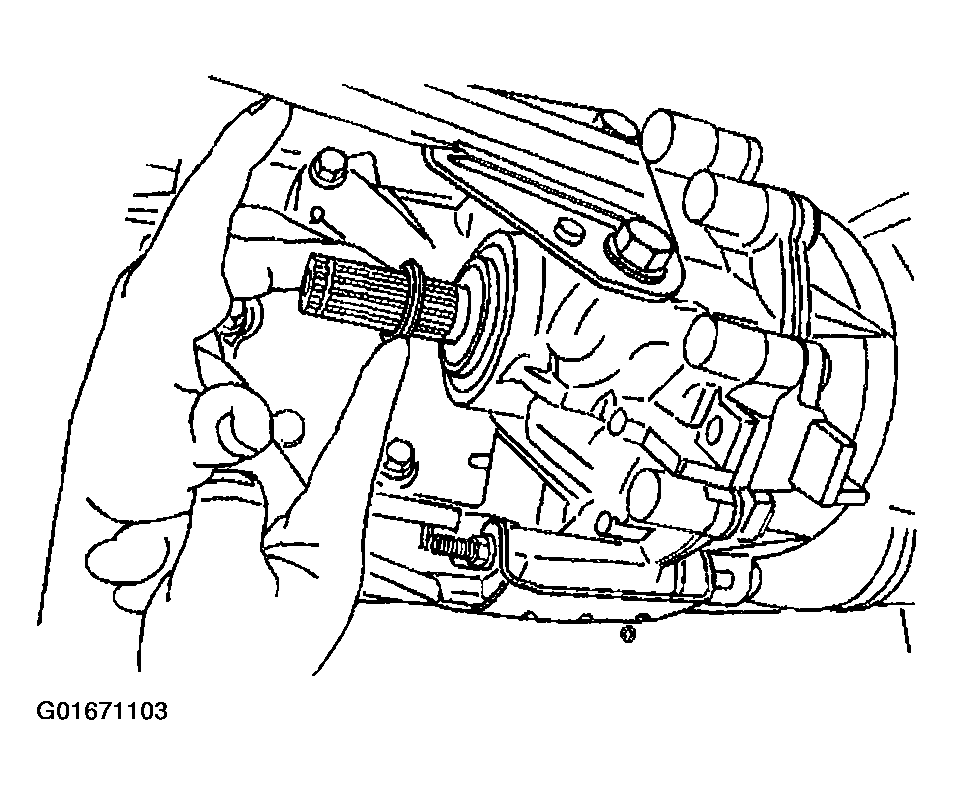
- Install the J 44636-2
on the front output shaft.
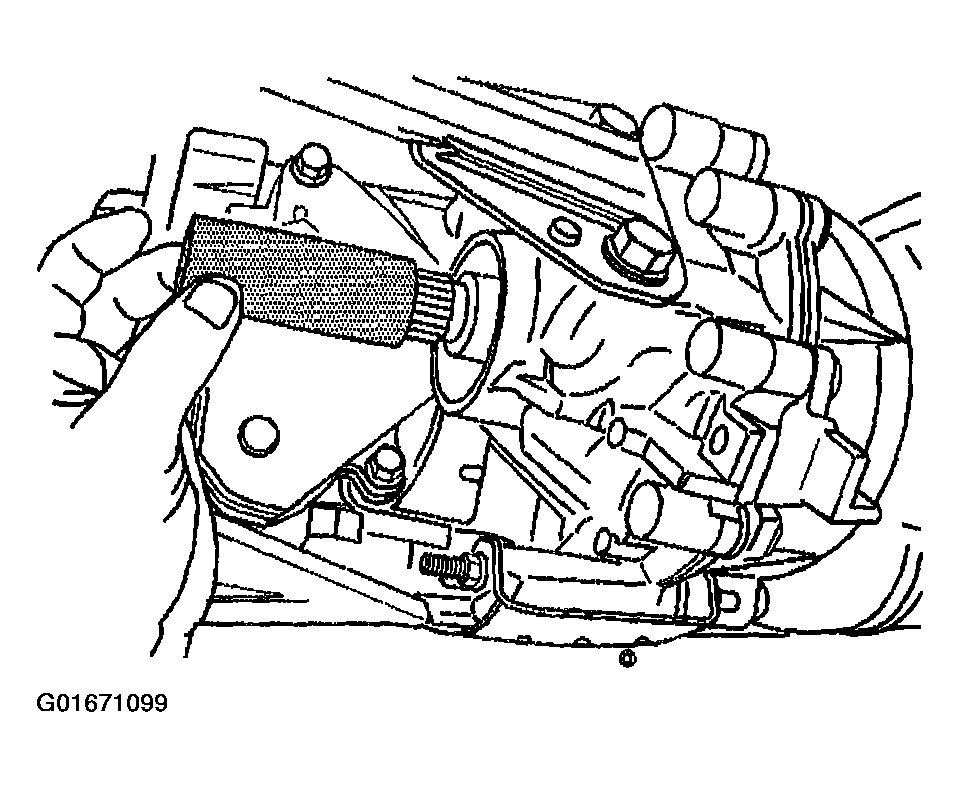 Courtesy of GENERAL MOTORS CORP.
- Install the front output shaft seal on the J 44636-2
.
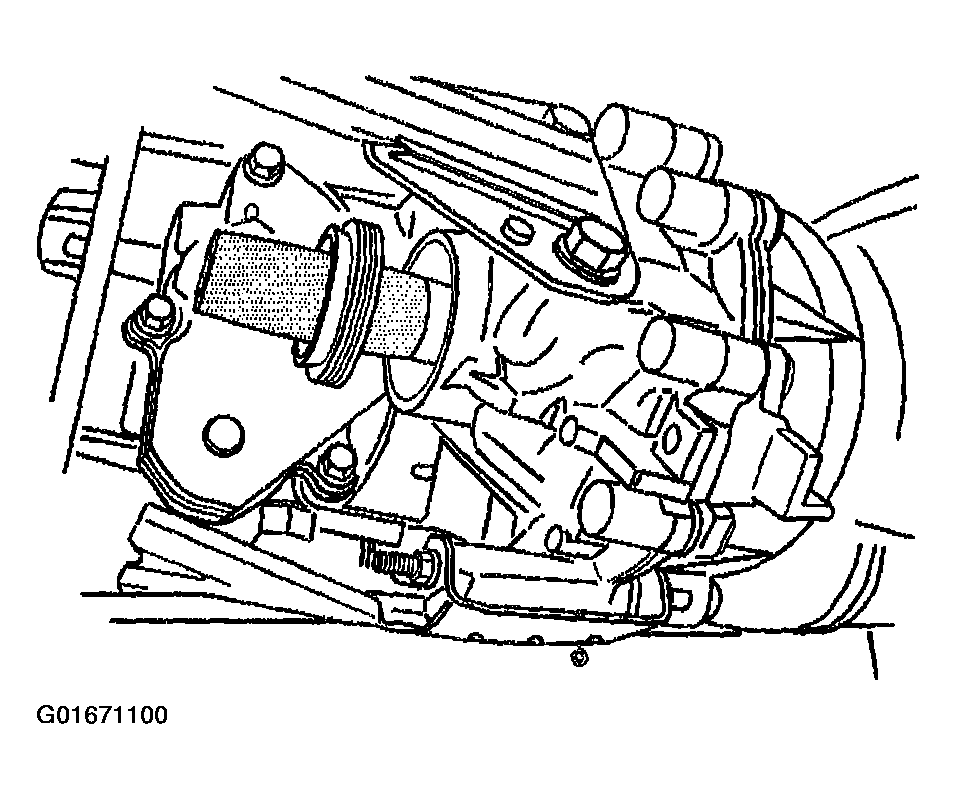 Courtesy of GENERAL MOTORS CORP.
- Using the J 44636-1
, install the front output shaft seal.
- Remove the J 44636-1
from the front output shaft.
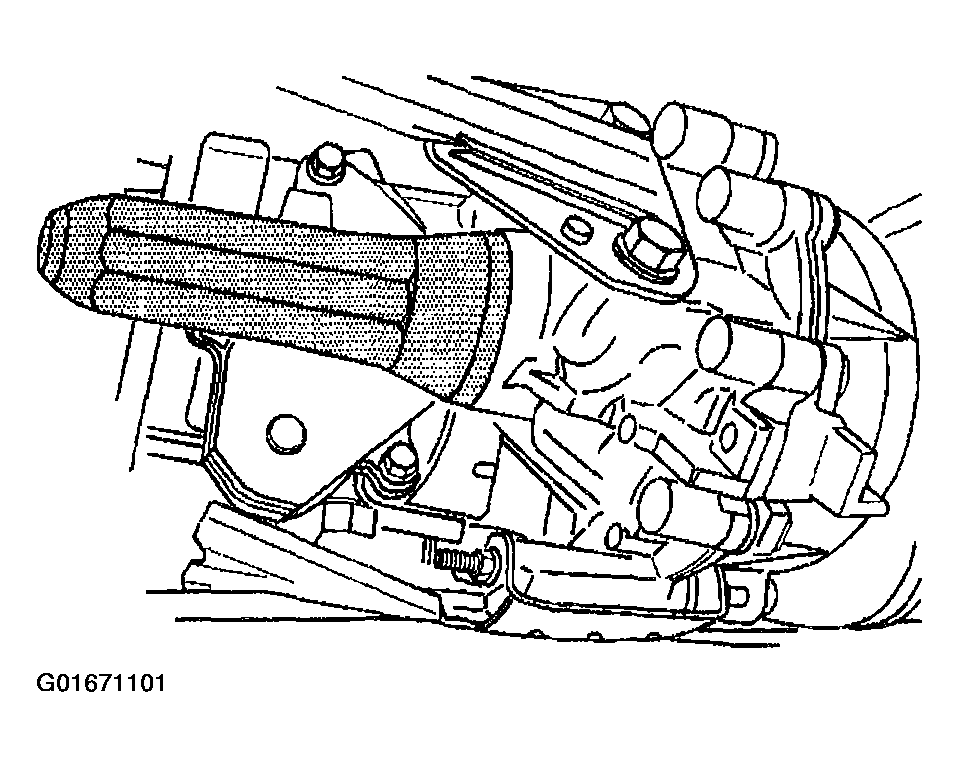 Courtesy of GENERAL MOTORS CORP.
- Remove the J 44636-2
from the front output shaft.
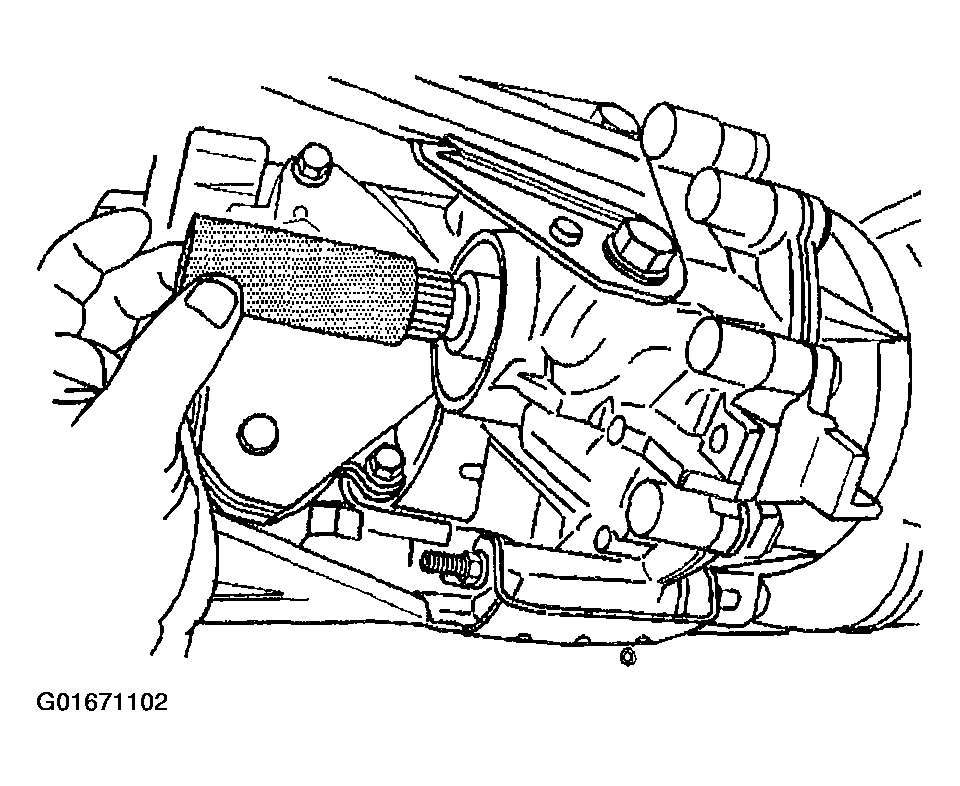 Courtesy of GENERAL MOTORS CORP.
- Install the dust seal on the front output shaft.
- Install the front propeller shaft. Refer to PROPELLER SHAFT REPLACEMENT - FRONT
in Propeller Shaft.
- Check the transfer case fluid level. Refer to Transfer Case Fluid Replacement .
- Install the transfer case shield. Refer to Transfer Case Shield Replacement .
- Lower the vehicle. Refer to LIFTING & JACKING THE VEHICLE
in General Information.
 Courtesy of GENERAL MOTORS CORP.