Removal Procedure
- Raise and support the vehicle. Refer to LIFTING & JACKING THE VEHICLE
in General Information.
- Remove the tire and wheel. Refer to TIRE AND WHEEL REMOVAL AND INSTALLATION
in Tires and Wheels.
- Unload the torsion bar. Refer to Torsion Bar and Support Assembly Replacement .
- Remove the wheel drive shaft. Refer to AXLE SHAFT
in Driveline/Axle.
- Drill a pilot hole in the lower ball joint rivets using a 3.175 mm (1/8 in) drill to cut a 6.35 mm (1/4 in) deep hole in the center of each rivet.
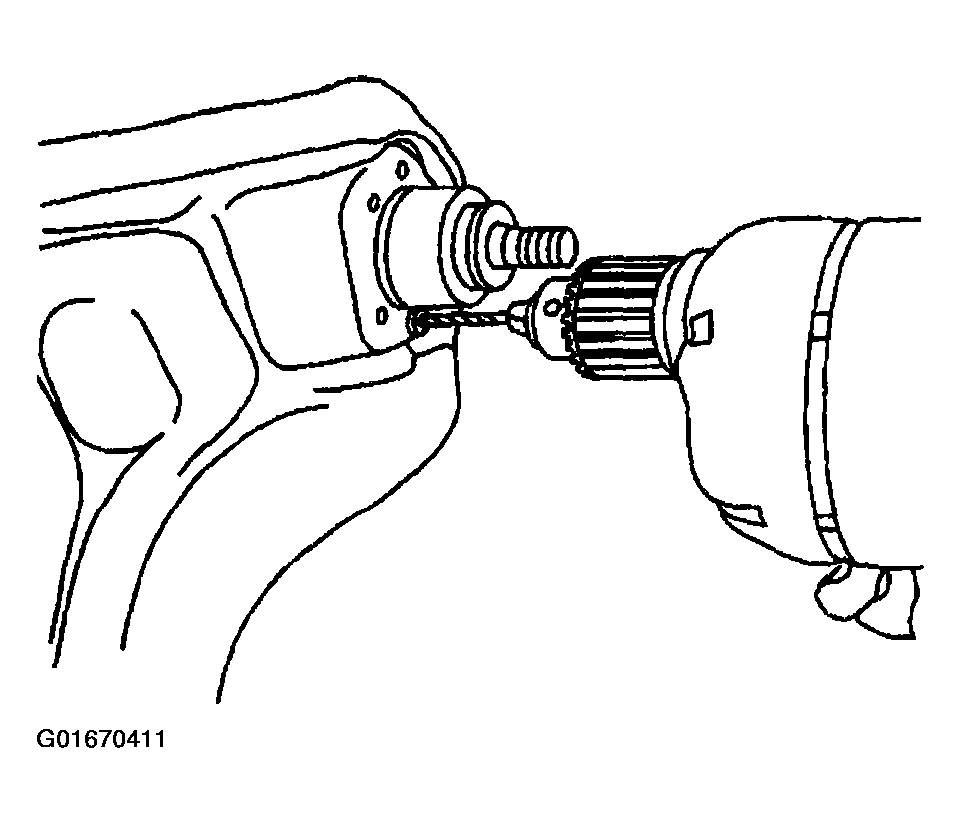 Courtesy of GENERAL MOTORS CORP.
- Drill the rivet heads away using a 12.7 mm (1/2 in) drill.
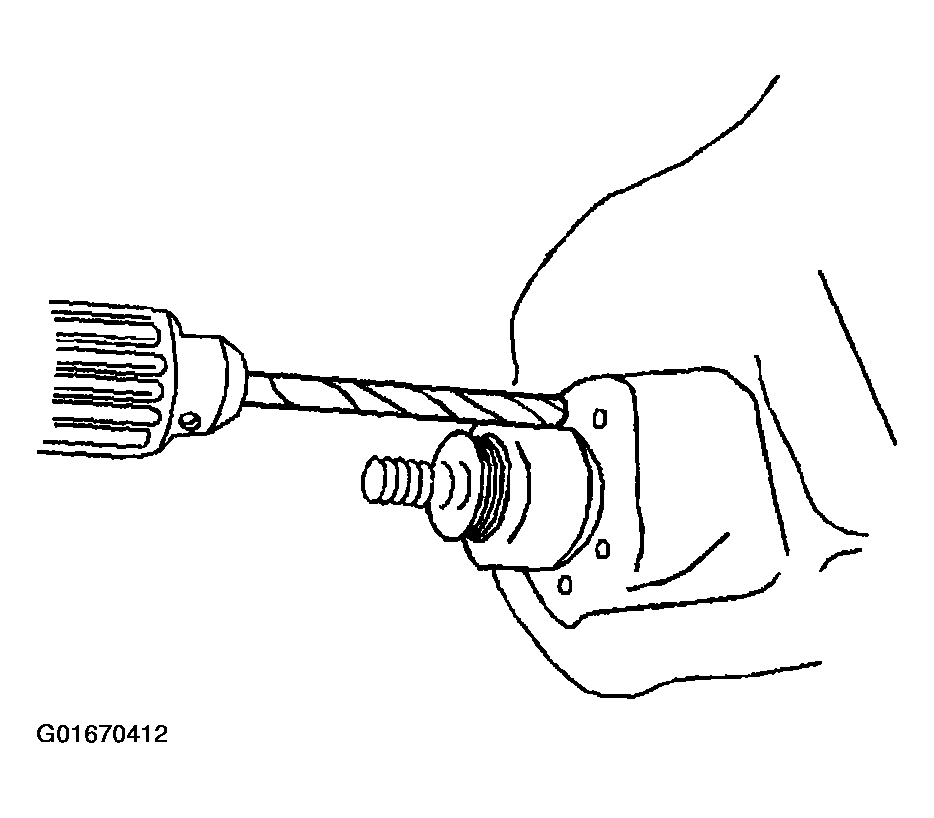 Courtesy of GENERAL MOTORS CORP.
- Remove the rivets using a pin punch.
- Remove the lower ball joint from lower control arm.
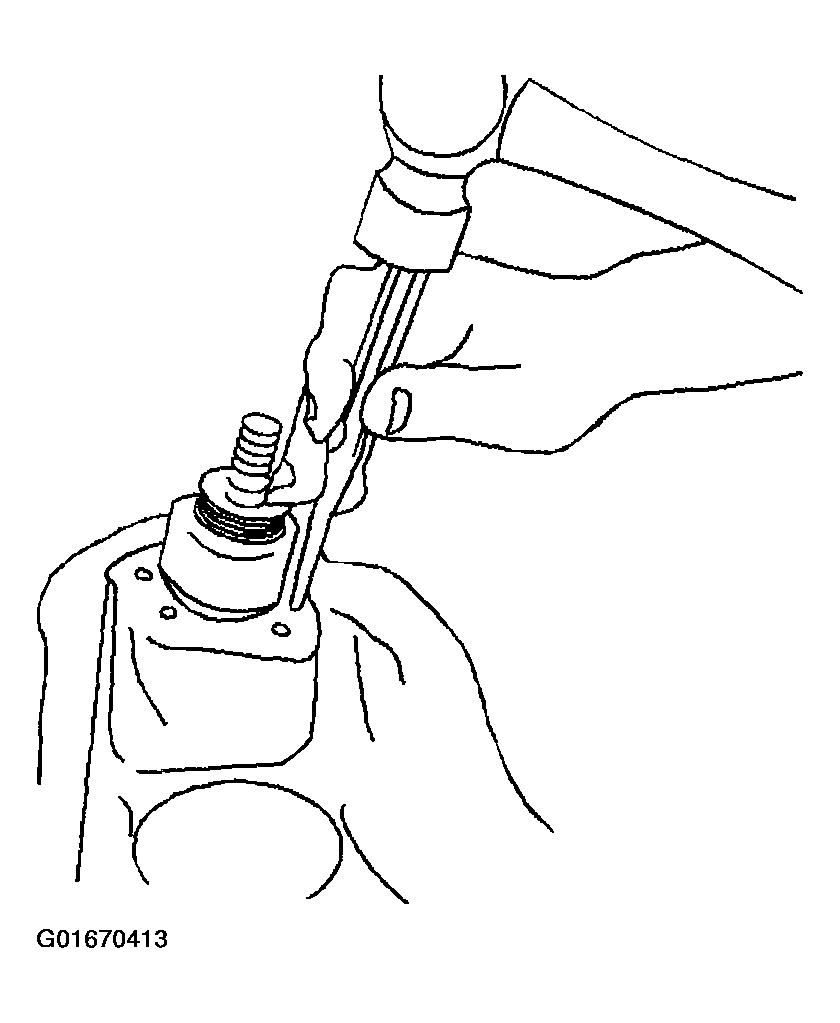 Courtesy of GENERAL MOTORS CORP.