Front Fender Center Molding Replacement
WARNING: This page is about a different car, the 2009 Saturn Vue. However, it is still accessible from the selected car via links, so may be relevant.
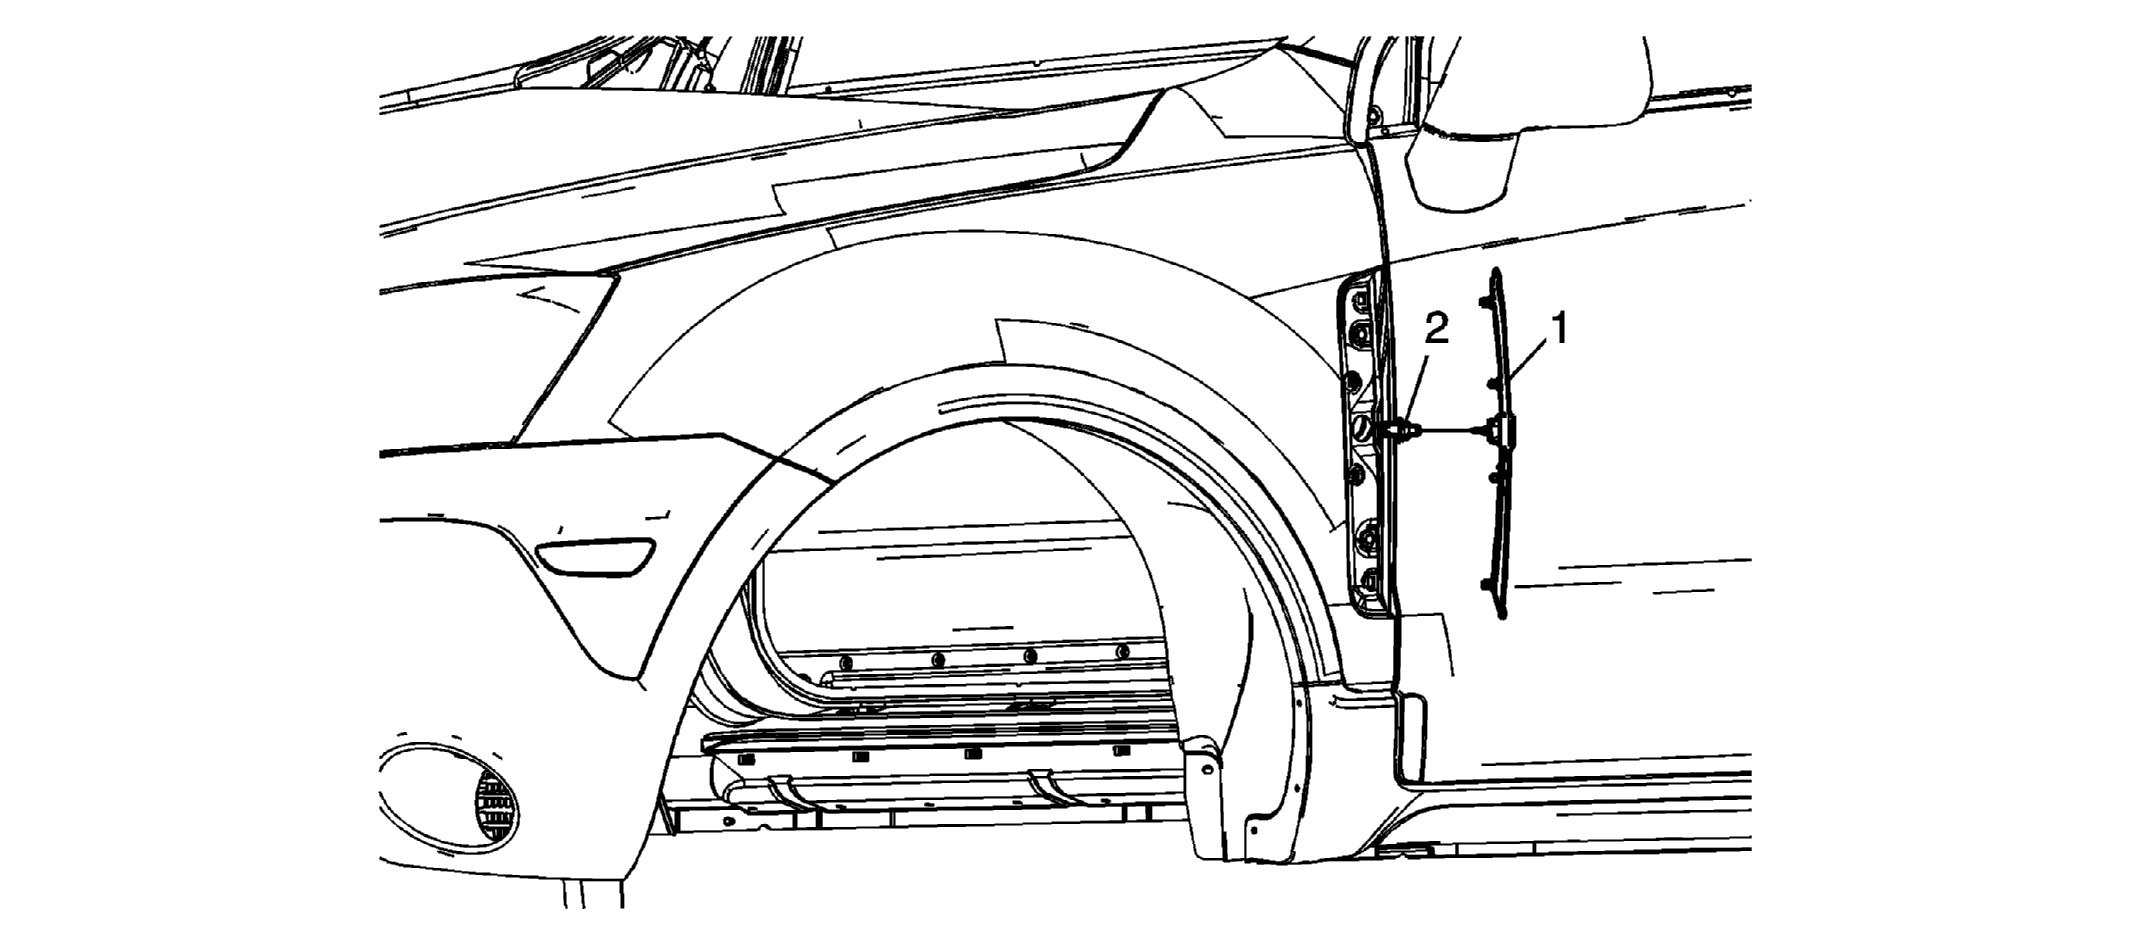 Courtesy of GENERAL MOTORS CORP.
| Callout |
Component Name |
| 1 |
Front Fender Center Molding Assembly Procedure
- Open the door on the side the front fender molding is being serviced from.
- Working from inside the hinge pillar area, insert a small 8 mm socket on a ratchet over the plastic retainer clips to release the pressure.
- Begin releasing the retainers at the bottom of the molding and work towards the top.
- When the first lower retainer clip is released, insert a small plastic flat-bladed tool between the exterior body panel and the molding assembly to prevent the retainer from re-engaging back into the fender panel hole.
- Disconnect the electrical harness connector from the lamp housing.
- Connect the electrical harness lamp socket to the lamp housing.
- Position the molding retainers to the fender holes.
- Using the palm portion of the hand, secure the retainers to the fender holes.
- An light audible click will be heard when each retainer is secure to the fender panel.
|
| 2 |
Front Side Turn Signal Lamp Assembly
Tip:
Disconnect the electrical connector prior to removing the center molding assembly from the fender. |